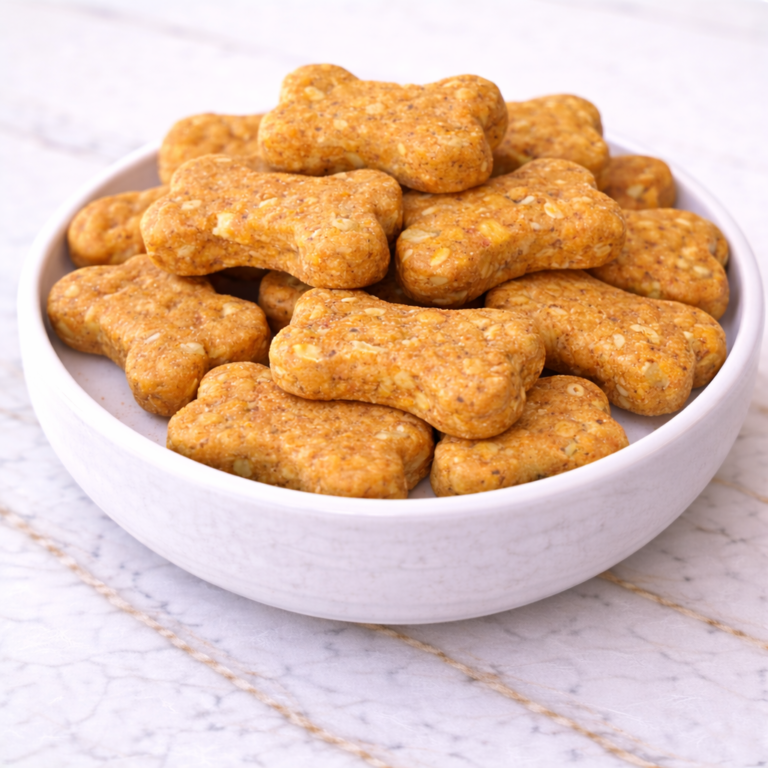
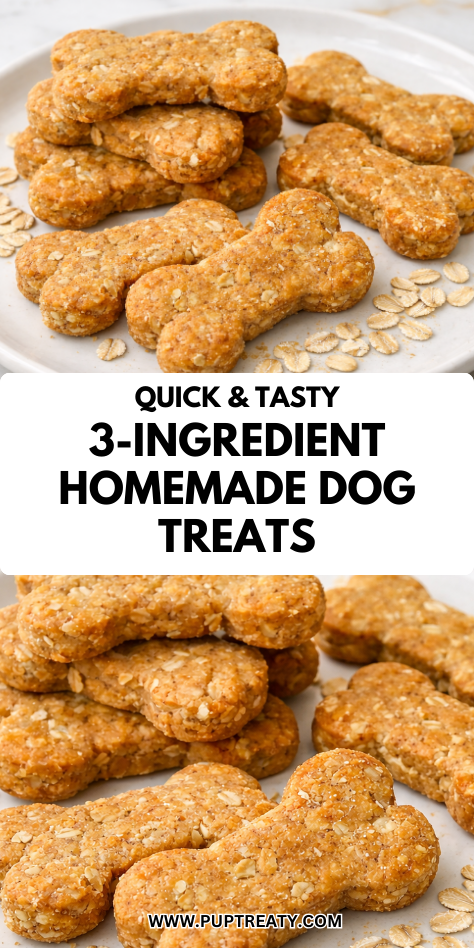
Sometimes the best recipes are the simplest—and that couldn’t be more true for these 3-Ingredient Homemade Dog Treats. With just a handful of pantry staples and less than 30 minutes of your time, you can whip up a batch of healthy, homemade biscuits your dog will go wild for.
These treats are perfect for busy dog parents who still want to offer something wholesome and homemade. They’re budget-friendly, customizable, and contain no preservatives or additives—just simple ingredients dogs love.
Whether you’re baking for training treats, daily snacks, or a special reward, this easy recipe is one you’ll want to keep on repeat.
Why Your Dog Will Love This Recipe
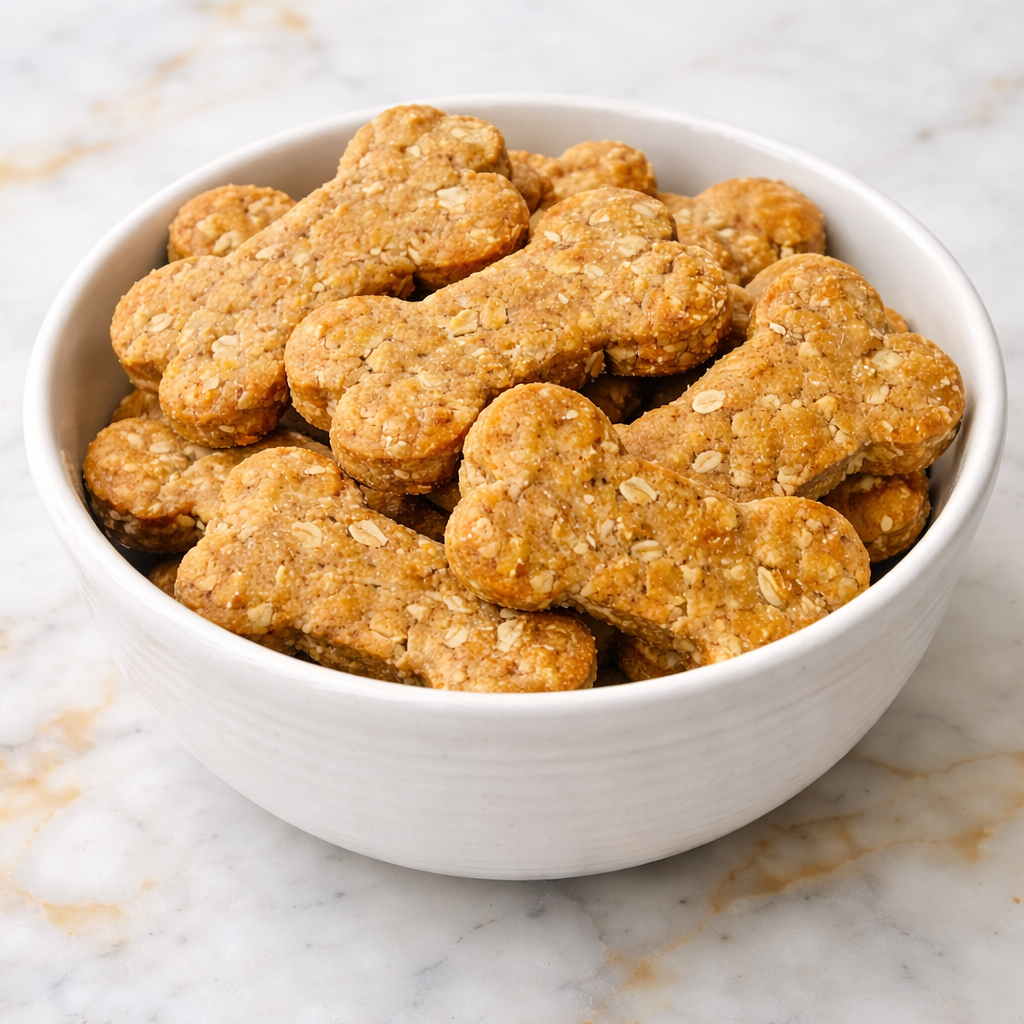
These simple treats combine creamy peanut butter, naturally sweet banana, and hearty oats to make a snack that smells and tastes irresistible. The texture is soft-chewy with a slight crunch, perfect for all sizes and life stages.
Whether you’ve got a picky eater or a food-driven pup, these will get a tail-wagging seal of approval. They’re also gentle on the stomach and made with ingredients you likely already have in your kitchen.
What You’ll Need
- 1 ripe banana
- 1/2 cup natural, unsweetened peanut butter (xylitol-free)
- 1 1/2 cups rolled oats (old-fashioned or quick oats)
Pro Tips
- Use very ripe bananas—they mash easier and add natural sweetness without sugar.
- Double-check the peanut butter—it must be xylitol-free and low in salt or unsalted.
- Blend or pulse oats in a food processor for a smoother dough that’s easier to roll and cut.
- Adjust thickness based on your dog—roll thinner for crunchy treats, thicker for softer bites.
- Freeze the dough for 10 minutes before cutting if it’s too sticky to handle.
Tools Required
- Mixing bowl
- Fork or potato masher
- Measuring cups
- Food processor or blender (optional for pulsing oats)
- Rolling pin (optional)
- Cookie cutters or knife
- Baking tray
- Parchment paper
- Cooling rack
Substitutions and Variations
- Oat alternative: Use oat flour instead of whole oats for a smoother dough.
- Banana swap: Unsweetened applesauce or pureed pumpkin works well.
- Peanut butter alternative: Sunflower seed butter or almond butter (unsalted and xylitol-free).
- Add-ins: Stir in a pinch of cinnamon or turmeric for added benefits and flavor.
- Make it crunchy: Bake a few minutes longer to fully crisp the biscuits for longer shelf life.
Make Ahead Tips
This recipe is ideal for weekly prep. The dough can be made in advance and refrigerated for up to 2 days before baking. You can also freeze the shaped, unbaked treats on a tray and store them in a freezer bag—bake straight from frozen with just a few extra minutes added.
Baked treats freeze well, too. Double the batch and store extras in the freezer for quick grab-and-go snacks.
Instructions
Step 1: Preheat and Prep
Preheat your oven to 325°F (163°C). Line a baking tray with parchment paper.
Step 2: Mash the Banana
In a medium bowl, mash the banana thoroughly until smooth using a fork or potato masher.
Step 3: Mix in Peanut Butter
Add the peanut butter to the mashed banana and stir until fully combined and creamy.
Step 4: Add Oats
Stir in the oats. If the dough is too soft to roll, add a tablespoon more oats at a time until a workable dough forms. For a finer dough, pulse the oats in a blender first.
Step 5: Roll and Cut
Roll out the dough to about 1/4-inch thick. Cut into shapes using cookie cutters or slice into small squares or strips.
Step 6: Bake
Place treats on the lined tray and bake for 15–18 minutes, or until edges are golden and the treats are firm.
Step 7: Cool
Let the treats cool on a wire rack completely before storing or serving. They will firm up more as they cool.
Serving Suggestions
- Offer as a training reward or post-walk snack
- Break into smaller bits for puzzle toys and treat-dispensing balls
- Serve with a smear of pumpkin puree or yogurt for a special treat
- Include in homemade dog treat gift bags or party favor jars
- Use daily as a safe, preservative-free alternative to commercial biscuits
Allergy-Friendly Substitutions
- Gluten-free: Use certified gluten-free oats or oat flour
- Nut-free: Use pumpkin puree or mashed cooked sweet potato instead of peanut butter
- Grain-free: Replace oats with coconut flour (reduce amount to 1/2 cup and add a splash of water if needed)
- Banana-free: Use unsweetened applesauce or plain mashed pear
Leftovers and Storage
Once cooled completely, store the treats in an airtight container:
- Room temperature: Up to 5 days
- Refrigerator: Up to 2 weeks
- Freezer: Store for up to 3 months. Freeze in a single layer first, then transfer to a freezer-safe container or bag.
To refresh soft treats, reheat in the oven at 300°F for 5–7 minutes to crisp slightly. Always let cool fully before serving.
Nutrition & Benefits
Each ingredient in this recipe serves a purpose beyond flavor. Bananas provide natural sweetness along with potassium, fiber, and vitamin B6, which supports your dog’s nervous system and metabolism. Peanut butter is packed with protein and healthy fats for energy and satiety—just make sure it’s free of xylitol. Oats are rich in soluble fiber, which helps support digestion and heart health.
With no added sugar, artificial flavors, or preservatives, these are treats you can feel confident giving daily or using during training.
Recipe FAQ
Q: Can I make these into training treats?
A: Yes! Roll thinner and cut into small squares. Bake until firm but not too hard for frequent treating.
Q: Can I use steel-cut oats?
A: It’s best to use rolled or quick oats. Steel-cut oats are too tough and won’t soften enough during baking.
Q: How many treats does this recipe make?
A: About 20–30 small treats, depending on shape and thickness.
Q: Are these safe for puppies?
A: Yes! They’re soft and made with safe, whole-food ingredients—just cut into small pieces for easy chewing.
Q: Can I store the dough raw in the fridge?
A: Yes, for up to 2 days. Wrap tightly and refrigerate until ready to roll and bake.
Recipe Wrap-Up
These 3-Ingredient Homemade Dog Treats are proof that simple can be satisfying. They’re quick to make, easy to store, and filled with real, healthy ingredients your pup will love.
Whether you’re baking for everyday rewards, sensitive stomachs, or a low-budget option that doesn’t skimp on quality, this recipe is a winner.
Keep it on hand for when you want to treat your dog without reaching for the store-bought box.