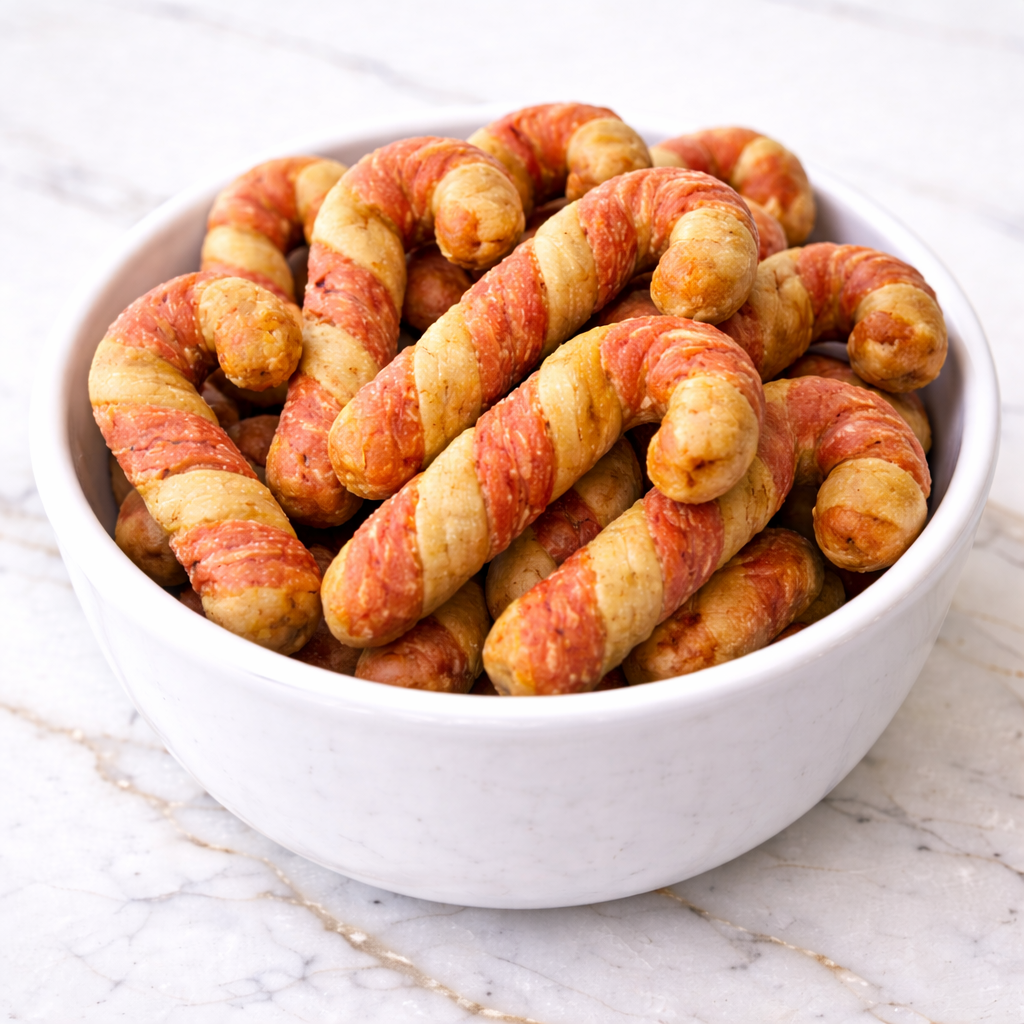
When the holidays roll around, it’s hard not to get swept up in all the baking, decorating, and festive treats. And while most holiday sweets aren’t dog-friendly, these Candy Cane Shaped Dog Treats let your pup join the fun safely. Made with wholesome ingredients and no sugar, these red-and-white swirled biscuits look festive but are completely natural and healthy.
These treats have a crisp, cookie-like texture and mild flavor your dog will love. The best part? They’re easier to make than they look and turn out beautifully striped for that perfect holiday touch.
Why Your Dog Will Love This Recipe
Dogs love these crunchy treats because they’re full of familiar flavors like peanut butter and oats. The texture gives a satisfying crunch that’s gentle on their teeth and keeps them busy. There’s no artificial coloring here—the red stripes come from natural beet puree, so they’re as safe as they are pretty. Whether you’re baking a batch for your pup or giving them as gifts, these candy cane treats make the holidays even brighter for your four-legged friend.
What You’ll Need
For the White Dough:
- 1 cup oat flour (or finely ground oats)
- 1/2 cup plain unsweetened applesauce
- 1 tablespoon peanut butter (xylitol-free)
- 1 egg
For the Red Dough:
- 1 cup oat flour
- 1/2 cup plain unsweetened applesauce
- 1 tablespoon peanut butter
- 2 tablespoons beet puree (for natural color)
- 1 egg
Pro Tips
- Use natural coloring only—fresh or cooked beet puree gives a gentle pinkish-red hue without any artificial dyes.
- Chill the dough for 20 minutes before shaping to make it easier to roll into smooth ropes.
- Keep your shapes small for medium and small dogs to make chewing easier.
- Don’t overbake—remove when the treats are firm and lightly golden; they’ll harden as they cool.
- Store at room temperature only after the treats are completely dry to prevent moisture buildup.
Tools Required
- Mixing bowls
- Measuring cups and spoons
- Spatula or spoon
- Rolling surface or board
- Knife
- Baking sheet lined with parchment paper
- Cooling rack
Substitutions and Variations
- Flour: Use rice flour or coconut flour for a grain-free version (adjust moisture as needed).
- Beet puree: Substitute with blended strawberries, raspberries, or a few drops of dog-safe red food coloring made from natural sources.
- Peanut butter: Swap for pumpkin puree or sunflower seed butter if your dog has allergies.
- Applesauce: Replace with mashed banana or cooked pumpkin for a different flavor.
- Color twist: Add a green dough layer using spinach puree instead of beet for a red-and-green candy cane theme.
Make Ahead Tips
You can prepare both doughs up to two days in advance. Wrap tightly in plastic wrap and store in the refrigerator. When you’re ready to bake, let them sit at room temperature for a few minutes before rolling.
The baked treats store well, too—perfect for making a big batch before the holiday rush. They also make excellent homemade gifts for dog owners when packaged in small tins or tied treat bags.
Instructions
Step 1: Preheat and Prepare
Preheat your oven to 350°F (175°C). Line a baking sheet with parchment paper for easy cleanup.
Step 2: Make the White Dough
In a mixing bowl, combine the oat flour, applesauce, peanut butter, and egg. Stir until the dough forms a smooth, workable consistency. Add a few teaspoons of water if it feels too stiff.
Step 3: Make the Red Dough
In another bowl, mix oat flour, applesauce, peanut butter, beet puree, and egg. Stir until a smooth dough forms. The dough should be pliable but not sticky—add a little more flour if needed.
Step 4: Chill
Wrap each dough separately in plastic wrap and chill for about 20 minutes. This step makes the dough easier to handle and shape.
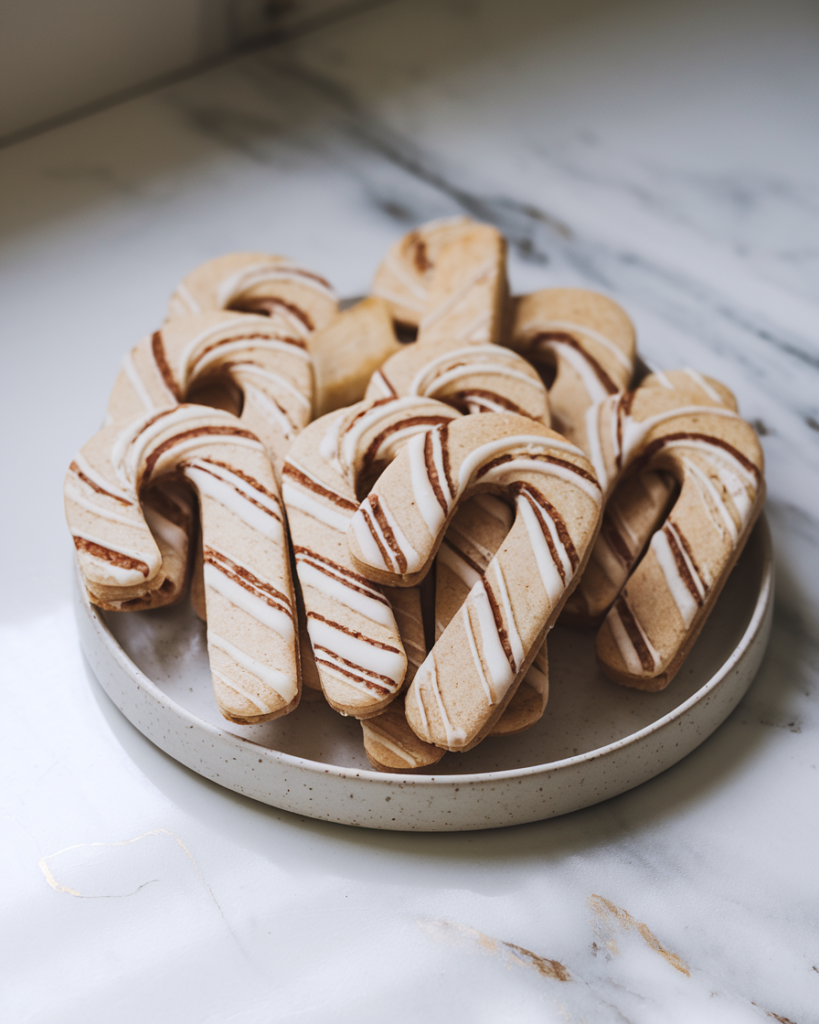
Step 5: Shape the Candy Canes
Roll a small piece of white dough into a thin rope about 5 inches long. Do the same with the red dough.
Lay the two ropes side by side, gently press together, and twist them to form a spiral pattern. Curve one end into a candy cane hook shape.
Repeat until all dough is used. Place each candy cane on the prepared baking sheet, spacing slightly apart.
Step 6: Bake
Bake for 20–25 minutes, or until firm and lightly golden. For crunchier treats, leave them in the oven for a few extra minutes after turning off the heat.
Step 7: Cool and Store
Allow the treats to cool on a wire rack completely. Once cooled, store in an airtight container or gift bag.
Serving Suggestions
- Offer one or two as a daily reward or after walks
- Use as stocking stuffers or homemade gifts for friends’ dogs
- Add them to your dog’s holiday treat jar for festive flair
- Pair with a dog-safe “holiday drink” like warm goat milk or bone broth
- Include them in holiday treat baskets for shelters or rescue organizations
Allergy-Friendly Substitutions
- Grain-free: Replace oat flour with coconut or almond flour (texture will vary slightly)
- Egg-free: Use a flax egg (1 tbsp ground flax + 3 tbsp water)
- Nut-free: Omit peanut butter and add 1 tablespoon of mashed banana for binding
- Fruit-free: Skip applesauce and replace with pumpkin puree
- Low-fat option: Reduce peanut butter and increase applesauce slightly
Leftovers and Storage
- Room temperature: Store in an airtight container for up to 1 week
- Refrigerator: Keeps for up to 2 weeks
- Freezer: Freeze for up to 3 months in a sealed container or bag
- Re-crisping: Refresh soft cookies by baking at 300°F for 5–7 minutes
To keep the colors bright, store in a cool, dry place away from sunlight.
Nutrition & Benefits
These festive treats are not just pretty—they’re full of wholesome nutrition. Applesauce adds natural sweetness and fiber, while oats provide gentle carbohydrates that are easy to digest. Beet puree offers vitamins and antioxidants for immune support and coat health. Peanut butter provides protein and healthy fats that keep dogs satisfied.
Unlike most holiday cookies, these are free from sugar, salt, and artificial colors, making them a safe, guilt-free treat for your dog.
Recipe FAQ
Q: Can I use canned beets for coloring?
A: Yes—just make sure they’re plain, unsalted, and not pickled. Blend them into a smooth puree before adding to the dough.
Q: Can I make these into other shapes?
A: Definitely! The same dough works for stars, hearts, or bones—just skip the twisting step.
Q: My dough cracked while twisting—what went wrong?
A: It may have been too dry. Add a teaspoon of water or applesauce to improve flexibility.
Q: Can I skip chilling the dough?
A: You can, but the ropes may break or lose shape more easily. Chilling helps the dough stay smooth.
Q: Are these safe for puppies?
A: Yes—these are gentle and natural, just make smaller candy canes for easy chewing.
Recipe Wrap-Up
These Candy Cane Shaped Dog Treats are a fun, festive way to celebrate the holidays with your furry friend. They’re pretty to look at, easy to make, and filled with ingredients you can feel good about. Whether you’re baking them for your own pup or sharing the holiday spirit with others, these treats bring joy to every wagging tail—and make your kitchen smell amazing, too.