There is something especially reassuring about making dog treats at home that serve a clear purpose while still feeling simple and familiar. When I prepare Homemade Dog Dental Treats, the process feels intentional and steady, focused on texture, shape, and routine rather than novelty.
It is not about replacing professional care, but about adding a thoughtful element to everyday habits.
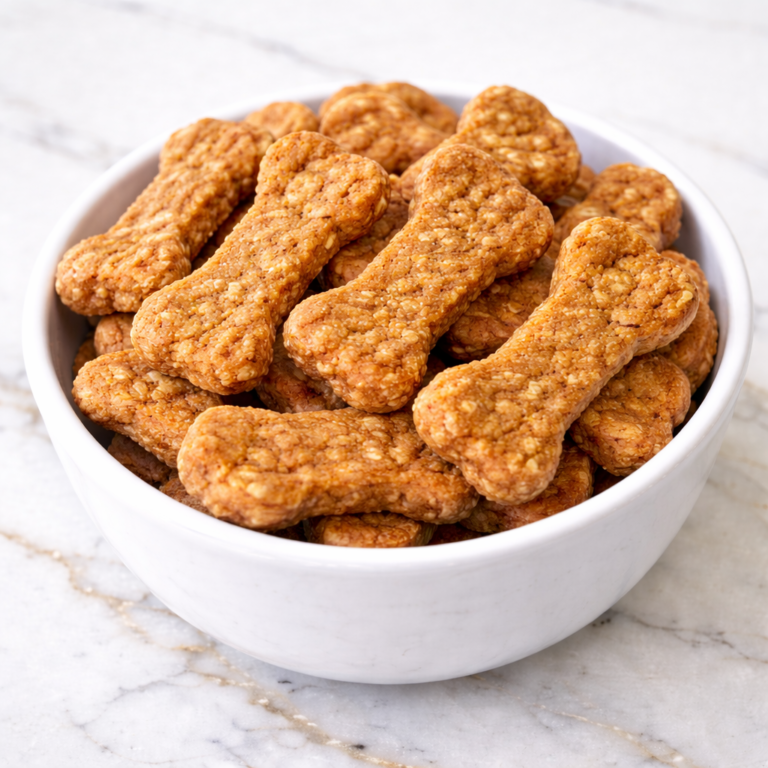
Dental-style treats have always stood out to me because they are meant to be chewed slowly and deliberately. That slower pace changes how dogs interact with treats, turning snack time into a calmer, more focused moment. Making them at home allows you to control the ingredients while paying close attention to firmness and shape.
I usually make these treats when I want something sturdy that lasts longer than a soft biscuit. They work well as part of an evening routine or quiet enrichment time, especially for dogs who enjoy chewing. The preparation feels purposeful, and the results are consistent when baked properly.
Homemade Dog Dental Treats fit naturally into a mindful approach to dog care. They are not meant to replace brushing or veterinary guidance, but to complement routine habits with something simple and homemade. More than anything, this recipe reflects consistency, patience, and thoughtful preparation.
Why This Recipe Is Great for Your Dog
This recipe is built around firm texture rather than softness. Dental-style treats are designed to encourage chewing, which naturally slows down treat time. Texture plays a central role in how these treats are used.
The ingredient list is simple and familiar, relying on pantry staples rather than specialty items. This makes preparation approachable and repeatable. Keeping ingredients minimal helps maintain clarity.
Preparation is straightforward, with no advanced techniques required. Mixing, shaping, and baking are the primary steps. The structure of the recipe makes it accessible even for beginners.
Dogs who enjoy chewing often respond well to these treats. The firmness gives them something to work on rather than consume quickly. This can make treat time feel calmer and more engaging.
Ingredients
- 3 cups oat flour
- 1 cup whole wheat flour
- 1 cup unsweetened applesauce
- 1 cup plain pumpkin purée
- 1 large egg
- ½ cup water
Tools You’ll Need
- Mixing bowls
- Measuring cups
- Measuring spoons
- Fork or whisk
- Silicone spatula
- Rolling pin
- Knife or dental-style cutter
- Baking sheet
- Parchment paper
- Cooling rack
Pro Tips
Firmness is key for dental-style treats. Roll the dough slightly thicker than standard biscuits to encourage chewing. Thickness directly affects texture.
Use plain, unsweetened applesauce and pure pumpkin purée only. Added sugars or spices are not appropriate. Always read labels carefully.
Allow the treats to bake fully and dry out slightly. Longer baking times at lower temperatures help create a firmer result. Monitor closely to avoid burning.
Cut treats into elongated or ridged shapes if possible. Shape can influence how dogs chew. Even simple stick shapes work well.
Let the treats cool completely and continue to firm up before storage. Texture improves as they cool. Patience matters.
How Long This Recipe Takes
Preparation time for homemade dental treats is calm and manageable. Mixing the dough and shaping the treats usually takes about thirty minutes. Working slowly helps ensure consistent thickness.
Baking time is longer than soft treats. Expect about forty to fifty minutes total, sometimes followed by additional drying time with the oven turned off. This helps achieve firmness.
Cooling time should not be skipped. Allow at least forty-five minutes for treats to cool completely. From start to finish, plan for about two hours.
Make-Ahead Tips
These treats are excellent for make-ahead preparation. Their firm texture helps them store well when baked thoroughly. Making a batch in advance supports routine.
Once cooled, treats can be stored in an airtight container at room temperature for short periods. Refrigeration can extend freshness, especially in warm climates.
Freezing is also an option for longer storage. Freeze fully cooled treats in airtight containers. Thaw at room temperature before serving.
Avoid stacking treats while they are still warm. Trapped heat can cause moisture buildup. Always cool completely before storage.
Step-by-Step Instructions
Step 1: Preheat the Oven
Preheat your oven to 325°F (165°C). Line a baking sheet with parchment paper and set aside.
Step 2: Mix Wet Ingredients
In a large mixing bowl, combine the applesauce, pumpkin purée, egg, and water. Stir until smooth and evenly blended.
Step 3: Add Dry Ingredients
Gradually add the oat flour and whole wheat flour to the wet mixture. Stir until a thick, sturdy dough forms.
Step 4: Adjust Dough Consistency
If the dough feels too dry, add water one tablespoon at a time. If too sticky, add a small amount of flour. Adjust slowly.
Step 5: Roll Out the Dough
Lightly flour a work surface. Roll the dough to about one-half inch thickness for firm treats.
Step 6: Cut the Treats
Cut the dough into long strips, sticks, or simple dental-style shapes. Place them on the prepared baking sheet with spacing.
Step 7: Bake
Bake for forty to fifty minutes until the treats feel firm and dry to the touch. Turn trays halfway through for even baking.
Step 8: Optional Drying
For extra firmness, turn off the oven and leave the treats inside with the door slightly open for an additional twenty minutes.
Step 9: Cool Completely
Remove the treats and place them on a cooling rack. Allow them to cool fully before serving or storing.
Nutritional Notes for Dogs
These treats are intended as occasional chew-style rewards rather than daily food. They add variety without replacing balanced meals. Portion size matters.
The ingredients provide structure and texture rather than richness. The focus is on chewing experience rather than flavor intensity. Moderation is important.
Every dog has different chewing habits. Introduce these treats gradually and observe how your dog handles the texture. Adjust size as needed.
Ingredient Swaps and Variations
- Flour swap: Use all oat flour instead of whole wheat if preferred.
- Egg-free: Replace egg with additional applesauce for binding.
- Texture change: Roll thicker for longer chewing or thinner for easier bites.
- Shape variation: Cut into sticks, twists, or flat strips.
- Mini version: Make shorter pieces for smaller dogs.
How to Serve Safely
Serve dental treats in sizes appropriate for your dog’s size and chewing style. Larger dogs can handle thicker pieces, while smaller dogs need smaller portions.
Always supervise when offering firm or chew-style treats. Observe how your dog chews and adjust size if needed. Supervision matters.
These treats are best offered during calm moments rather than high-energy play. Chewing works best in relaxed settings.
Avoid offering multiple dental treats in one day. Balance treat intake with overall feeding routines.
Common Mistakes to Avoid
Baking at too high a temperature can cause the outside to harden too quickly while the inside remains soft. Low and slow baking works best.
Skipping drying time can result in treats that soften during storage. Allow full baking and cooling. Texture depends on patience.
Cutting treats too small can reduce chewing time. Dental treats work best when dogs need to chew deliberately.
Storing treats before they are fully cooled can trap moisture. Always cool completely. Proper handling protects shelf life.
Overfeeding chew-style treats can disrupt balance. Treats should remain occasional. Portion control matters.
Storage and Freshness Tips
Store fully cooled dental treats in an airtight container at room temperature for up to one week. Refrigeration extends freshness to two weeks.
Frozen dental treats can last up to three months. Label containers with dates. Thaw at room temperature before serving.
Discard treats that develop mold, unusual odor, or softness. Firm texture should remain consistent.
Avoid storing treats in humid environments. Dry conditions help maintain firmness.
FAQs
Can puppies eat homemade dental treats
Puppies can have very small pieces if chewing skills are appropriate. Supervise closely and adjust size carefully.
How often can I give dental treats
Dental treats should be given occasionally, not daily. Balance supports healthy routines.
Are these treats a replacement for brushing
These treats do not replace brushing or professional care. They are a supplemental option only.
Can I make these treats softer
Yes, bake for a shorter time or roll thinner for a softer texture. Texture is adjustable.
Do these treats need refrigeration
Room temperature storage is fine for short periods. Refrigeration extends freshness.
Can I freeze dental treats
Yes, freezing works well for long-term storage. Thaw fully before serving.
How do I know they are firm enough
Treats should feel dry and firm throughout. They should not bend easily when cooled.
Ready to Make Thoughtful, Chew-Style Treats at Home
Homemade Dog Dental Treats offer a simple, intentional way to add variety to your dog’s routine while focusing on texture and chewing. With familiar ingredients, straightforward steps, and flexible shaping, they fit naturally into everyday care.
Whether used occasionally or as part of a calm routine, these treats reflect patience, consistency, and the comfort of homemade preparation.