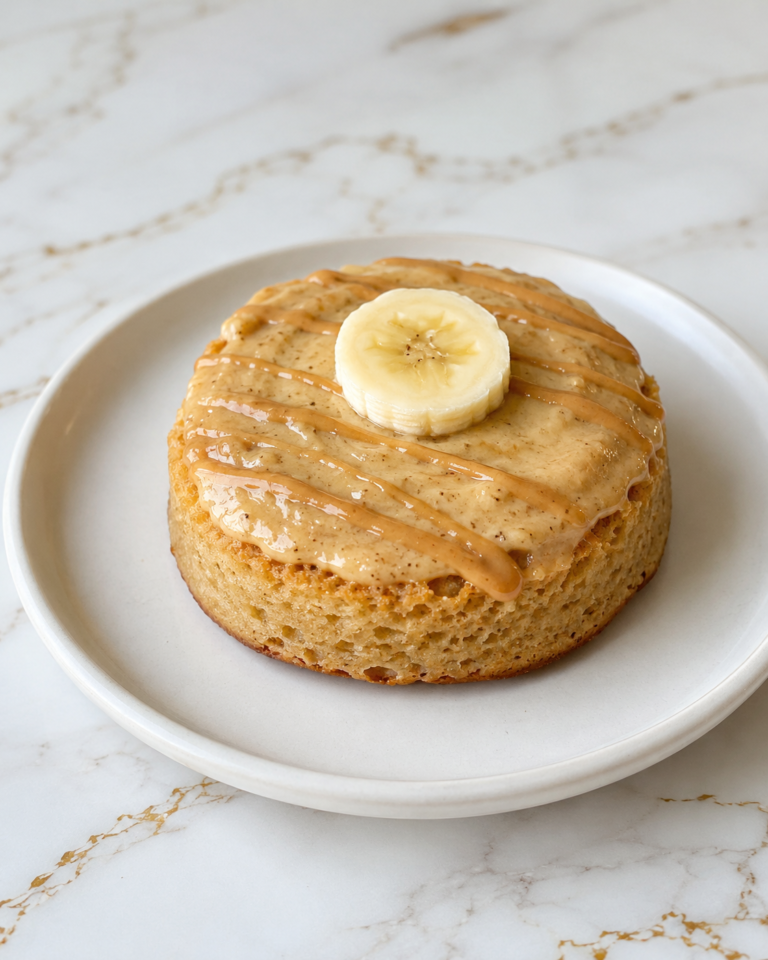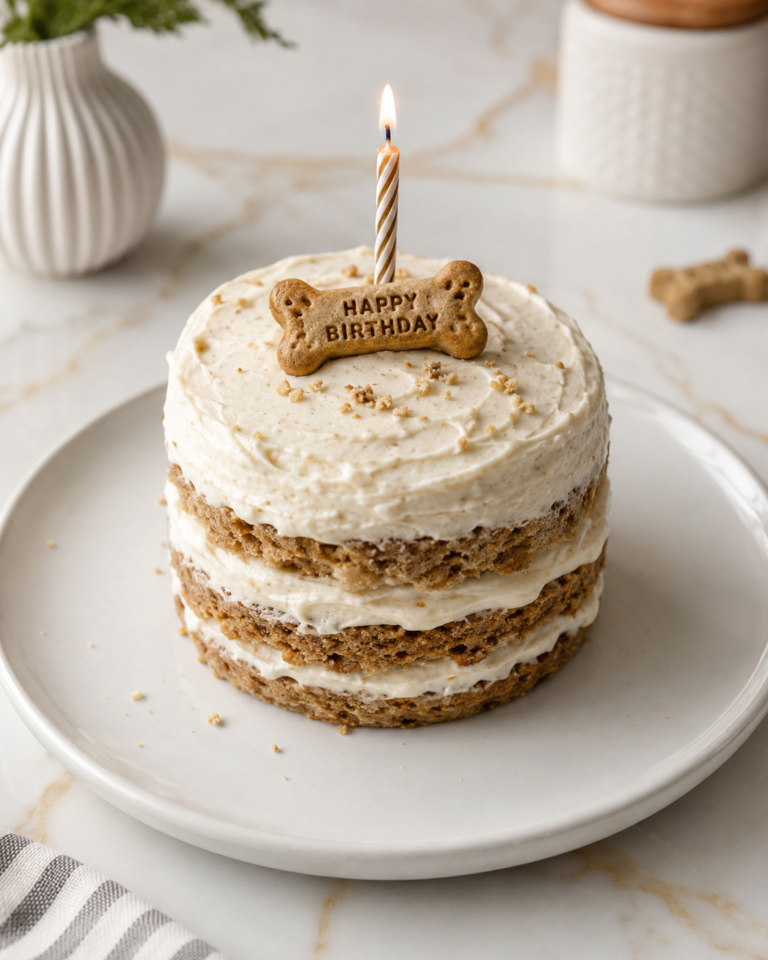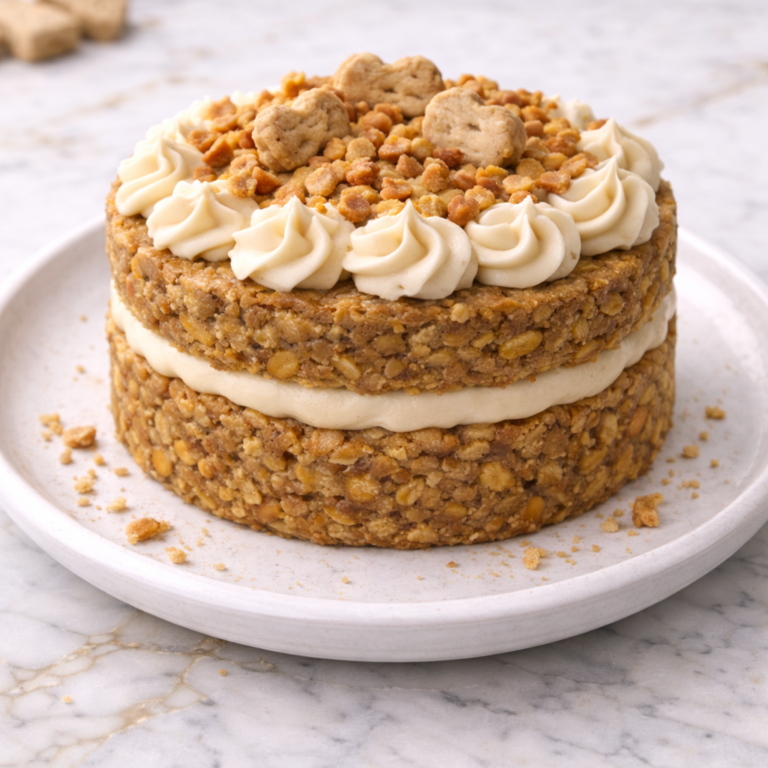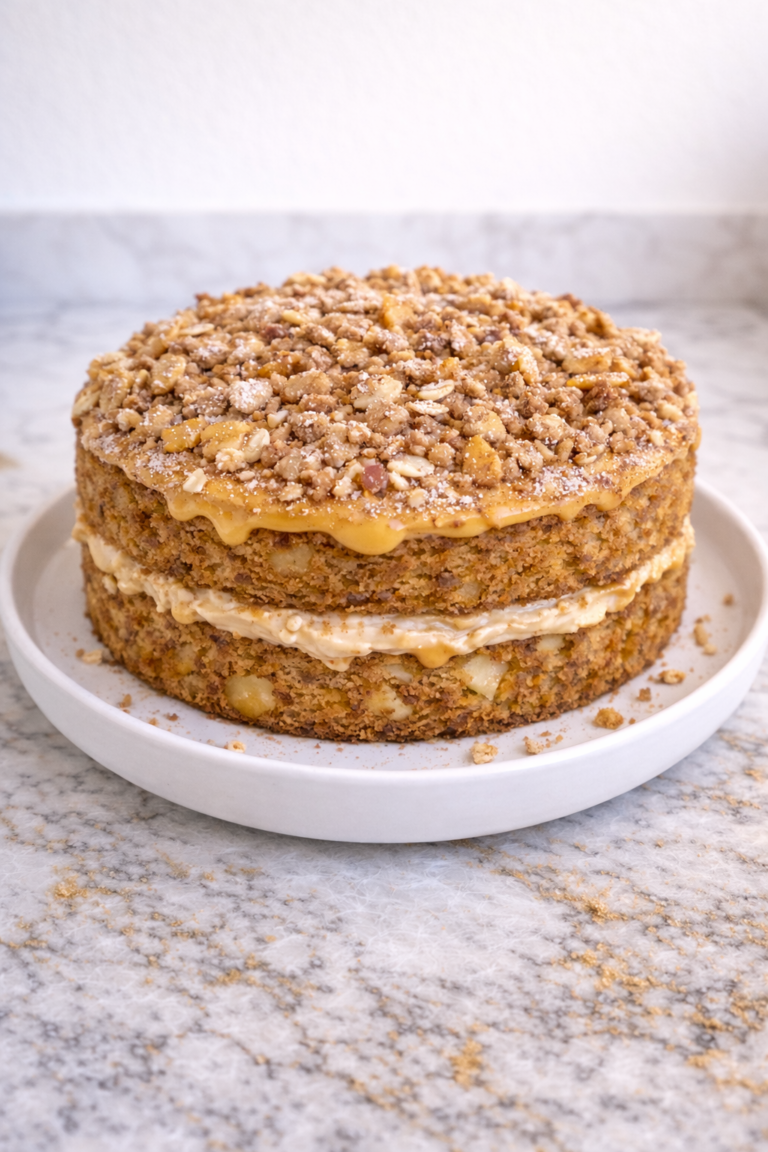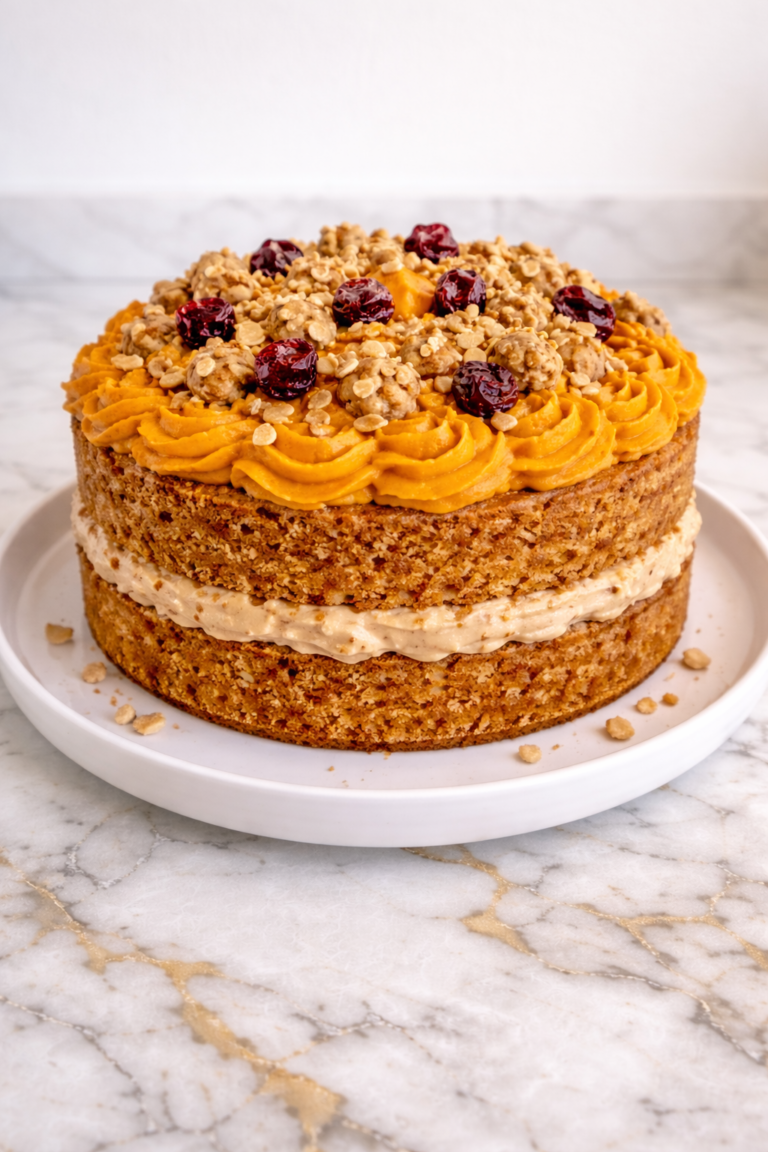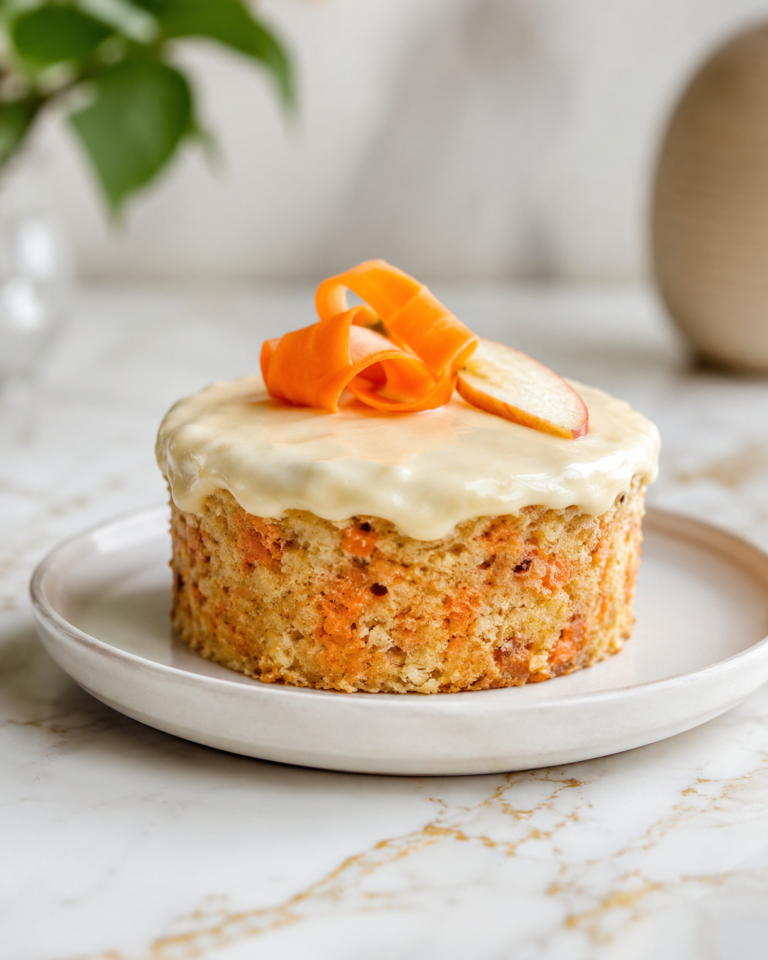

I enjoy preparing a homemade chicken dog cake because it feels hearty, simple, and thoughtfully made for dogs who enjoy savory treats. Chicken gives this cake a familiar aroma, while the soft texture makes it easy to slice into small portions.
This recipe feels special because it is made specifically for dogs rather than adapted from a sweet human cake. It avoids added sugar, chocolate, raisins, onions, garlic, and artificial sweeteners while still creating a small cake that feels celebratory.
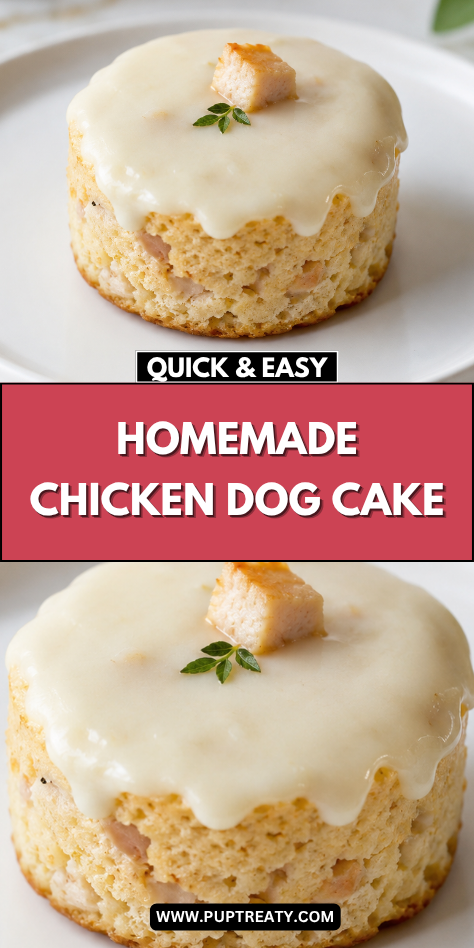
A homemade chicken dog cake fits naturally into birthdays, adoption days, quiet weekends, or simple family moments. It is not meant to replace balanced meals, but it can be served occasionally as a complementary homemade treat.
I like that this cake uses plain cooked chicken and gentle pantry ingredients to create a soft, savory crumb. The recipe is practical, portion-friendly, and easy to prepare with basic kitchen tools.
There is also a calm, caring rhythm in cooking and shredding the chicken before mixing the batter. Those small preparation steps make the cake feel intentional and turn an everyday ingredient into a thoughtful treat for your dog.
Why This Recipe Is Great for Your Dog
This recipe uses simple, dog-appropriate ingredients that are easy to recognize and measure. Plain cooked chicken, oat flour, egg, pumpkin puree, and a small amount of applesauce create a soft cake without unnecessary extras.
The chicken is cooked plain and finely shredded so it blends evenly into the batter. This helps create a tender texture without large pieces that could make slicing uneven.
The finished cake is soft, lightly moist, and easy to portion after cooling. It is gentler than a crunchy biscuit but still sturdy enough to hold together when cut into small pieces.
For home cooks, this recipe is approachable and steady. The only extra step is preparing plain chicken, and the rest of the cake comes together with a bowl, spoon, whisk, and small baking pan.
Dogs often enjoy savory chicken treats because the aroma is familiar and appealing. The pumpkin and oat flour help create a soft cake texture, while the chicken keeps the flavor simple and comforting.
This cake is also flexible for different serving needs. You can bake it as one small cake, divide it into mini cakes, or cut it into tiny squares after it cools completely.
Ingredients
- 1/2 cup plain cooked chicken breast, finely shredded
- 3/4 cup oat flour
- 1 teaspoon baking powder
- 1 large egg
- 1/4 cup pure pumpkin puree
- 2 tablespoons unsweetened applesauce
- 2 tablespoons low-sodium chicken broth
- 2 tablespoons plain unsweetened Greek yogurt
Tools You’ll Need
- Measuring cups
- Measuring spoons
- Medium mixing bowl
- Small mixing bowl
- Fork or whisk
- Wooden spoon or silicone spatula
- Cutting board
- Knife
- Small saucepan or baking dish for cooking chicken
- Two forks for shredding chicken
- 6-inch round cake pan
- Parchment paper
- Nonstick cooking spray or a small amount of oil
- Baking sheet
- Toothpick
- Wire cooling rack
- Small offset spatula or spoon
- Airtight storage container
- Freezer-safe container or bag
Pro Tips
Use plain cooked chicken with no seasoning, skin, or bones. Onion, garlic, salt-heavy seasonings, and rich sauces do not belong in this dog cake.
Shred the chicken finely before adding it to the batter. Smaller pieces mix more evenly and help the cake slice neatly after cooling.
Check the chicken carefully for bones or hard bits before mixing. Even when using boneless chicken breast, it is worth taking a moment to inspect it closely.
Keep the batter thick, soft, and spoonable. The pumpkin and broth add moisture, so the batter should not look loose or runny.
Let the cake cool completely before topping or slicing. Cooling helps the crumb settle and keeps the yogurt topping from becoming watery.
Serve modest portions based on your dog’s size and normal treat routine. Even a savory homemade cake should remain an occasional treat rather than a meal replacement.
How Long This Recipe Takes
Preparation takes about 20 to 25 minutes if you need to cook and shred the chicken first. If you already have plain cooked chicken ready, the batter can be mixed in about 10 to 15 minutes.
Baking usually takes about 24 to 30 minutes in a 6-inch round cake pan. The cake is ready when the center looks set and a toothpick inserted into the middle comes out clean.
Cooling takes at least 30 minutes before adding the yogurt topping or slicing. This resting time helps the soft cake firm slightly so it can be cut into neat, small portions.
The full recipe takes about 1 hour to 1 hour and 30 minutes from start to finish, depending on whether the chicken is already cooked. Most of that time is hands-off while the cake bakes and cools.
Make-Ahead Tips
Homemade Chicken Dog Cake is easier to prepare when the chicken is cooked ahead of time. Plain cooked chicken breast can be cooled, shredded, and refrigerated in a covered container until you are ready to bake.
The cake itself can also be baked one day ahead for a calmer serving routine. Let it cool completely, then store it covered in the refrigerator until you are ready to top and serve it.
For the freshest finish, add the yogurt topping shortly before serving. This helps keep the topping smooth and prevents extra moisture from settling into the cake.
You can slice the cooled cake into small portions before refrigerating. Pre-cut pieces make serving easier and help keep portions consistent for different dogs.
This cake can also be frozen in individual slices. Wrap plain slices in parchment paper and place them in a freezer-safe airtight container or bag.
Thaw frozen slices in the refrigerator before serving. Avoid leaving topped or thawed cake at room temperature for long periods, especially because this cake contains chicken and is soft.
Step-by-Step Instructions
Step 1: Preheat the Oven
Preheat the oven to 350°F. Place the oven rack in the center position so the small cake bakes evenly.
Step 2: Prepare the Cake Pan
Line the bottom of a 6-inch round cake pan with parchment paper. Lightly grease the sides with nonstick cooking spray or a small amount of oil so the cake releases cleanly.
Step 3: Cook the Chicken
Cook plain boneless, skinless chicken breast until fully cooked through. Do not use seasoning, butter, oil, onion, garlic, or sauces.
Step 4: Shred the Chicken
Let the cooked chicken cool enough to handle safely. Shred it finely with two forks, then measure 1/2 cup and check carefully for any bones or hard pieces.
Step 5: Mix the Pumpkin and Applesauce
Add the pure pumpkin puree and unsweetened applesauce to a medium mixing bowl. Stir until the mixture looks smooth and evenly combined.
Step 6: Add the Egg
Crack the egg into the pumpkin mixture. Whisk or stir until the egg is fully blended and the mixture looks consistent.
Step 7: Add the Chicken Broth
Pour the low-sodium chicken broth into the bowl. Stir gently so the wet ingredients are evenly combined.
Step 8: Combine the Dry Ingredients
In a small bowl, stir together the oat flour and baking powder. Mixing them separately helps distribute the baking powder evenly through the cake.
Step 9: Make the Batter
Add the dry ingredients to the wet mixture. Stir gently with a wooden spoon or silicone spatula until a thick, soft batter forms.
Step 10: Fold in the Chicken
Add the finely shredded chicken to the batter. Fold it in slowly so the chicken is evenly distributed throughout the cake.
Step 11: Check the Texture
The batter should be thick, moist, and spoonable. If it feels too stiff, add a small splash of low-sodium chicken broth and stir again.
Step 12: Fill the Cake Pan
Spoon the batter into the prepared cake pan. Smooth the top gently with a spatula so the cake bakes evenly.
Step 13: Bake the Cake
Place the cake pan on a baking sheet and transfer it to the oven. Bake for 24 to 30 minutes, or until a toothpick inserted into the center comes out clean.
Step 14: Cool in the Pan
Let the cake cool in the pan for about 10 minutes. This short rest helps the soft cake firm slightly before it is moved.
Step 15: Transfer to a Rack
Carefully turn the cake out onto a wire cooling rack. Remove the parchment paper and let the cake cool completely before adding the topping.
Step 16: Add the Yogurt Topping
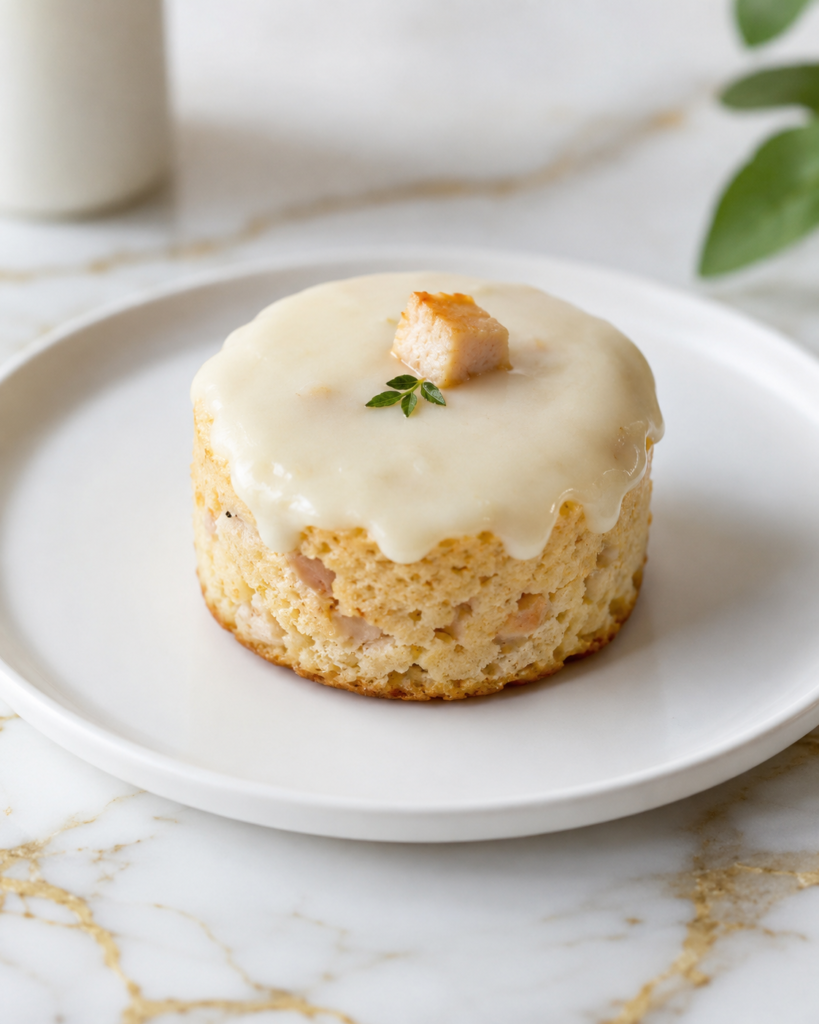
Spread the plain unsweetened Greek yogurt over the cooled cake in a thin, even layer. Keep the topping simple so the cake remains easy to slice, serve, and store.
Step 17: Slice Into Small Portions
Use a knife to cut the cake into small pieces based on your dog’s size. Serve one modest portion and store the remaining cake properly for later.
Nutritional Notes for Dogs
Homemade Chicken Dog Cake is intended as a complementary homemade treat, not as a replacement for your dog’s regular balanced food. It works best as an occasional serving for birthdays, adoption days, quiet weekends, or calm family moments.
Plain cooked chicken gives this cake its savory flavor and familiar aroma. It should be cooked without seasoning, skin, bones, onion, garlic, butter, oil, or heavy sauces.
Oat flour provides structure while keeping the crumb soft and sliceable. It helps the cake hold together after cooling without making the texture too firm.
Pumpkin puree adds moisture and helps create a tender cake texture. It should be plain pumpkin puree rather than pumpkin pie filling, which may contain sugar or spices.
Unsweetened applesauce adds a small amount of moisture and helps soften the batter. It should be plain and free from added sugar, spices, sweeteners, or extra flavorings.
The egg helps bind the ingredients together so the cake slices more cleanly. Low-sodium chicken broth adds savory moisture, but it should be plain and free from onion, garlic, or added seasonings.
The plain Greek yogurt topping is optional and should be used in a thin layer. Some dogs may be sensitive to dairy, so it is best to serve a small portion first and observe how your dog responds.
Moderation is important with any cake-style dog treat. A small slice can feel special while your dog’s regular food remains the main part of daily nutrition.
Ingredient Swaps and Variations
Dairy-free: Skip the Greek yogurt topping or use a small amount of plain unsweetened coconut yogurt with no xylitol, added sugar, or unsafe sweeteners.
Grain-free: Replace the oat flour with chickpea flour, starting with slightly less and adding more only if the batter needs thickening.
Flavor variation: Add 1 tablespoon of finely grated carrot to the batter for a mild flavor change and a little extra texture.
Texture adjustment: Add 1 extra tablespoon of low-sodium chicken broth only if the batter feels too thick, or bake a few minutes longer if the center needs more time to set.
Mini version: Divide the batter into mini muffin cups or small ramekins and begin checking early because smaller cakes bake faster.
How to Serve Safely
Serve Homemade Chicken Dog Cake in small portions based on your dog’s size, chewing style, and usual treat routine. A small dog may only need a bite-sized piece, while a larger dog may be able to enjoy a modest slice.
For toy breeds, cut the cake into tiny squares rather than thick wedges. For medium and large dogs, keep slices modest and avoid offering extra pieces close together.
Supervise your dog while they eat, especially the first time this savory cake is served. The texture is soft, but watching your dog chew helps you decide whether the portion size is appropriate.
This cake is best suited for occasional moments rather than everyday snacking. It can be served for birthdays, adoption days, quiet family celebrations, or as a small homemade treat after a calm day.
If more than one dog is sharing the cake, portion each serving before placing it down. This helps prevent fast eating and keeps each dog’s serving appropriate.
Keep moderation in mind for the rest of the day. A slice of dog cake should count as part of your dog’s overall treat intake, even when it is made with simple homemade ingredients.
Common Mistakes to Avoid
Using seasoned chicken is one of the most important mistakes to avoid. Cook the chicken plain, without salt-heavy seasoning, onion, garlic, butter, oil, sauces, or spice blends.
Forgetting to check for bones can create a safety concern. Even if you use boneless chicken breast, inspect the cooked and shredded chicken carefully before adding it to the batter.
Leaving the chicken in large chunks can make the cake harder to slice neatly. Shred the chicken finely so it distributes evenly through the batter and creates a more consistent texture.
Using chicken broth with onion or garlic is another common issue. Choose low-sodium broth and read the label carefully to make sure it is plain and dog-appropriate.
Adding too much broth can make the batter loose and difficult to bake evenly. Add extra broth only if the batter feels too stiff, and use small amounts at a time.
Underbaking can leave the center too wet to slice cleanly. Check the middle with a toothpick and return the cake to the oven for a few more minutes if needed.
Adding yogurt topping before the cake cools can make the topping watery. Let the cake cool completely on a wire rack before spreading yogurt over the top.
Storage and Freshness Tips
Homemade Chicken Dog Cake should not be stored at room temperature for long because it contains cooked chicken, egg, and moisture-rich ingredients. A plain, fully cooled cake can sit out briefly for serving, but leftovers should be refrigerated promptly.
Store leftover cake in an airtight container in the refrigerator for up to 3 days. If the cake has yogurt topping, keep it chilled and return leftovers to the refrigerator soon after serving.
For longer storage, freeze the cake in individual portions. Wrap plain slices in parchment paper and place them in a freezer-safe container or bag.
Frozen slices are best used within 1 to 2 months. They may stay frozen longer, but the texture, flavor, and freshness can decline over time.
Thaw frozen slices in the refrigerator before serving. Avoid thawing topped cake on the counter for long periods because the yogurt can soften and become watery.
For the best freezer results, freeze the cake without the yogurt topping. Add a thin layer of fresh yogurt after thawing if you want the cake to have a simple finished look.
Discard any cake that develops mold, a sour smell, slimy topping, excess moisture, discoloration, or an unusual texture. Because this cake contains chicken, it is especially important to be careful with freshness and storage.
FAQs
Can dogs eat chicken cake?
Dogs can have a small serving of chicken dog cake when it is made with plain, dog-appropriate ingredients. This recipe avoids added sugar, chocolate, raisins, onions, garlic, and artificial sweeteners.
What kind of chicken should I use?
Use plain boneless, skinless chicken breast that has been fully cooked. Do not use seasoned, fried, sauced, or rotisserie chicken unless you can confirm it contains no unsafe seasonings.
Can I use canned chicken?
You can use canned chicken only if it is plain, low-sodium, and packed without onion, garlic, or seasoning. Drain it well and shred it finely before adding it to the batter.
Can I make this cake without yogurt topping?
Yes, the cake can be served plain without any topping. This is often easiest for storage and better for dogs who do not tolerate dairy well.
Can I use whole wheat flour instead of oat flour?
Yes, whole wheat flour can be used in place of oat flour. The cake may be slightly firmer, but it should still bake into a sliceable texture.
How much cake should I serve?
Start with a very small piece, especially if your dog has not had these ingredients together before. Portion size should depend on your dog’s size, usual routine, and overall treat intake.
Can I bake this as pupcakes?
Yes, the batter can be divided into mini muffin cups or small ramekins. Begin checking early because smaller portions bake faster than one small cake.
A Savory Chicken Cake for Thoughtful Dog Moments
Homemade Chicken Dog Cake is a soft, savory homemade treat that brings plain cooked chicken and familiar ingredients together for calm celebrations. With careful chicken preparation, modest portions, and proper storage, it can fit naturally into birthdays, adoption days, or quiet moments shared with your dog.