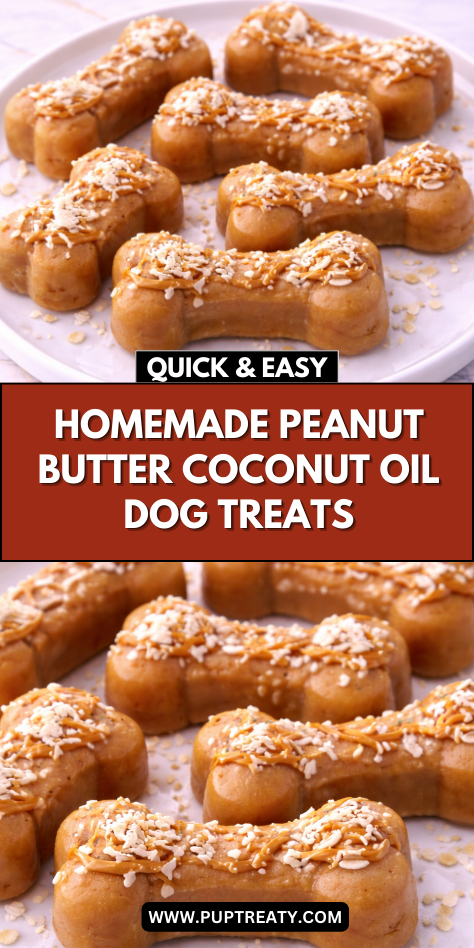
Preparing simple homemade treats has always felt like a natural extension of everyday care. These homemade peanut butter coconut oil dog treats are one of the easiest recipes I return to when I want something uncomplicated and dependable. The process is calm, straightforward, and easy to repeat.
I appreciate this recipe because it uses a short list of familiar, dog-safe ingredients. Peanut butter provides a rich base, while coconut oil helps create structure once chilled. Together, they form a smooth mixture that is easy to portion.
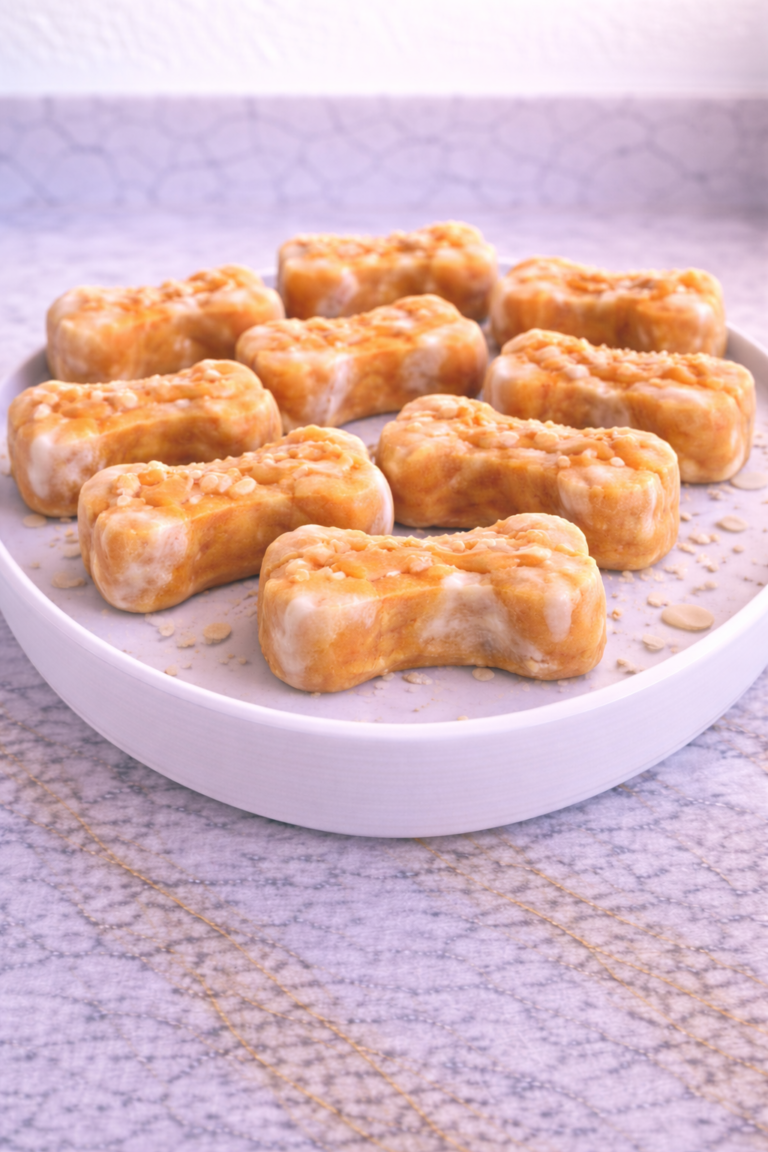
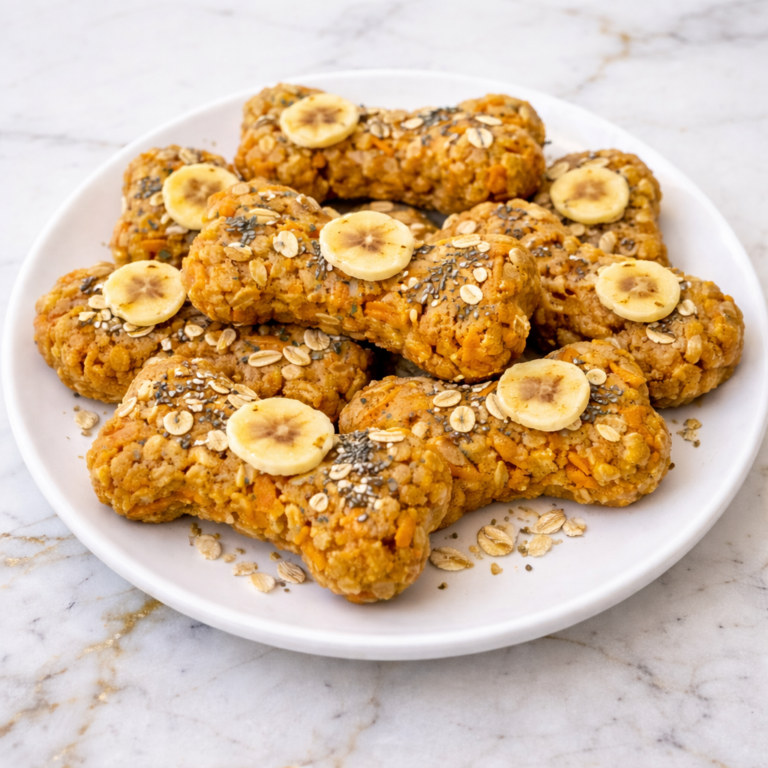
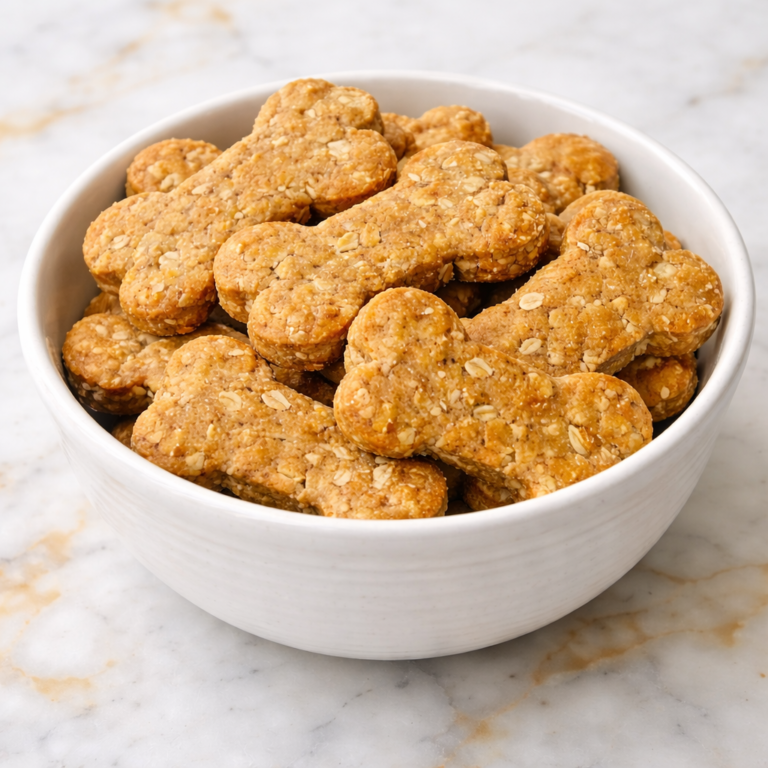
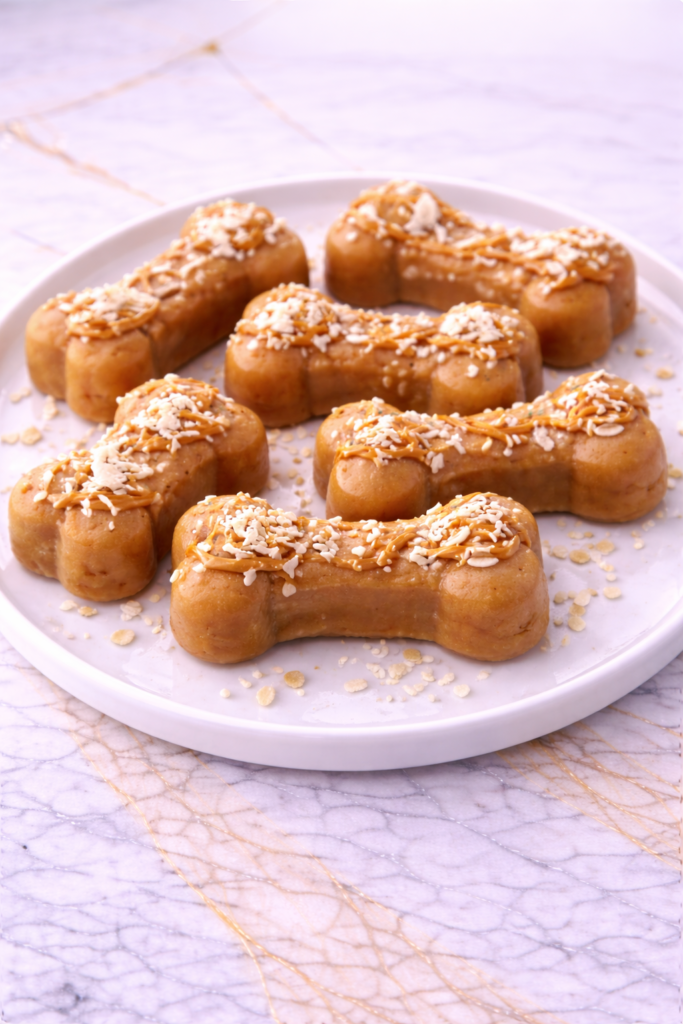
What makes these treats feel especially thoughtful is their firm yet slightly creamy texture after setting. They hold their shape well in small molds and can be broken into smaller pieces if needed. Each piece feels intentional and manageable.
Over time, this recipe has earned a steady place in our treat routine. I prepare a modest batch and store it carefully in the refrigerator or freezer, offering small portions occasionally alongside a complete and balanced diet. That steady approach supports moderation and predictability.
There is reassurance in carefully selecting natural peanut butter without artificial sweeteners. Choosing plain coconut oil without additives keeps the ingredient list simple. That attention to detail carries through to every small serving.
Because these treats require no baking, they are especially convenient during busy weeks. They set quietly in the refrigerator while you move on with your day. Practicality is what keeps this recipe in regular rotation.
Why This Recipe Is Great for Your Dog
The ingredient list for these treats is minimal and intentional. Peanut butter and coconut oil create the base, while a small dry ingredient adds structure. Keeping the formula simple makes preparation approachable.
From a texture standpoint, these treats are firm once chilled. Coconut oil solidifies in the refrigerator, helping the mixture hold its shape. The result is easy to handle and portion.
Peanut butter has a naturally appealing aroma that many dogs recognize immediately. When combined with coconut oil, the scent remains balanced and familiar. The flavor profile is steady and uncomplicated.
Preparation is calm and methodical. There is no need to monitor oven temperatures or baking times. The refrigerator does the work of firming the treats.
Because these treats are designed as occasional rewards, they fit comfortably into regular routines. A small piece can be offered in moderation without replacing balanced meals. That flexibility supports consistency.
The use of molds also makes portion control straightforward. Small, uniform shapes help maintain predictable treat habits. Controlled portions support steady routines.
Ingredients
- 1 cup natural peanut butter (unsalted, no xylitol)
- 1/4 cup melted coconut oil
- 1 cup rolled oats
- 1 tablespoon water
Tools You’ll Need
- Medium mixing bowl
- Wooden spoon or spatula
- Measuring cups
- Measuring spoons
- Microwave-safe bowl (for melting coconut oil)
- Silicone mold or small ice cube tray
- Baking sheet (to stabilize mold)
- Airtight storage container
- Refrigerator space
Pro Tips
Choose natural peanut butter that contains only peanuts and no artificial sweeteners. Always confirm that it does not contain xylitol.
Melt the coconut oil gently and allow it to cool slightly before mixing. This helps prevent separation.
Stir the mixture thoroughly to ensure even distribution of oats. Consistency supports uniform shaping.
If the mixture feels too thick, add water gradually in small amounts. Avoid adding too much at once.
Fill molds only slightly below the rim to prevent overflow. Even portions support consistent treat sizing.
Allow the treats to chill fully before removing from molds. Proper setting time helps them maintain structure.
How Long This Recipe Takes
Preparation typically takes about 10–15 minutes. This includes melting the coconut oil and mixing the ingredients.
Chilling time averages 45–60 minutes. The refrigerator firms the mixture without baking.
In total, the entire process takes about 1 hour and 15 minutes. Most of that time is hands-off while the treats set.
The pace is relaxed and uncomplicated. Planning ahead ensures the treats are ready when needed.
Once chilled and stored properly, these peanut butter coconut oil treats become a convenient addition to your dog’s occasional reward routine.
Make-Ahead Tips
These peanut butter coconut oil treats are especially convenient for preparing in advance. Mixing a full batch at once allows you to portion steady servings for days or weeks. Preparing ahead supports consistency and moderation in your treat routine.
After filling the molds, allow the treats to chill completely before transferring them to storage containers. Proper setting time helps them maintain their structure. This also prevents sticking when stacking.
The treats can be stored in the refrigerator for short-term use. For longer storage, freezing them helps preserve freshness and firmness. Smaller batches can be thawed gradually as needed.
When freezing, place the filled molds on a stable tray to prevent spills. Once fully solid, transfer the treats to an airtight freezer-safe container. This keeps them organized and easy to portion.
Avoid repeated thawing and refreezing. Remove only the number of treats you plan to use. Keeping the remaining pieces cold helps maintain quality.
Label containers with preparation dates to support freshness tracking. A predictable preparation schedule simplifies treat planning.
Step-by-Step Instructions
Step 1: Prepare the Coconut Oil
Measure 1/4 cup coconut oil and place it in a microwave-safe bowl. Warm gently in short intervals until fully melted.
Allow the melted coconut oil to cool slightly. It should be liquid but not hot.
Step 2: Measure the Peanut Butter
Scoop 1 cup natural peanut butter into a medium mixing bowl. Ensure it is unsalted and free from xylitol.
If the peanut butter is very firm, allow it to sit at room temperature briefly. This makes stirring easier.
Step 3: Combine Peanut Butter and Coconut Oil
Pour the slightly cooled melted coconut oil into the bowl with the peanut butter. Stir slowly to combine.
Mix thoroughly until the texture becomes smooth and uniform. Ensure there are no visible streaks.
Step 4: Add the Rolled Oats
Measure 1 cup rolled oats and add them to the bowl. Stir gently to incorporate evenly.
The oats provide structure and help the treats hold their shape once chilled.
Step 5: Adjust with Water
Add 1 tablespoon water gradually while stirring. This helps the mixture come together smoothly.
If needed, add a small additional splash. The mixture should be thick but workable.
Step 6: Check Consistency
Press a small portion of the mixture between your fingers. It should hold together without crumbling.
If too dry, add a small amount of water. If too soft, add a small spoonful of oats.
Step 7: Prepare the Molds
Place silicone molds or an ice cube tray on a baking sheet. This provides stability during transfer.
Ensure the molds are clean and dry before filling.
Step 8: Fill the Molds
Spoon the mixture into each cavity of the mold. Fill slightly below the rim for even shaping.
Press the mixture gently into place with the back of a spoon to remove air pockets.
Step 9: Chill Until Firm
Transfer the filled molds carefully to the refrigerator. Allow the treats to chill for 45–60 minutes until firm.
Avoid moving them during this time to maintain even structure.
Step 10: Remove and Store
Once fully set, gently remove the treats from the molds. Transfer them to an airtight storage container.
Seal tightly and store in the refrigerator or freezer as preferred.
Nutritional Notes for Dogs
Peanut butter provides a rich and familiar flavor base. Choosing natural varieties supports simple preparation.
Coconut oil helps create structure once chilled. It solidifies at cooler temperatures, supporting shape retention.
Rolled oats add body and help bind the ingredients together. They contribute to a manageable texture.
Water helps adjust consistency without introducing additional components. It ensures even mixing.
These treats are intended as occasional rewards alongside a complete and balanced diet. Offering them in moderation supports steady feeding routines.
Observing how your dog responds to new treats helps guide portioning decisions. A balanced approach keeps treat habits predictable and practical.
Ingredient Swaps and Variations
Dairy-free: This recipe is naturally dairy-free as written. No milk, cheese, or butter products are included in the ingredient list.
Grain-free: Replace the 1 cup rolled oats with 1/2 cup unsweetened pumpkin puree and 1/2 cup finely ground coconut flakes. Chill thoroughly to ensure the mixture firms properly.
Flavor variation: Add 1 tablespoon unsweetened applesauce or 1 tablespoon finely grated carrot for a subtle flavor change. Stir thoroughly to maintain even consistency.
Texture adjustment: For firmer treats, add 1–2 tablespoons additional rolled oats. For a slightly softer texture, reduce the oats by 1–2 tablespoons and mix thoroughly.
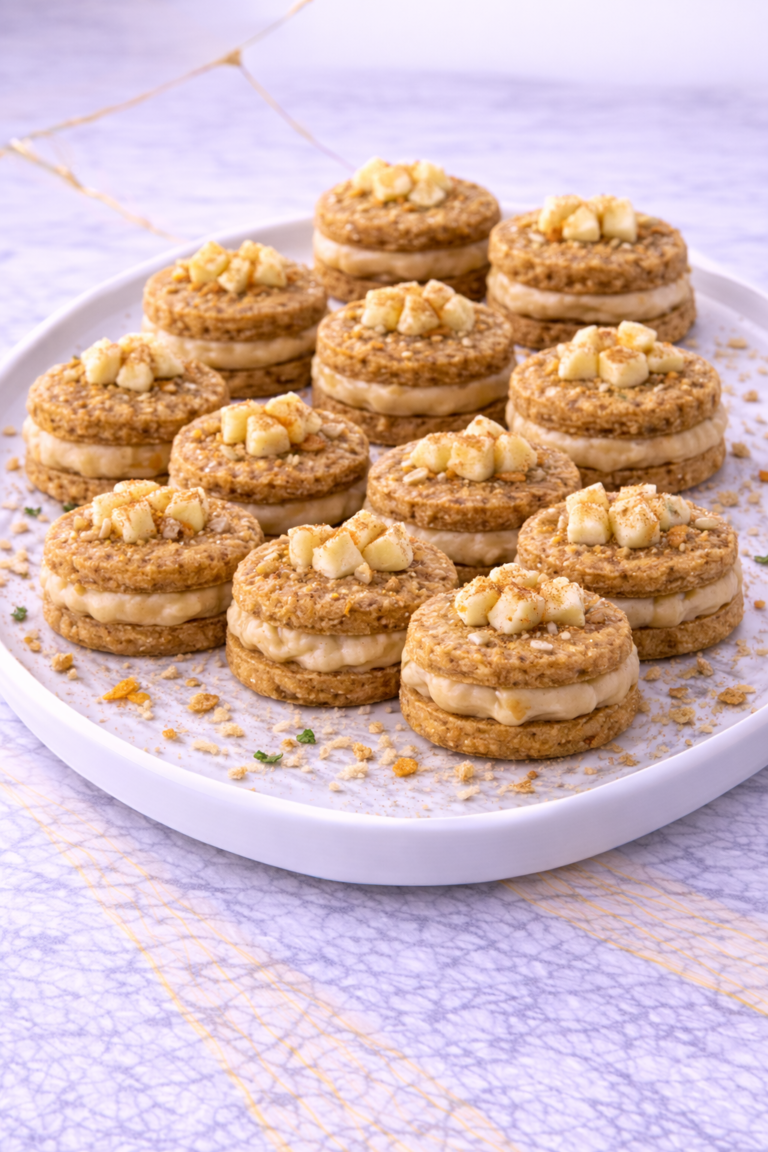
Mini version: Use mini silicone molds or very small ice cube trays to create bite-sized portions. Smaller pieces are convenient for training rewards and easier portion control.
How to Serve Safely
Serve these peanut butter coconut oil treats in portions appropriate for your dog’s size. Smaller dogs may need only one small piece, while larger dogs can enjoy a slightly larger portion.
Always supervise your dog while offering treats. Observing chewing habits helps ensure the texture is manageable.
These treats are designed as occasional rewards and should complement a complete and balanced diet. Keep portions modest to maintain routine consistency.
If the treats have been frozen, allow them to sit at room temperature briefly before serving. This softens the texture slightly.
Introduce new ingredients gradually if your dog has not had them before. A steady introduction allows you to observe tolerance and preference.
Common Mistakes to Avoid
Using peanut butter that contains artificial sweeteners can introduce unsafe ingredients. Always read labels carefully and confirm there is no xylitol.
Overheating the coconut oil can cause separation when mixing. Melt gently and allow it to cool slightly before combining.
Adding too much water at once may prevent the mixture from setting properly. Adjust liquid gradually.
Skipping the chilling step can result in treats that do not hold their shape. Allow sufficient refrigeration time.
Making treats too large can disrupt portion balance. Keep sizes small and uniform for steady moderation.
Failing to store the treats in an airtight container can cause them to dry out or absorb odors. Proper storage supports freshness.
Storage and Freshness Tips
Store the fully chilled treats in an airtight container in the refrigerator for up to 1 week. Keep the container tightly sealed to preserve texture.
For longer storage, freeze treats for up to 2 months. Freeze in a single layer first before transferring to a container to prevent sticking.
Thaw frozen treats in the refrigerator overnight. Gradual thawing helps maintain consistency.
Before serving, check for any unusual odor, discoloration, or texture changes. Discard any treat that appears questionable.
Label containers with preparation dates to support organization. Clear tracking helps maintain steady freshness.
FAQs
Can I use crunchy peanut butter instead of smooth?
Yes, as long as it is natural and free from xylitol. The texture will be slightly more textured but still manageable.
Are these treats suitable for puppies?
They can be offered in small amounts to puppies already eating solid food. Adjust portion sizes and supervise carefully.
Can I skip the oats entirely?
You may substitute finely ground coconut flakes or a small amount of pumpkin puree. The texture will differ slightly.
How do I know if the treats are fully set?
They should feel firm to the touch and hold their shape when removed from the mold. The surface should not feel sticky.
Can I add other ingredients?
You may add a small amount of finely grated carrot or unsweetened applesauce. Keep additions minimal to maintain balance.
How often can I give these treats?
They are best offered occasionally as a complementary reward. Consistent moderation supports balanced routines.
What if my dog prefers softer treats?
Allow the treat to sit at room temperature briefly before serving. This softens the texture slightly.
A Simple Treat to Keep on Hand
These homemade peanut butter coconut oil dog treats offer a calm and practical way to include a homemade reward in your dog’s routine. With careful preparation and mindful portioning, they fit naturally alongside balanced meals without disrupting consistency.
Over time, simple recipes like this can become part of a steady rhythm of care. The recognizable ingredients and gentle preparation make them a dependable and adaptable addition to everyday bonding moments.