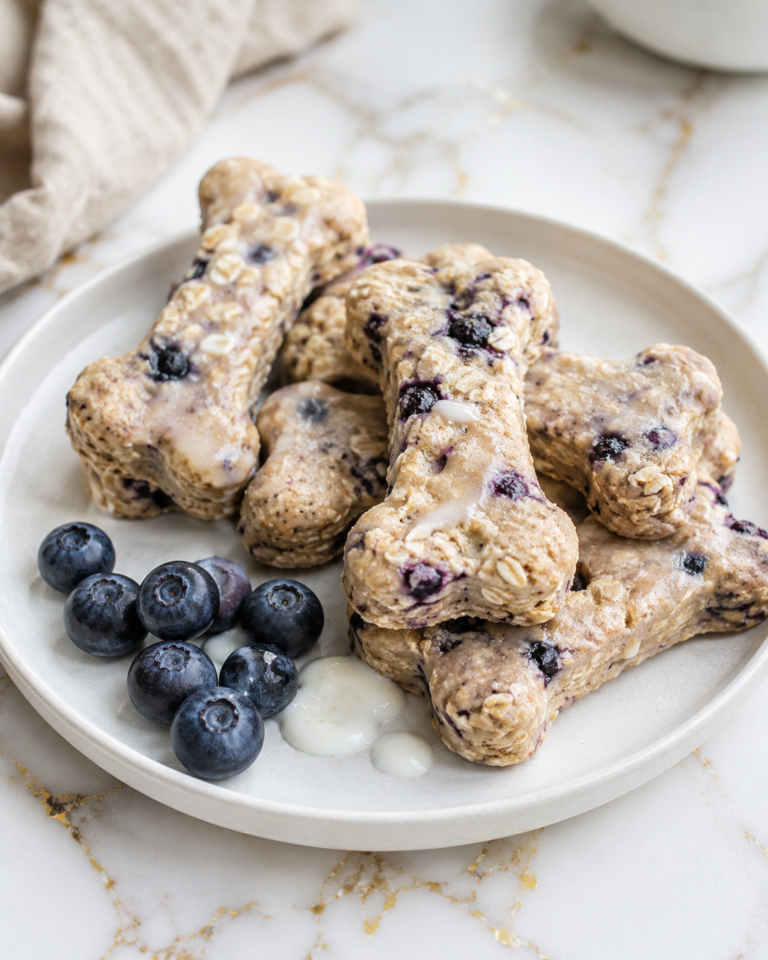
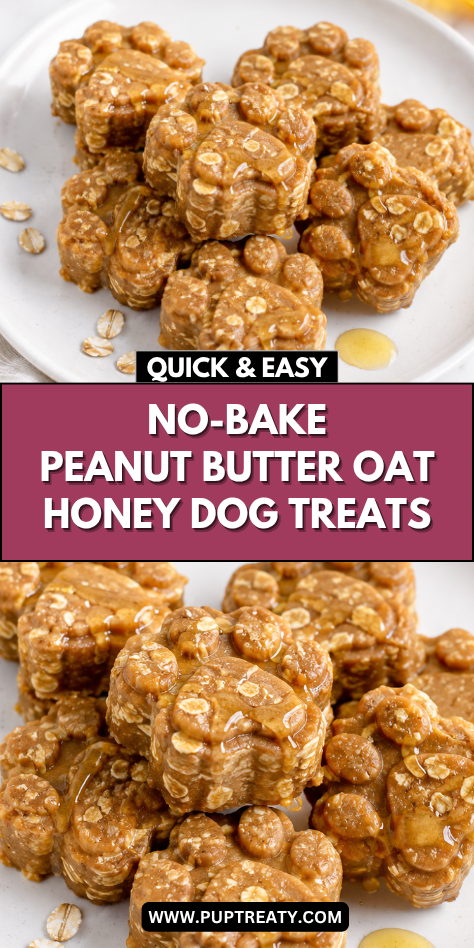
I enjoy making no-bake peanut butter, oat, and honey dog treats because they are simple, steady, and easy to prepare without turning on the oven. This kind of recipe feels especially helpful when I want to make something homemade but do not want a full baking project.
These treats feel thoughtful because they use familiar pantry ingredients in a soft, hand-shaped form. Peanut butter gives the mixture a rich aroma, oats create body and texture, and a small amount of honey helps bring the dough together.
I like recipes like this for everyday dog care because they can be portioned into small bites and stored for occasional use. A small homemade treat can fit naturally after a walk, during calm training practice, or as a quiet reward.
There is something comforting about mixing a simple dough by hand while your dog waits nearby with interest. Even without baking, the process can still feel like a small moment of care in the middle of an ordinary day.
These treats are meant to be a homemade complementary snack, not a complete diet replacement. They should be served in moderation and sized carefully for your dog’s age, size, chewing habits, and regular feeding routine.
Why This Recipe Is Great for Your Dog
This recipe uses simple, dog-appropriate ingredients that are easy to recognize. Old-fashioned oats, xylitol-free peanut butter, a little honey, and unsweetened applesauce come together into a soft mixture that is easy to shape.
The ingredients are familiar and manageable for home preparation. The peanut butter should be unsweetened and xylitol-free, while the honey should be used in a small measured amount.
The texture is soft and chewy rather than crisp. This makes the treats different from baked biscuits and helpful for dogs who prefer a gentler bite.
For home cooks, this recipe is very approachable. There is no baking time to watch, no dough to roll out, and no oven temperature to manage.
Dogs often enjoy the smell of peanut butter, and the oats give each treat a hearty texture. The honey adds a light sweetness, but it stays modest so the recipe remains practical for occasional serving.
This recipe also works well for careful portioning. The mixture can be rolled into small balls or pressed into tiny bites, making it easy to adjust servings for different dog sizes.
Ingredients
- 1 cup old-fashioned rolled oats
- 1/2 cup unsweetened xylitol-free peanut butter
- 2 tablespoons unsweetened applesauce
- 1 tablespoon honey
- 2 tablespoons oat flour
- 1 tablespoon water
Tools You’ll Need
- Mixing bowl
- Measuring cups
- Measuring spoons
- Wooden spoon or silicone spatula
- Fork
- Parchment paper
- Baking sheet
- Small cookie scoop or spoon
- Airtight storage container
- Freezer-safe bag or container
- Refrigerator
Pro Tips
Use peanut butter that is clearly xylitol-free and unsweetened. Check the label carefully, especially if you are using a new brand or a peanut butter spread made for people.
Keep the honey amount small and measured. It helps with flavor and binding, but these treats should not be overly sweet or sticky.
If the mixture feels too soft, add oat flour a little at a time. This helps firm the dough without making the treats too dry.
If the mixture feels crumbly, add water slowly in tiny amounts. A little liquid goes a long way in a no-bake dough, so stir well before adding more.
Shape the treats into small portions for easier serving. Tiny balls or flattened bites work well for small dogs and for dogs who do better with modest treat sizes.
Chill the treats before serving so they can firm up properly. No-bake treats need refrigerator time to hold their shape and develop a better texture.
How Long This Recipe Takes
Preparation usually takes about 10 to 15 minutes. Most of that time is spent measuring the ingredients, stirring the mixture, and shaping the treats into small portions.
Chilling usually takes about 30 to 45 minutes. This helps the oats absorb moisture and allows the treats to become firmer before serving or storing.
The full recipe takes about 45 to 60 minutes from start to finish. Most of the time is hands-off once the treats are shaped and placed in the refrigerator.
The pacing is calm and flexible. You can mix the treats quickly, let them chill while you handle other tasks, and then store them for occasional use.
Make-Ahead Tips
This recipe works well for make-ahead preparation because the treats do not need baking. You can mix and shape a batch in advance, then keep the treats chilled until serving time.
For short-term use, store the treats in an airtight container in the refrigerator. Keeping them cold helps maintain their shape and freshness.
For longer storage, freeze the treats in small portions. Place them in a single layer until firm, then transfer them to a freezer-safe bag or container.
Portioning before storage makes daily serving easier. Small treats are simple to count, thaw, and offer in moderation.
Thaw frozen treats in the refrigerator rather than on the counter. Once thawed, check the texture and smell before serving, and keep thawed treats refrigerated.
Step-by-Step Instructions
Step 1: Prepare the Work Area
Line a baking sheet with parchment paper. This gives you a clean surface for placing the shaped treats before chilling.
Set the baking sheet near your mixing area. Having it ready makes the shaping process smoother once the mixture comes together.
Step 2: Measure the Oats
Measure 1 cup of old-fashioned rolled oats and add them to a mixing bowl. Use plain oats with no flavorings, sweeteners, or added ingredients.
Stir the oats lightly with a fork to break up any clumps. This helps them mix more evenly with the peanut butter and applesauce.
Step 3: Add the Peanut Butter
Measure 1/2 cup of unsweetened xylitol-free peanut butter. Add it to the bowl with the oats.
Use a spoon or spatula to scrape the measuring cup well. The peanut butter is the main binder, so it should be fully included in the mixture.
Step 4: Add the Applesauce and Honey
Add 2 tablespoons of unsweetened applesauce to the bowl. Measure 1 tablespoon of honey and add it to the mixture.
Stir slowly so the wet ingredients begin coating the oats. The mixture will look thick and slightly sticky at this stage.
Step 5: Mix the Dough
Use a wooden spoon or silicone spatula to stir until the oats are evenly coated. Press the mixture against the side of the bowl as needed to help the peanut butter spread.
The dough should start to hold together when pressed. If dry oats remain at the bottom of the bowl, keep mixing before adding any extra liquid.
Step 6: Add the Oat Flour
Sprinkle 2 tablespoons of oat flour over the mixture. Stir until the oat flour is fully blended into the dough.
The oat flour helps absorb moisture and gives the treats a firmer texture. If the mixture still feels too sticky, let it rest for a few minutes before adjusting.
Step 7: Adjust the Consistency
Press a small amount of dough between your fingers. It should hold together without feeling runny or falling apart.
If the dough is too dry, add water a few drops at a time. If it is too soft, add a small pinch of oat flour and stir again.
Step 8: Shape the Treats
Use a small spoon or cookie scoop to portion the mixture. Roll each portion gently between your hands to form small balls.
You can also press the balls slightly flat for easier chewing. Keep the treats small and even so serving stays simple.
Step 9: Place on the Baking Sheet
Arrange the shaped treats on the parchment-lined baking sheet. Leave a little space between each one so they do not stick together while chilling.
Check the size of each treat as you place it on the sheet. Smaller, consistent portions are easier to store and serve.
Step 10: Chill Until Firm
Place the baking sheet in the refrigerator. Chill the treats for 30 to 45 minutes, or until they feel firm enough to handle.
The treats should hold their shape when picked up. If they still feel too soft, chill them a little longer before transferring them to storage.
Step 11: Transfer to Storage
Once firm, move the treats into an airtight container. Keep them in a single layer or separate layers with parchment paper if needed.
Store the container in the refrigerator for short-term use. For longer storage, place the treats in a freezer-safe bag or container and freeze in small portions.
Nutritional Notes for Dogs
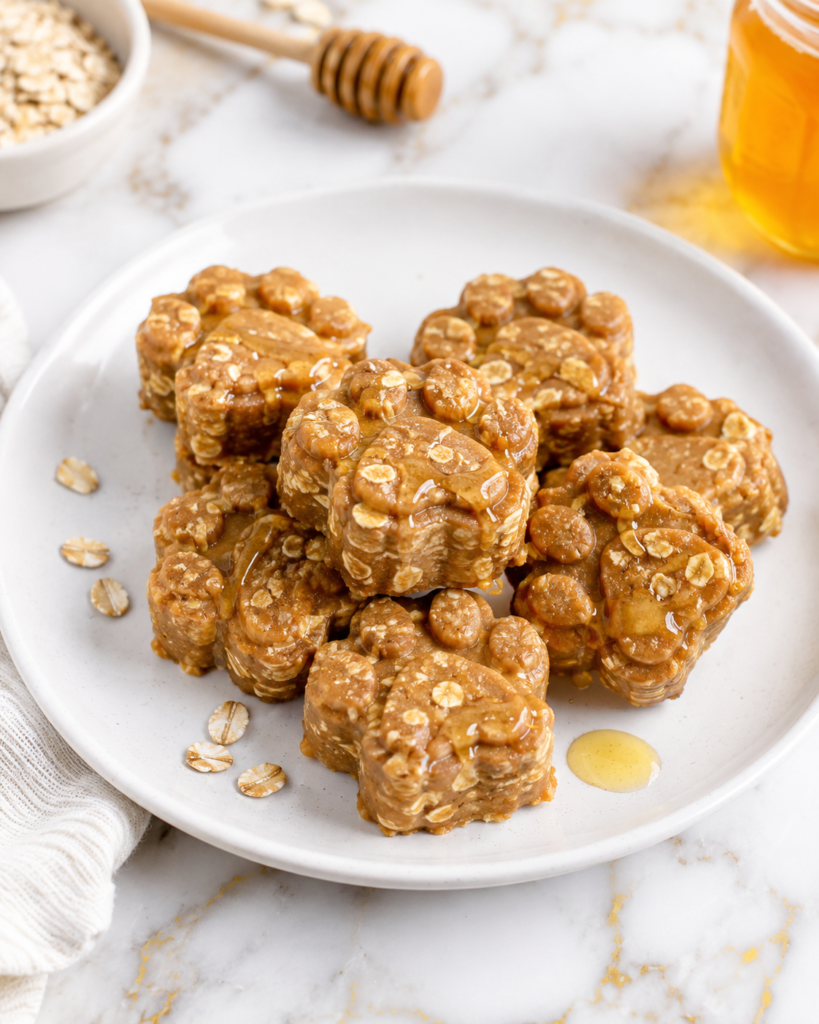
No-Bake Peanut Butter Oat and Honey Dog Treats are made with simple ingredients that create a soft, chewy homemade snack. The oats and oat flour give the treats structure, while peanut butter, applesauce, and honey help bind the mixture together.
Old-fashioned rolled oats provide a hearty base and a pleasant chew once the treats have chilled. They also help absorb moisture from the peanut butter and applesauce so the mixture can hold its shape.
Peanut butter gives these treats their familiar aroma and rich texture. It should always be unsweetened and clearly xylitol-free, with no chocolate, flavored blends, or unsafe sweeteners.
Unsweetened applesauce adds moisture without making the mixture too heavy. It helps soften the oats and keeps the no-bake dough easier to shape into small portions.
Honey is included in a small measured amount. It helps with flavor and binding, but the recipe keeps it modest so the treats remain appropriate as an occasional snack.
These treats are best served as a complementary homemade treat, not a replacement for regular meals. They should fit into your dog’s usual feeding routine in small amounts and with careful portioning.
Moderation is especially important because peanut butter and honey make these treats more calorie-dense than they may appear. Small pieces help keep the recipe practical while still giving your dog a homemade snack to enjoy.
Ingredient Swaps and Variations
Dairy-free: This recipe is naturally dairy-free as written because it does not include milk, yogurt, butter, or cheese. Keep it dairy-free by avoiding creamy toppings or dairy-based add-ins.
Grain-free: Replace the rolled oats and oat flour with finely ground unsweetened coconut flakes and a small amount of chickpea flour, adding slowly until the mixture holds together. The texture will be different and may be more delicate, so shape the treats gently.
Flavor variation: Replace the applesauce with plain pumpkin puree for a slightly earthier flavor. Add it gradually so the no-bake mixture does not become too soft.
Texture adjustment: Add a little more oat flour for a firmer treat or a few drops of water for a softer dough. Chill longer if the treats need extra help holding their shape.
Mini version: Roll the mixture into tiny pea-sized or marble-sized bites for small dogs or training-style rewards. Smaller pieces are easier to serve in moderation and thaw more quickly if frozen.
How to Serve Safely
Serve these treats in portions that match your dog’s size, chewing style, and regular diet. Small dogs may only need one tiny bite, while larger dogs may be able to enjoy a slightly bigger piece.
Offer a small amount the first time your dog tries this recipe. This gives you time to observe how your dog handles the soft texture and the combination of oats, peanut butter, applesauce, and honey.
Supervise your dog while eating, especially if the treats are rolled into round balls. Flattening the treats slightly can make them easier for some dogs to chew.
These treats are suitable for occasional rewards, quiet snack moments, or calm training practice. Because they are soft and rich, they work best as small portions rather than frequent large treats.
Keep moderation in mind every time you serve them. Peanut butter and honey can make a treat feel satisfying, so a little usually goes a long way.
Serve the treats cold from the refrigerator or slightly softened after a short rest at room temperature. Do not leave them out for long periods because the soft texture and moist ingredients are better kept chilled.
Common Mistakes to Avoid
Using peanut butter without checking the label is an important mistake to avoid. Choose unsweetened peanut butter that is clearly xylitol-free, and avoid flavored spreads, chocolate blends, or sweetened varieties.
Adding too much honey can make the mixture sticky and overly sweet. Measure carefully and keep the amount small so the treats stay balanced as an occasional snack.
Skipping the oat flour can leave the dough too soft to shape. The oat flour helps absorb moisture and gives the treats a firmer structure after chilling.
Adding too much water can make the mixture loose and difficult to roll. Add water only a few drops at a time, and stir well before deciding whether more is needed.
Making the treats too large can make portioning harder. Shape small bites from the beginning so serving stays simple and appropriate for different dog sizes.
Skipping the chilling time can cause the treats to fall apart. Give them at least 30 to 45 minutes in the refrigerator so the oats can absorb moisture and the mixture can firm up.
Storing the treats at room temperature for too long can affect freshness. Keep them refrigerated or frozen, and discard any that smell off or develop an unusual texture.
Storage and Freshness Tips
Room-temperature storage is not the best choice for these no-bake treats. Because they contain moist ingredients and are not baked, they should be stored in the refrigerator or freezer.
For short-term storage, place the chilled treats in an airtight container and keep them in the refrigerator. Use them within 5 to 7 days for the best freshness and texture.
If the treats are stacked, place parchment paper between layers. This helps prevent sticking, especially if the dough is on the softer side.
For longer storage, freeze the treats in small portions. Place them on a parchment-lined tray until firm, then transfer them to a freezer-safe bag or container.
Frozen treats are best used within 2 to 3 months for quality. Label the container with the recipe name and date so older treats can be used first.
Thaw frozen treats in the refrigerator instead of on the counter. Once thawed, keep them chilled and use them within a few days.
Discard treats that smell sour, look moldy, feel slimy, or become unusually wet. Homemade no-bake treats do not contain preservatives, so careful storage and freshness checks are important.
FAQs
Can I use quick oats instead of rolled oats?
Yes, quick oats can be used if that is what you have. The texture may be softer and less chewy, but the mixture should still hold together after chilling.
What kind of peanut butter should I use?
Use unsweetened peanut butter that is clearly xylitol-free. Avoid chocolate peanut butter, flavored spreads, added sweeteners, and dessert-style peanut butter products.
Can I leave out the honey?
Yes, you can leave out the honey if you prefer. Add a little extra applesauce or peanut butter only if the mixture needs more moisture to hold together.
Do these treats need to be baked?
No, these are no-bake treats and should be chilled instead. Refrigeration helps them firm up and hold their shape before serving.
Can I freeze these treats?
Yes, these treats freeze well when stored in small portions. Thaw them in the refrigerator before serving, especially if your dog prefers a softer texture.
Are these treats meant to replace meals?
No, these treats are intended as a complementary homemade snack. They should be served in moderation alongside your dog’s regular balanced feeding routine.
How many treats can I give my dog?
The right amount depends on your dog’s size, activity level, and regular diet. Start with one small treat and keep servings occasional because peanut butter and honey are rich ingredients.
A Soft Peanut Butter Treat for Simple Moments
No-Bake Peanut Butter Oat and Honey Dog Treats are a calm, practical homemade snack with a soft texture and familiar flavor. With xylitol-free peanut butter, modest honey, careful chilling, small portions, and safe storage, they can become an easy treat to keep ready for quiet everyday moments with your dog.