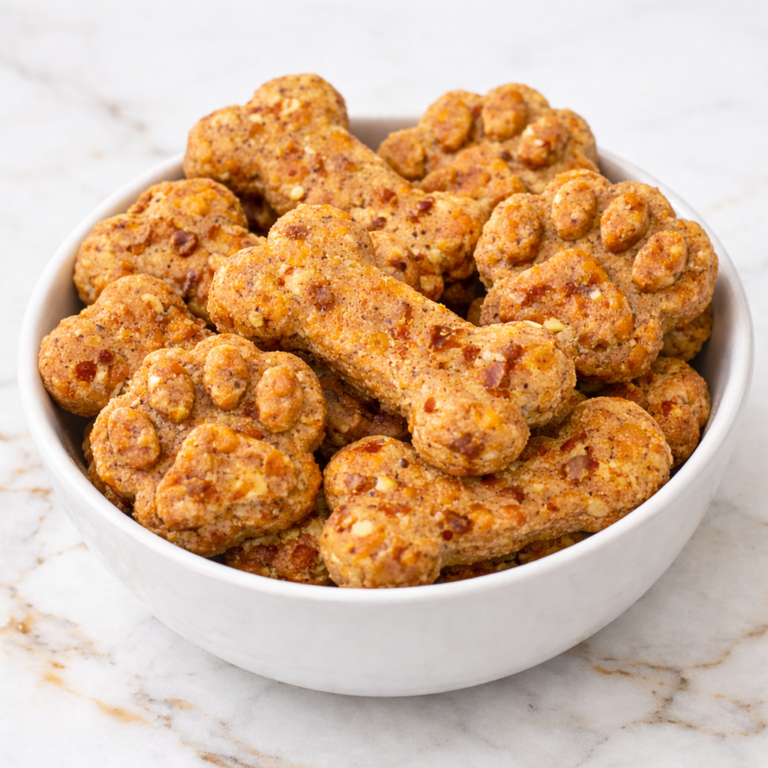
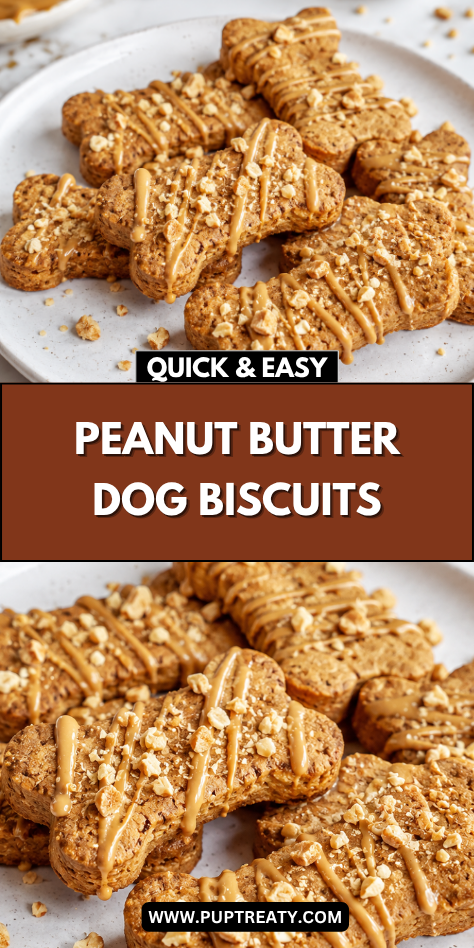
Peanut Butter Dog Biscuits are a classic homemade treat that feels simple, familiar, and comforting to prepare. I enjoy making this kind of recipe because it uses basic pantry ingredients and turns them into small biscuits that are easy to portion.
There is something thoughtful about baking treats at home for your dog. You can keep the ingredients plain, choose the biscuit size, and make a batch that fits your dog’s normal treat routine.
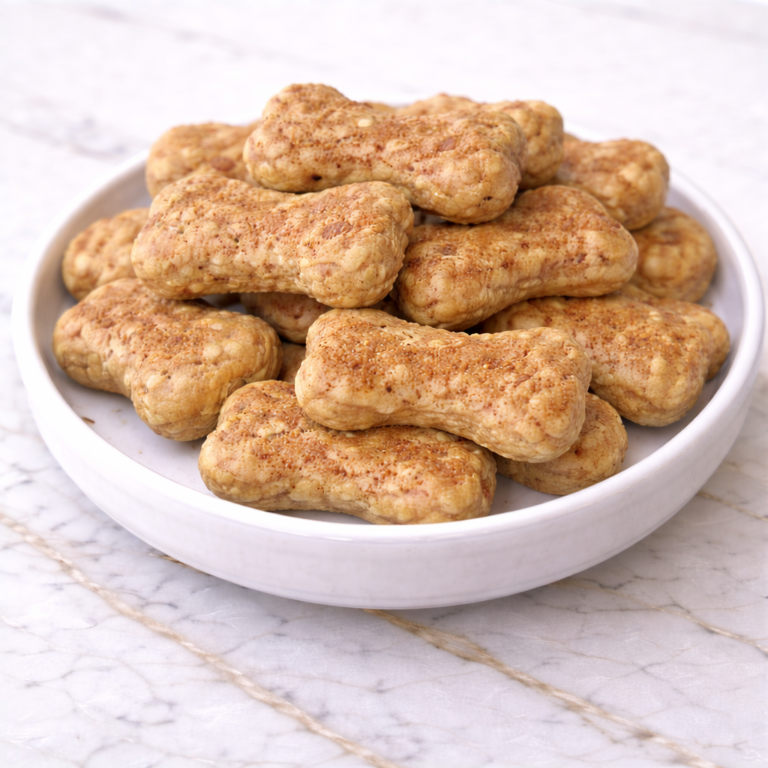
Peanut butter gives these biscuits a rich smell that many dogs notice right away. When it blends with oat flour and a little applesauce, the dough becomes easy to roll and bake into firm, crunchy treats.
This recipe fits naturally into everyday dog care. You can offer a small biscuit after a walk, during calm training, or as a quiet reward during a relaxed moment at home.
I like that these biscuits feel practical without being complicated. They are best served as occasional treats alongside your dog’s regular balanced meals.
Why This Recipe Is Great for Your Dog
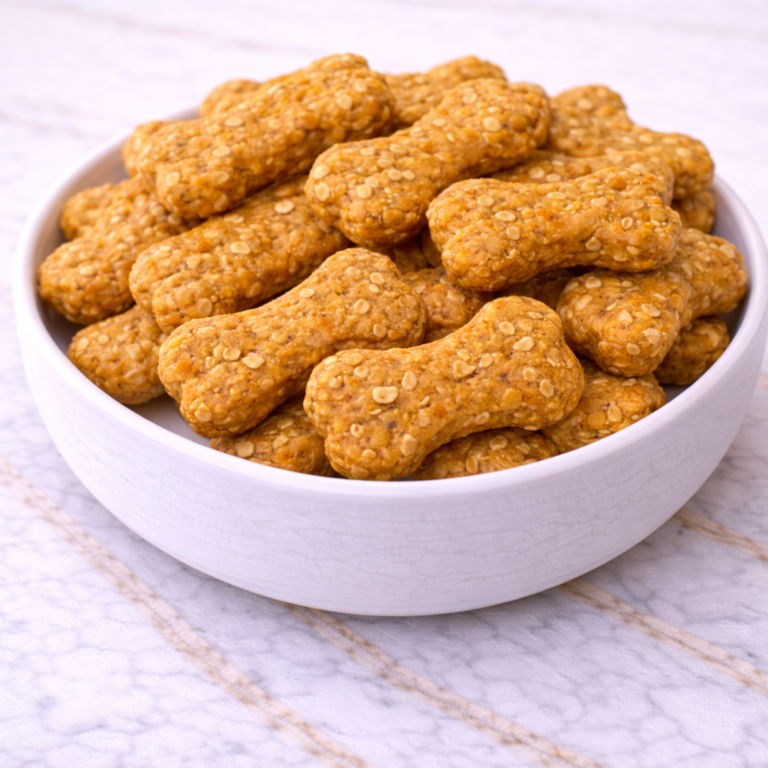
This recipe uses simple ingredients that are easy to recognize. Oat flour, rolled oats, peanut butter, egg, and applesauce come together into a firm dough without needing added sugar or unnecessary flavorings.
The texture is one of the best parts of these biscuits. When baked until firm, they have a gentle crunch that many dogs enjoy during treat time.
The peanut butter adds a familiar aroma and rich taste. A small amount goes a long way, which helps keep the biscuits flavorful without making them overly heavy.
The oat flour gives the dough structure and makes it easy to roll. Rolled oats add a slightly rustic texture that gives the finished biscuits a homemade feel.
This recipe is also beginner-friendly. The steps are simple, the dough is forgiving, and you do not need special baking skills to make a useful batch.
Dogs often enjoy treats that smell warm and savory. These biscuits offer that cozy peanut butter scent while staying plain, simple, and dog-appropriate.
Ingredients
- 1 1/2 cups oat flour
- 1/2 cup rolled oats
- 1/3 cup unsweetened, xylitol-free peanut butter
- 1 large egg
- 2 tablespoons unsweetened applesauce
- 1 tablespoon water, if needed
Tools You’ll Need
- Mixing bowl
- Measuring cups
- Measuring spoons
- Fork or small whisk
- Wooden spoon or silicone spatula
- Rolling pin
- Cookie cutter or knife
- Baking sheet
- Parchment paper
- Wire cooling rack
- Airtight storage container
- Freezer-safe bag or container
Pro Tips
Choose peanut butter carefully before starting. It should be unsweetened, xylitol-free, and preferably unsalted for a simple dog treat.
Keep the dough firm but easy to handle. If it feels sticky, add oat flour one tablespoon at a time until it becomes easier to roll.
If the dough feels dry or crumbly, add a small amount of water. Start with 1 tablespoon and mix well before deciding if more is needed.
Roll the dough evenly so the biscuits bake at the same pace. A thickness of about 1/4 inch gives the treats a firm texture without making them too hard.
Cut the biscuits based on your dog’s size. Small squares are helpful for training or little dogs, while larger shapes can be served occasionally to bigger dogs.
Let the biscuits cool completely before storing them. Warm biscuits can trap steam in the container, which may soften the texture and shorten freshness.
How Long This Recipe Takes
Preparation takes about 10 to 15 minutes. This includes measuring the ingredients, mixing the dough, rolling it out, and cutting the biscuits.
Baking takes about 20 to 28 minutes. The exact time depends on the size and thickness of the biscuits.
The full recipe usually takes about 40 to 50 minutes from start to finish, including cooling time. It is a calm baking project that works well for weekly treat prep.
If you want a crunchier biscuit, you can let the treats rest in the turned-off oven for a few extra minutes. Keep the oven door slightly open and watch that they do not become too dark.
Make-Ahead Tips
Peanut Butter Dog Biscuits are useful for make-ahead treat prep because they store well once baked and cooled. You can prepare one batch for the week or make a double batch for the freezer.
The dough can be made a few hours ahead and kept covered in the refrigerator. If it feels too firm after chilling, let it rest at room temperature for 5 to 10 minutes before rolling.
For short-term storage, keep the baked biscuits in an airtight container after they are fully cool. Refrigeration is helpful if your kitchen is warm or humid.
For longer storage, freeze the cooled biscuits in small portions. This makes it easy to thaw only what you need without opening the full batch often.
Thaw frozen biscuits in the refrigerator or briefly at room temperature. Avoid leaving thawed treats out for long periods, and discard any that smell sour, feel damp, or look unusual.

Step-by-Step Instructions
Step 1: Preheat the Oven
Preheat your oven to 325°F. Line a baking sheet with parchment paper so the biscuits do not stick during baking.
A moderate oven temperature helps the biscuits bake evenly. It also gives the oats time to firm without browning too quickly.
Step 2: Mix the Peanut Butter and Egg
Add the unsweetened, xylitol-free peanut butter and egg to a mixing bowl. Stir with a fork or small whisk until the mixture looks thick and smooth.
Take a moment to check the peanut butter label before using it. It should not contain xylitol, added sweeteners, or unnecessary flavorings.
Step 3: Add the Applesauce
Add the unsweetened applesauce to the peanut butter mixture. Stir until it is evenly combined.
The applesauce adds light moisture and helps the dough come together. Use only plain applesauce with no added sugar or sweeteners.
Step 4: Add the Oat Flour
Add the oat flour to the bowl. Stir slowly with a wooden spoon or silicone spatula until the mixture begins to thicken.
The dough should start pulling together as the oat flour absorbs the wet ingredients. Scrape the sides of the bowl so everything mixes evenly.
Step 5: Add the Rolled Oats
Add the rolled oats to the dough. Mix gently until they are evenly spread through the mixture.
The oats add a slightly rustic texture to the biscuits. They also help make the dough feel sturdier for rolling and cutting.
Step 6: Adjust the Dough
Press the dough gently with your fingers to check the texture. It should hold together without being too sticky or too dry.
If the dough is crumbly, add 1 tablespoon of water and mix again. If it is sticky, add a little more oat flour until it is easier to handle.
Step 7: Rest the Dough
Let the dough rest in the bowl for 5 minutes. This gives the oats time to absorb moisture and makes the dough easier to roll.
After resting, check the texture again. It should feel firm, soft, and workable.
Step 8: Roll the Dough
Place the dough on a lightly oat-floured surface. Roll it out to about 1/4 inch thick.
Try to keep the dough even from edge to edge. This helps all the biscuits bake at the same speed.
Step 9: Cut the Biscuits
Use a cookie cutter or knife to cut the dough into small shapes. Choose a size that matches your dog’s mouth and chewing style.
Gather the scraps and roll them again. Continue cutting until all the dough has been used.
Step 10: Arrange on the Baking Sheet
Place the biscuits on the prepared baking sheet. Leave a small amount of space between each one so heat can move around them.
The biscuits will not spread much during baking. A little spacing still helps the edges dry and firm properly.
Step 11: Bake Until Firm
Bake the biscuits for 20 to 28 minutes. They should feel firm and look lightly golden around the edges.
For a drier crunch, turn off the oven and let the biscuits sit inside for 5 to 10 minutes with the door slightly open. Watch them carefully so they do not overbrown.
Step 12: Cool Completely
Transfer the baked biscuits to a wire cooling rack. Let them cool fully before serving or storing.
Cooling helps the biscuits finish firming up. It also prevents trapped steam from softening them in the storage container.
Nutritional Notes for Dogs
Peanut Butter Dog Biscuits are meant to be served as a homemade treat, not as a complete meal. They can fit into your dog’s routine when offered in small portions alongside regular balanced food.
Peanut butter gives these biscuits their rich flavor and familiar smell. It should always be unsweetened, xylitol-free, and used in moderation because it is a dense ingredient.
Oat flour helps form the base of the biscuit dough. It gives the treats structure and helps them bake into firm pieces that are easy to portion.
Rolled oats add a slightly rustic texture to the biscuits. They also help the dough feel sturdy enough to roll, cut, and bake without becoming too delicate.
The egg helps bind the ingredients together. Applesauce adds gentle moisture and helps the dough come together without needing extra oil or added sweeteners.
These biscuits should be offered occasionally. Even simple homemade treats can add extra food to your dog’s day when served too often.
A balanced feeding routine is the best way to think about treats like these. They can be used for calm rewards, but they should not take the place of regular meals.
If your dog is trying these biscuits for the first time, start with a small piece. Watch how your dog handles the texture and ingredients before offering another portion.
Ingredient Swaps and Variations
- Dairy-free: This recipe is naturally dairy-free as written, so no dairy swap is needed.
- Grain-free: Replace oat flour with a small amount of coconut flour, but use less because it absorbs moisture quickly.
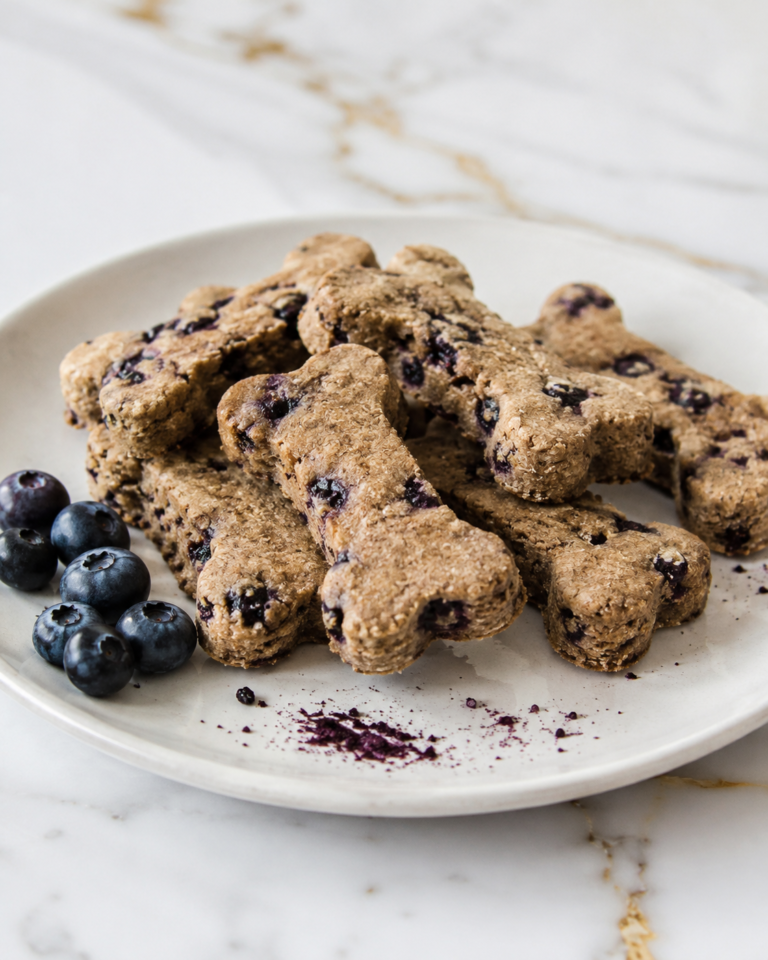
- Flavor variation: Add 1 tablespoon of plain pumpkin puree in place of applesauce for a softer, earthier flavor.
- Texture adjustment: Roll the dough thinner and bake slightly longer for a crunchier biscuit, or roll it thicker and bake a little less for a softer bite.
- Mini version: Cut the dough into tiny squares for small dogs or light training rewards.
How to Serve Safely
Serve Peanut Butter Dog Biscuits in portions that match your dog’s size and chewing habits. Small dogs may only need one tiny biscuit or half of a small piece, while larger dogs may enjoy a slightly bigger biscuit occasionally.
Supervise your dog when offering crunchy treats. Some dogs chew slowly, while others may try to swallow biscuits too quickly.
If your dog tends to gulp treats, break the biscuit into smaller pieces before serving. Smaller portions are easier to manage and can help make treat time calmer.
These biscuits work well after walks, during gentle training, or as a small reward after brushing or grooming. They can also be served during quiet bonding moments when you want to offer a simple homemade snack.
Keep moderation in mind throughout the day. If your dog has already had other treats, offer a smaller piece or save the biscuit for another time.
Avoid serving biscuits that feel too hard for your dog’s chewing comfort. If your dog prefers a softer texture, bake the next batch for a shorter time and store it in the refrigerator.
Common Mistakes to Avoid
Using peanut butter with xylitol is the most important mistake to avoid. Always read the ingredient label before using peanut butter in any homemade dog recipe.
Using sweetened or heavily salted peanut butter can make the recipe less suitable. Choose a plain option with simple ingredients whenever possible.
Adding too much water can make the dough sticky and hard to roll. Add liquid only if the dough feels dry, and use a small amount at a time.
Adding too much oat flour can make the biscuits dry and crumbly. If this happens, mix in a small spoonful of applesauce or water until the dough comes together.
Skipping the dough rest can make rolling more difficult. Letting the dough sit for a few minutes gives the oats time to absorb moisture.
Rolling the dough unevenly can cause mixed baking results. Thin pieces may become too crisp while thicker pieces stay soft in the center.
Baking the biscuits too little can leave them moist inside. If you want a crunchy treat, bake until firm and cool completely before storing.
Baking too long can make the biscuits overly hard. Check them near the end of the baking time and remove them once they are firm and lightly golden.
Storing warm biscuits in a sealed container can trap steam. Always let the biscuits cool fully before placing them into storage.
Making the biscuits too large can make portioning harder. Cut treats into sizes that match your dog’s mouth, body size, and chewing style.
Storage and Freshness Tips
Store fully cooled Peanut Butter Dog Biscuits in an airtight container. If they are baked until dry and crisp, they can be kept at room temperature for up to 3 days.
Choose a cool, dry storage spot away from direct sunlight. Heat and moisture can soften the biscuits and shorten their freshness.
For longer freshness, store the biscuits in the refrigerator. Refrigerated biscuits can last up to 1 week when kept sealed and dry.
For longer storage, freeze the biscuits after they have cooled completely. Place them in a freezer-safe bag or container and remove extra air before sealing.
Frozen biscuits can be stored for up to 2 months. Freeze them in small portions so you can thaw only what you need.
Thaw frozen biscuits in the refrigerator or briefly at room temperature before serving. Avoid leaving thawed treats out for long periods, especially in warm or humid kitchens.
Check the biscuits before giving them to your dog. Discard them if they smell sour, feel damp, show mold, or look different from when they were baked.
If the biscuits lose some crunch but still look and smell fresh, store them in the refrigerator and use them soon. Moisture can change homemade treats quickly, so smaller batches are often easier to manage.
FAQs
Can dogs eat peanut butter dog biscuits?
Yes, many dogs can enjoy peanut butter dog biscuits in small portions. Use only xylitol-free peanut butter and serve the biscuits as occasional treats.
What kind of peanut butter should I use?
Use unsweetened, xylitol-free peanut butter with simple ingredients. A low-salt or no-salt option is usually best for homemade dog treats.
Can I use whole wheat flour instead of oat flour?
Yes, whole wheat flour can work if your dog tolerates wheat. The texture may be slightly firmer, so adjust the dough with a little water if needed.
Can I make these biscuits without egg?
Yes, you can try replacing the egg with 1 tablespoon ground flaxseed mixed with 3 tablespoons water. Let the mixture sit for a few minutes before adding it.
How crunchy should these biscuits be?
They should be firm with a gentle crunch. Bake longer for a drier texture or slightly less for a softer biscuit.
How long do these biscuits last?
They last up to 3 days at room temperature or up to 1 week in the refrigerator. For longer storage, freeze them for up to 2 months.
Why are my biscuits crumbly?
The dough may be too dry or may need more resting time. Add a small spoonful of water or applesauce, then let the dough sit before rolling again.
A Cozy Batch of Peanut Butter Biscuits
Peanut Butter Dog Biscuits are a simple homemade treat that fits naturally into calm daily routines. With familiar ingredients, flexible sizing, and easy storage, they offer a thoughtful way to prepare small rewards while keeping freshness, moderation, and your dog’s comfort in mind.