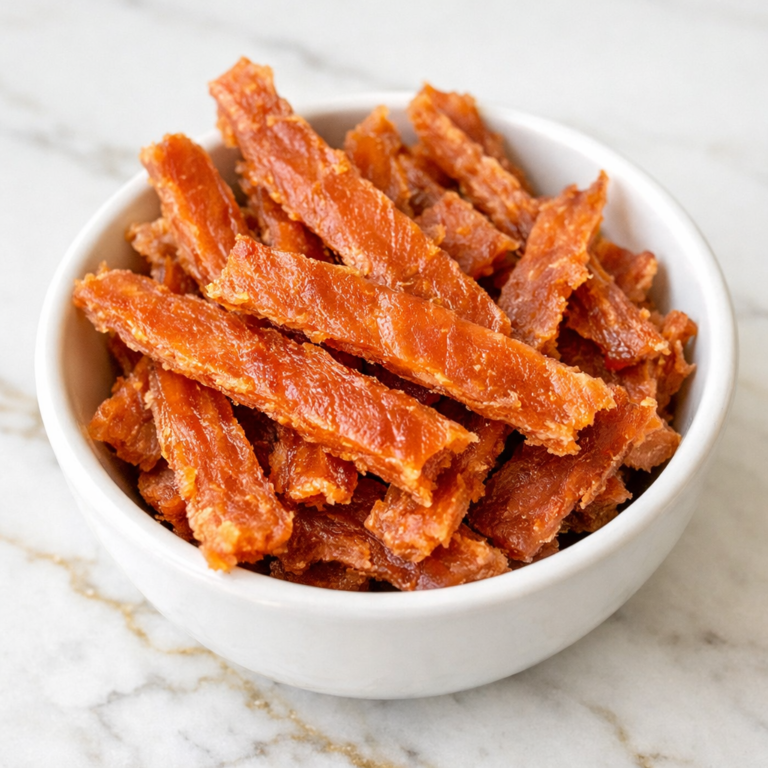
Preparing homemade treats for a dog can be a rewarding way to add care and thoughtfulness to everyday routines. Recipes like sweet potato coconut dog treats bring together simple ingredients to create a snack that feels both nourishing and satisfying. With a soft interior and gentle flavor, these treats can become a pleasant addition to occasional reward moments.

I enjoy making recipes that rely on natural ingredients that are easy to recognize and prepare. Sweet potatoes and coconut combine well in homemade dog treats because their flavors are mild and blend smoothly into dough. The process of preparing these treats is also calm and straightforward, which makes it accessible for many home cooks.
Sweet potatoes are commonly used in homemade dog recipes because of their smooth texture once cooked and mashed. When combined with other ingredients, they help create a soft dough that holds its shape during baking. Coconut adds a subtle flavor and texture that complements the sweetness of the potato.
Another reason this recipe feels practical is the flexibility in shaping the treats. The dough can be rolled out and cut into shapes, or it can be divided into small bite-sized portions. This makes it easy to adjust the treat size depending on the dog receiving them.
Homemade treats can also become part of quiet bonding moments. Dogs often watch attentively when something is being prepared in the kitchen, especially when it involves mixing and shaping dough. These small interactions can become part of everyday routines.
Keeping a container of freshly baked treats nearby can make daily rewards easier. Whether offered after a walk or during a calm moment at home, homemade snacks can add variety to a dog’s routine.
Why This Recipe Is Great for Your Dog
One of the most appealing aspects of this recipe is the simplicity of the ingredients. Each ingredient is commonly used in homemade dog treats and is easy to measure and combine.
The texture of these treats is balanced between soft and lightly firm. Baking allows the outside to set while the interior remains slightly tender, which many dogs seem to enjoy.
Preparation is also very manageable. Once the sweet potato is cooked and mashed, the dough comes together quickly with the remaining ingredients. Shaping the treats requires only basic kitchen tools.
Dogs often respond well to the mild sweetness of sweet potatoes. The addition of coconut helps create a pleasant flavor without overwhelming the recipe.
Another advantage of these treats is their adaptability. The dough can be shaped into different sizes, making the recipe suitable for dogs of many breeds and sizes.
Ingredients
- 1 cup mashed cooked sweet potato
- 1 cup whole wheat flour
- ½ cup unsweetened shredded coconut
- 1 large egg
- 2 tablespoons coconut oil
- 2 tablespoons water
Tools You’ll Need
- Mixing bowl
- Fork or potato masher
- Cutting board
- Knife
- Measuring cups
- Measuring spoons
- Spoon or spatula
- Rolling pin
- Cookie cutter or knife for shaping
- Baking sheet
- Parchment paper
- Cooling rack
- Airtight storage container
Pro Tips
Cook the sweet potato until it becomes very soft before mashing. A smooth mash helps the dough blend evenly and prevents lumps.
Allow the mashed sweet potato to cool slightly before mixing it with the other ingredients. This helps the dough maintain a consistent texture.
If the shredded coconut pieces seem large, pulse them briefly in a food processor. Smaller pieces blend more easily into the dough.
If the dough feels sticky while shaping, lightly dust the work surface with flour. This helps prevent the dough from sticking.
Roll the dough to an even thickness so the treats bake consistently. Uneven thickness may cause some pieces to bake faster than others.
Allow the treats to cool completely before storing them. Proper cooling helps them develop their final texture.
How Long This Recipe Takes
Preparing the ingredients usually takes about fifteen minutes. This includes cooking and mashing the sweet potato if it has not already been prepared.
Mixing the dough and shaping the treats typically requires another fifteen minutes. Rolling and cutting shapes may take slightly longer depending on the size of the batch.
Baking the treats usually takes about twenty-five to thirty minutes. During this time, the dough firms up and develops a lightly golden exterior.
After baking, the treats should rest on a cooling rack for at least twenty minutes. This allows the structure to set before storage.
Overall, the entire process can usually be completed within about one hour. The steps remain simple and manageable from start to finish.

Make-Ahead Tips
The dough for these treats can be prepared ahead of time if needed. After mixing, it can be wrapped and stored in the refrigerator for several hours before baking.
Preparing a larger batch can also be helpful for households with more than one dog. Doubling the ingredients allows more treats to be prepared with the same steps.
Once baked and cooled, the treats can be stored in airtight containers for convenient use throughout the week. Proper storage helps maintain their texture.
Freezing is another useful option for longer storage. The treats can be placed in freezer-safe containers or bags once they have cooled completely.
Portioning the treats before freezing can make serving easier later. Small portions can be thawed when needed.
When thawing frozen treats, allow them to rest briefly at room temperature before serving. This helps restore their natural texture.
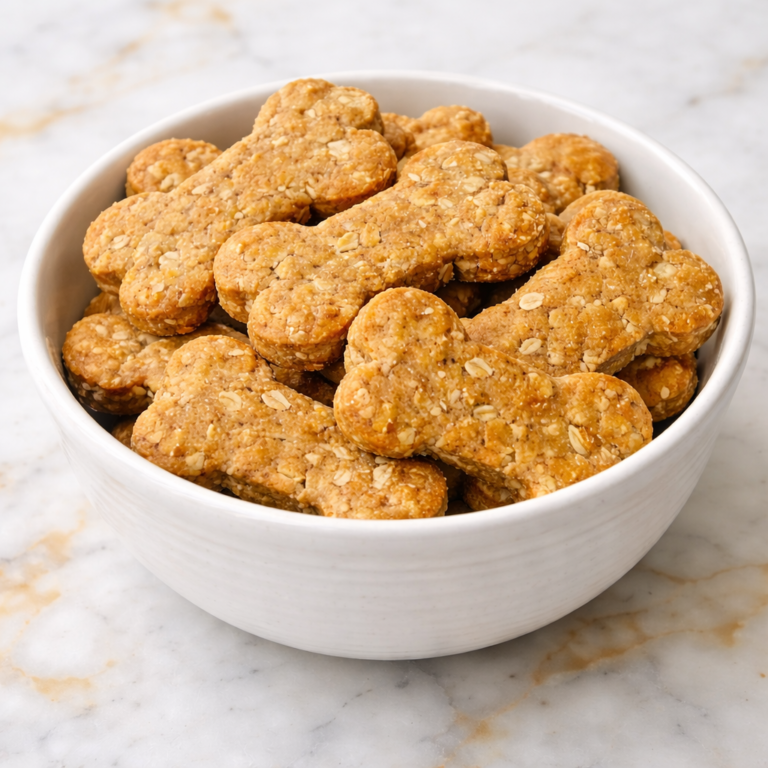
Step-by-Step Instructions
Step 1: Prepare the Sweet Potato
Cook the sweet potato until it becomes soft enough to mash easily. This can be done by baking, steaming, or boiling the potato until tender.
Once cooked, remove the skin if necessary and mash the potato until smooth. Measure one cup of mashed sweet potato for the recipe.
Step 2: Combine the Wet Ingredients
Place the mashed sweet potato into a mixing bowl. Add the egg and coconut oil.
Stir the ingredients together until they form a smooth mixture. This mixture will form the base of the dough.
Step 3: Add the Dry Ingredients
Add the whole wheat flour and shredded coconut to the bowl. Mix slowly while combining the ingredients.
Continue stirring until the mixture begins forming a soft dough.
Step 4: Adjust the Dough
Add the water and continue mixing until the dough becomes smooth and workable. If the dough feels too sticky, add a small amount of additional flour.
The dough should be firm enough to roll without sticking heavily.
Step 5: Roll the Dough
Place the dough on a lightly floured surface. Use a rolling pin to roll it to about ¼ inch thickness.
Keeping the dough evenly rolled helps the treats bake consistently.
Step 6: Cut the Treats
Use a cookie cutter or knife to cut the dough into shapes appropriate for your dog’s size. Smaller pieces can be helpful for training rewards.
Place the cut pieces onto a parchment-lined baking sheet.
Step 7: Bake the Treats
Place the baking sheet in a preheated oven at 350°F. Bake the treats for about 25 to 30 minutes until they become lightly golden and firm.
Remove them from the oven and allow them to cool completely on a rack before storing or serving.
Ingredient Swaps and Variations
- Dairy-free: This recipe is naturally dairy-free when prepared with simple plant-based ingredients. Always review packaged ingredients to ensure they contain no hidden dairy components.
- Grain-free: Replace the whole wheat flour with oat flour or a dog-safe grain-free flour blend. When using a different flour, adjust the moisture slightly to maintain a workable dough.
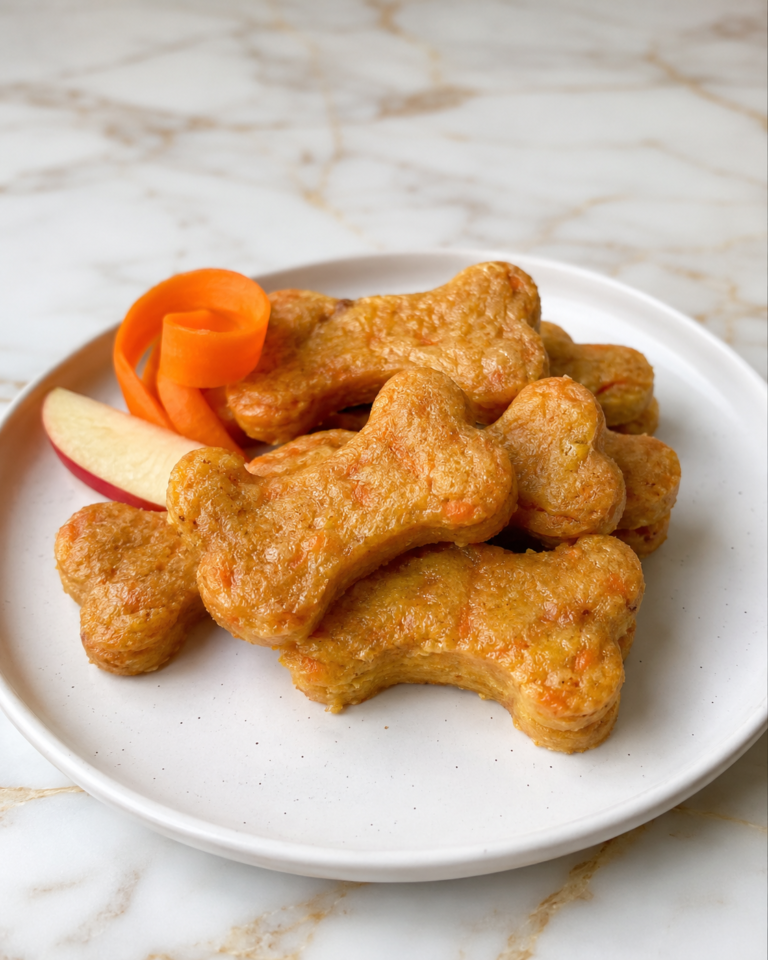
- Flavor variation: Mashed pumpkin or mashed carrot can replace part of the sweet potato to create a slightly different vegetable flavor while keeping a similar texture.
- Texture adjustment: For a crispier treat, roll the dough thinner and extend the baking time by a few minutes. For a softer treat, roll the dough slightly thicker and reduce the baking time slightly.
- Mini version: Cut the dough into very small shapes or squares for bite-sized treats. Smaller pieces can be useful for training rewards or for smaller dogs.
Nutritional Notes for Dogs
Sweet potatoes are often used in homemade dog treats because they mash easily and provide a naturally mild sweetness. Their soft texture helps create a dough that blends smoothly with other ingredients.
Shredded coconut adds a gentle flavor and a slightly textured element to the dough. When baked, it distributes evenly through the treats and contributes to the overall structure.
Whole wheat flour helps give the dough stability and allows the treats to hold their shape during baking. It also helps create the firm exterior that develops once the treats cool.
Eggs serve as a natural binder in many baked dog treat recipes. They help hold the ingredients together so the dough maintains its structure during baking.
Homemade dog treats are best offered as occasional snacks rather than as a replacement for a dog’s regular meals. Maintaining moderation supports balanced feeding habits.
How to Serve Safely
Portion size should match the size and chewing habits of the dog receiving the treat. Smaller dogs generally benefit from smaller pieces, while larger dogs may comfortably handle slightly larger treats.
Supervising dogs during treat time helps ensure they enjoy the biscuit safely. Watching how a dog chews a new treat can help confirm the size and texture are appropriate.
These treats can be offered after walks, during calm bonding moments, or as occasional training rewards. Serving them during relaxed moments allows dogs to enjoy them comfortably.
If the treats are larger than needed, they can be broken into smaller pieces before serving. This helps control portion size and makes them easier for dogs to chew.
Moderation is important when offering any treat. Even simple homemade snacks should remain a small part of a dog’s overall feeding routine.
Common Mistakes to Avoid
One common mistake is using sweet potato that has not been fully cooked. Undercooked sweet potato can be difficult to mash and may create lumps in the dough.
Another issue occurs when too much flour is added during mixing. Excess flour can make the dough dry and produce overly dense treats.
Failing to mix the ingredients thoroughly may result in uneven dough. Proper mixing helps distribute moisture and ingredients evenly.
Rolling the dough unevenly can also cause inconsistent baking. Some pieces may become too dry while others remain softer if the thickness varies widely.
Removing the treats from the oven too early may leave them underbaked. Allowing the full baking time helps the treats develop a stable texture.
Storing treats before they have cooled completely may trap moisture inside the container. This can shorten their shelf life.
Storage and Freshness Tips
After the treats have cooled completely, place them in an airtight container. Sealed containers help maintain freshness and protect the treats from excess moisture.
For short-term storage, the treats can remain at room temperature in a cool and dry location. A pantry shelf away from direct sunlight usually works well.
Refrigeration can help extend their freshness, especially in warmer environments. Store them in a sealed container to maintain their texture.
For longer storage, freezing can be a practical option. Once cooled, the treats can be placed in freezer-safe bags or containers.
Dividing the treats into smaller freezer portions can make serving easier later. Only the needed amount can be thawed while the rest remain frozen.
Always inspect stored treats before serving them to a dog. Any unusual odor, discoloration, or visible mold indicates they should be discarded.
FAQs
Can dogs safely eat sweet potatoes in homemade treats?
Yes, sweet potatoes are commonly used in homemade dog treat recipes when cooked properly. They should always be softened before mashing so they blend smoothly into the dough.
Is coconut safe for dogs in baked treats?
Unsweetened shredded coconut is sometimes included in homemade dog treats in small amounts. It blends easily into dough and adds mild flavor and texture.
Can I replace whole wheat flour in this recipe?
Yes, alternative flours such as oat flour can be used in place of whole wheat flour. Minor adjustments to moisture may be needed to maintain a workable dough.
How firm should these treats be after baking?
Once fully cooled, the treats should feel firm on the outside while remaining slightly tender inside. The final texture depends on baking time and dough thickness.
Can these treats be used for training?
Yes, the treats can be cut into smaller pieces that work well for training rewards. Smaller treats allow dogs to receive rewards more frequently during practice sessions.
Can homemade dog treats be frozen?
Yes, freezing is an effective way to store homemade dog treats for longer periods. Once thawed, they can be served normally.
How long do baked homemade dog treats usually last?
When stored properly, homemade treats can last several days at room temperature. Refrigeration or freezing can extend their shelf life.
A Naturally Sweet Homemade Treat
Sweet potato coconut dog treats offer a simple and comforting way to prepare homemade snacks for dogs. With a few basic ingredients and a straightforward baking process, the recipe fits easily into everyday kitchen routines.
Once baked and stored properly, these treats can be ready whenever a small reward feels appropriate. Their mild sweetness and balanced texture make them a pleasant addition to occasional treat time.