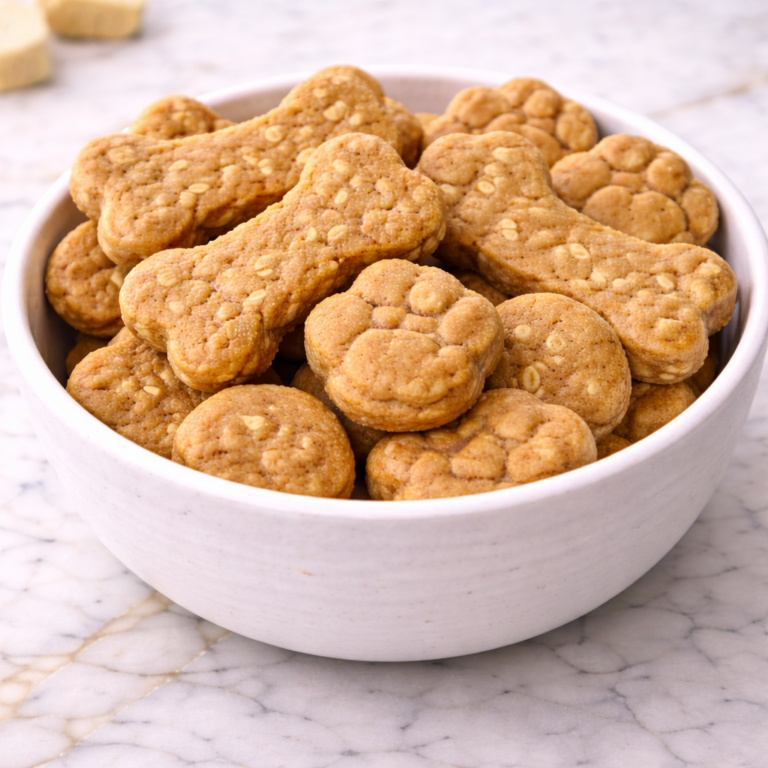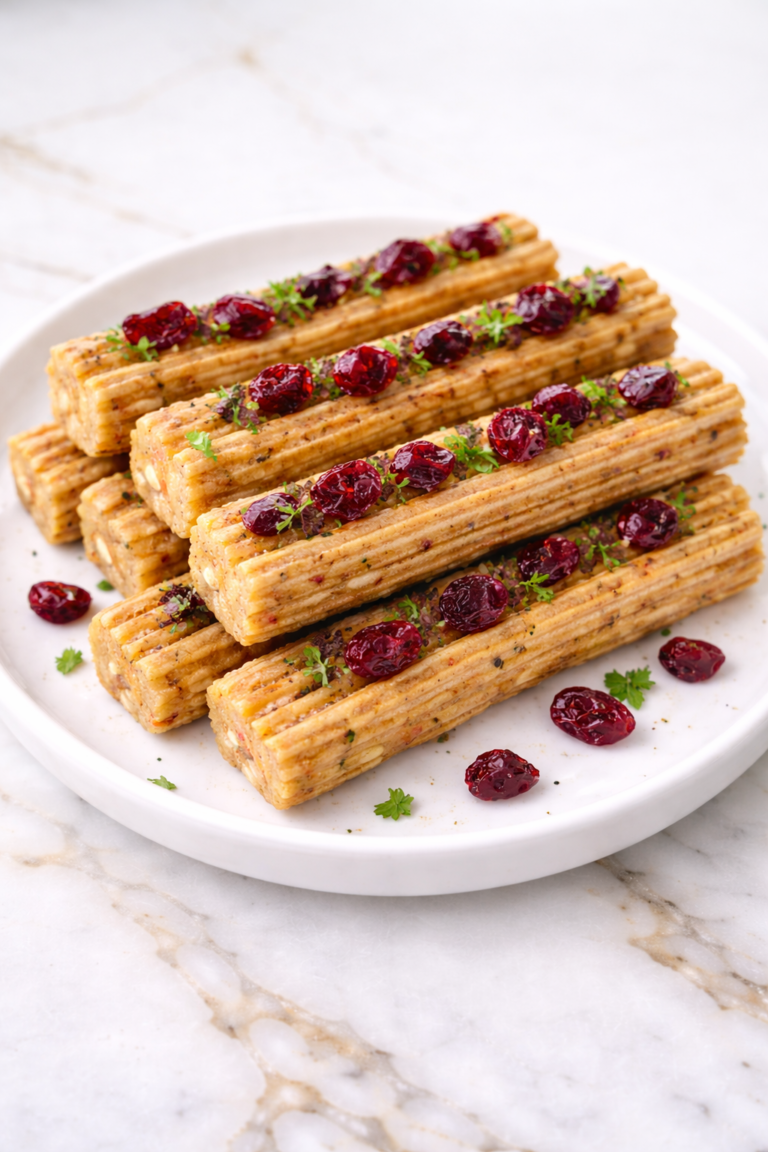

I enjoy making Homemade Egg Dog Cookies because they are simple, practical, and easy to prepare with ingredients I often already have in the kitchen. Eggs create a steady base for these cookies, while oats help turn the mixture into a dough that is easy to shape and bake.
This recipe feels thoughtful because it is not overly complicated. It uses familiar ingredients in measured amounts, and the process is calm enough for a quiet afternoon of baking.
These cookies fit naturally into everyday dog care routines when served as occasional treats. They can be offered after a walk, during light training, or as a small reward during a calm moment at home.

I also like that egg-based cookies can be made small and simple. The dough is easy to portion, which makes it helpful for dogs of different sizes and chewing styles.
Homemade treats like these are meant to complement your dog’s regular balanced meals. They are best served in moderation and with attention to how your dog responds to each ingredient.
Why This Recipe Is Great for Your Dog
Homemade Egg Dog Cookies are made with a short list of familiar ingredients. Eggs, oat flour, rolled oats, applesauce, and a small amount of parsley come together in a way that feels simple and manageable.
The egg gives the dough structure and helps the cookies hold together after baking. It also creates a mild flavor that works well with the oat base.
The texture can be adjusted based on baking time and cookie size. A slightly shorter bake creates a softer cookie, while a few extra minutes gives the edges a firmer bite.
From a dog’s perspective, these cookies offer a gentle chew without being overly rich. They are sturdy enough to hold their shape but can still be made small for easy portioning.
The preparation is beginner-friendly and does not require special baking skills. A mixing bowl, baking sheet, spoon, and basic measuring tools are enough to make a full batch.
Dogs often enjoy simple treats that have a familiar smell and easy-to-chew texture. These cookies are mild, home-baked, and practical for routine treat moments.
Ingredients
- 2 large eggs
- 2 tablespoons unsweetened applesauce
- 1 tablespoon water
- 1 1/2 cups oat flour
- 1/2 cup rolled oats
- 1 tablespoon finely chopped fresh parsley
Tools You’ll Need
- Mixing bowl
- Small bowl
- Fork or whisk
- Measuring cups
- Measuring spoons
- Cutting board
- Small knife
- Wooden spoon or silicone spatula
- Baking sheet
- Parchment paper
- Rolling pin
- Small cookie cutter or knife
- Fork for pressing, if shaping rounds
- Wire cooling rack
- Airtight storage container
- Freezer-safe bag or container
Pro Tips
Beat the eggs well before adding the dry ingredients. This helps the dough come together more evenly and prevents streaks of unmixed egg.
Keep the dough firm but not dry. It should hold together when pressed, but it should not crumble apart or feel powdery.
Add water slowly if the dough needs more moisture. Start with a small amount, mix well, and check the texture before adding more.
Roll the dough evenly so the cookies bake at the same pace. A thickness of about 1/4 inch works well for small dog cookies.
Cut the cookies into sizes that match your dog’s needs. Tiny squares are useful for training, while slightly larger cookies can be saved for occasional treat moments.
Let the cookies cool completely before serving or storing. Cooling helps the texture settle and keeps steam from collecting in the storage container.
How Long This Recipe Takes
Preparation takes about 15 minutes. This includes beating the eggs, chopping the parsley, mixing the dough, and shaping the cookies.
Baking usually takes about 16 to 20 minutes. Smaller cookies may bake faster, while thicker cookies may need a little longer to become set.
The full recipe takes about 40 to 50 minutes when cooling time is included. Cooling is an important part of the process because the cookies continue to firm as they rest.
The overall pace is calm and easy to manage. Once the dough is mixed, shaping and baking follow a simple, steady rhythm.
Make-Ahead Tips
Homemade Egg Dog Cookies are a good make-ahead recipe because they can be baked in small pieces and stored for the week. You can prepare one batch for short-term use or double the recipe and freeze part of it.
For refrigeration, let the cookies cool completely before placing them in an airtight container. Because the recipe contains eggs and applesauce, refrigerated storage is the best option for keeping them fresh for several days.
Freezing is helpful if you want homemade treats ready without baking often. Place cooled cookies in a freezer-safe bag or container, and use parchment paper between layers if the cookies feel tender.
Portioning before freezing makes daily use easier. Freeze the cookies in small groups so you can thaw only what you plan to serve over a few days.
Thaw frozen cookies in the refrigerator before serving. Avoid leaving them at warm room temperature for long periods, and check that they smell fresh and feel normal before offering one to your dog.
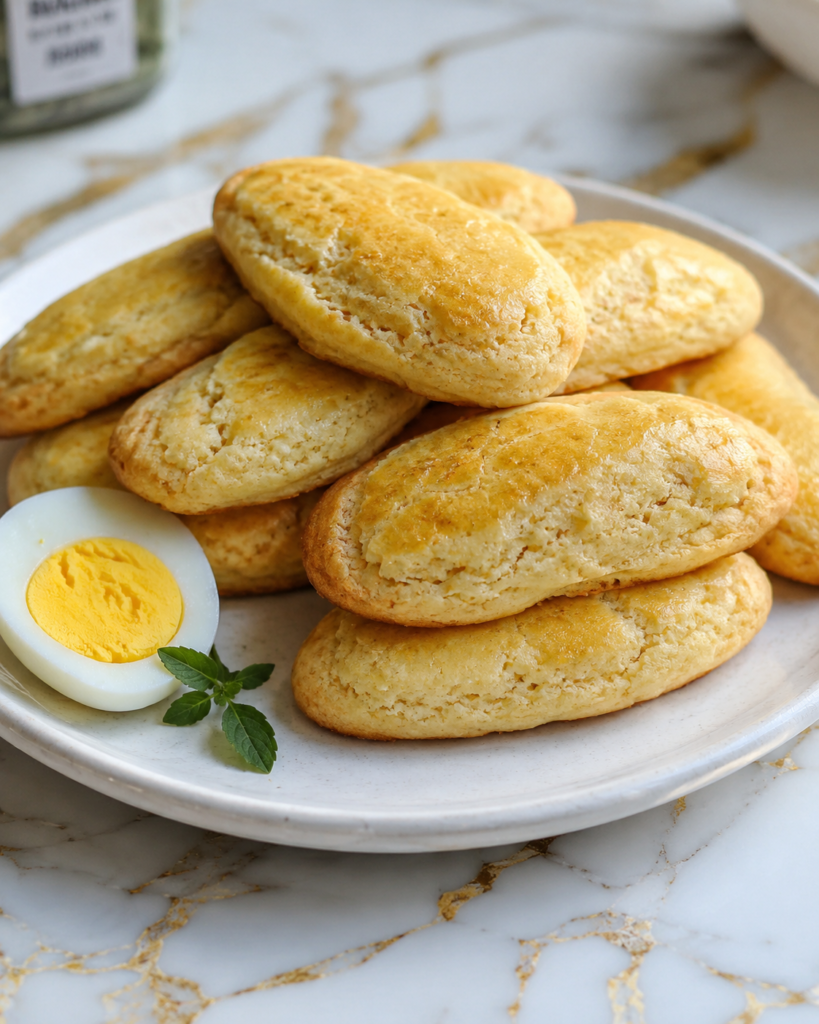
Step-by-Step Instructions
Step 1: Prepare the Baking Sheet
Preheat the oven to 325°F. Line a baking sheet with parchment paper so the cookies release easily after baking.
Set the baking sheet near your work area before mixing the dough. This makes it easier to transfer the cookies once they are shaped.
Step 2: Prepare the Parsley
Place the fresh parsley on a cutting board. Chop it finely so it blends evenly throughout the dough.
Use a small amount and avoid large stems that feel tough or woody. Finely chopped parsley adds gentle flavor and color without changing the texture too much.
Step 3: Beat the Eggs
Crack the eggs into a mixing bowl. Beat them with a fork or whisk until the yolks and whites are fully combined.
The mixture should look smooth and even before anything else is added. This helps the eggs spread throughout the dough more consistently.
Step 4: Add Applesauce and Water
Add the unsweetened applesauce and water to the beaten eggs. Stir until the mixture is smooth and evenly blended.
The applesauce adds moisture and helps soften the dough slightly. Make sure it is plain and unsweetened before using it in the recipe.
Step 5: Add the Oat Flour
Add the oat flour to the wet mixture. Stir slowly with a wooden spoon or silicone spatula until the flour begins to absorb the moisture.
The mixture will thicken as you stir. Scrape the sides and bottom of the bowl so no dry pockets remain.
Step 6: Add the Rolled Oats
Add the rolled oats to the bowl. Stir until they are evenly distributed throughout the dough.
The oats add texture and help the dough become sturdier. Let the dough rest for 2 to 3 minutes so the oats can absorb some moisture.
Step 7: Add the Parsley
Sprinkle the finely chopped parsley into the dough. Mix gently until the parsley is spread evenly throughout.
The dough should look speckled and well combined. Avoid overmixing once the dough is holding together.
Step 8: Check the Dough Texture
Press a small piece of dough between your fingers. It should hold together without sticking heavily or crumbling apart.
If the dough feels too dry, add 1 teaspoon of water and mix again. If it feels too wet, add a small sprinkle of oat flour and let it rest briefly.
Step 9: Roll the Dough
Place the dough on a lightly oat-floured surface. Roll it gently to about 1/4-inch thickness.
Try to keep the thickness even from edge to edge. This helps the cookies bake at the same rate and finish with a consistent texture.
Step 10: Cut the Cookies
Use a small cookie cutter to cut the dough into shapes. You can also use a knife to slice the dough into simple squares.
Gather any scraps and press them back together gently. Reroll the dough and continue cutting until all of it has been used.
Step 11: Arrange on the Baking Sheet
Place the cookies on the prepared baking sheet. Leave a little space between each cookie so heat can move evenly around them.
The cookies should not spread much while baking. Spacing still helps the edges set properly and keeps the batch consistent.
Step 12: Bake the Cookies
Bake the cookies for 16 to 20 minutes. They should look set, lightly golden on the bottom, and firm around the edges.
For a softer cookie, remove them closer to 16 minutes. For a firmer cookie, bake a few minutes longer while watching carefully.
Step 13: Cool Completely
Let the cookies rest on the baking sheet for 5 minutes after baking. This helps them firm slightly before they are moved.
Transfer the cookies to a wire cooling rack and let them cool completely. Once fully cooled, they are ready for serving, refrigeration, or freezing.
Nutritional Notes for Dogs
Homemade Egg Dog Cookies are designed as a complementary treat that can fit into your dog’s regular feeding routine. They are not intended to replace complete meals, but they can offer a simple homemade option for occasional treating.
Eggs give these cookies their mild flavor and help create a dough that holds together well. They also support a firm but approachable cookie texture once baked and cooled.
Oat flour and rolled oats create the main structure of the recipe. They help the cookies keep their shape while adding a familiar texture that works well for homemade dog treats.
Unsweetened applesauce adds moisture to the dough without added sugar. It helps balance the dry ingredients and keeps the cookies from becoming overly crumbly.
Fresh parsley adds a small amount of color and gentle flavor. It should be finely chopped so it blends evenly and does not create large pieces in the dough.
These cookies should be served in moderation alongside your dog’s regular balanced food. Treats are best viewed as small extras rather than a major part of the daily diet.
Portion size matters because even simple homemade treats add to your dog’s overall intake. Keeping the cookies small makes it easier to offer them thoughtfully without disrupting normal feeding routines.
Ingredient Swaps and Variations
- Dairy-free: This recipe is naturally dairy-free when made with eggs, unsweetened applesauce, water, oat flour, rolled oats, and parsley.
- Grain-free: Replace the oat flour with a small amount of coconut flour, adding it gradually because it absorbs moisture quickly and can make the dough firm.
- Flavor variation: Replace the parsley with a small amount of finely chopped fresh basil for a different mild flavor.
- Texture adjustment: Bake closer to the shorter time for a softer cookie, or add 2 to 4 extra minutes for a firmer bite.
- Mini version: Cut the dough into tiny squares for small dogs, training rewards, or easier portion control.
How to Serve Safely
Serve Homemade Egg Dog Cookies in portions that match your dog’s size, age, and normal chewing habits. A small dog may only need a tiny piece, while a larger dog may be able to enjoy one small cookie.
For toy breeds or dogs that eat quickly, break the cookie into smaller bites before serving. Smaller pieces can make chewing easier and help keep portions controlled.
Medium dogs can usually handle a modest cookie if it is not too thick or hard. Start with a small amount the first time you serve this recipe so you can observe how your dog responds.
Large dogs may be able to enjoy a full cookie depending on its size. Even with larger dogs, these cookies should remain occasional treats rather than a large part of daily food.
Supervise your dog whenever serving homemade treats. This is especially useful when offering a new recipe, a firmer texture, or a size your dog has not tried before.
These cookies are suitable for calm reward moments, gentle training, after-walk routines, or occasional snacks. Keep them in moderation alongside your dog’s regular meals and any other treats served that day.
Common Mistakes to Avoid
Not beating the eggs well enough can make the dough uneven. Beat the eggs until the yolks and whites are fully combined before adding the other ingredients.
Adding too much water can make the dough sticky and difficult to roll. Add only a teaspoon at a time if the dough feels dry, then mix and check again.
Skipping the dough rest can make the texture harder to judge. Oats absorb moisture as they sit, so a short rest can help the dough become easier to shape.
Rolling the dough too thick can cause the centers to bake unevenly. Aim for about 1/4-inch thickness so the cookies set properly without becoming too hard at the edges.
Overbaking can make the cookies dry or overly firm. Check them near the end of baking and remove them when they are set and lightly golden on the bottom.
Storing the cookies while warm can trap steam in the container. Let them cool completely on a wire rack before refrigerating or freezing.
Using large parsley pieces can create uneven texture. Chop the parsley finely and remove tough stems before mixing it into the dough.
Storage and Freshness Tips
Because Homemade Egg Dog Cookies contain eggs and applesauce, they should not be stored at room temperature for long periods. Room-temperature holding is best limited to the day they are baked and only after they have cooled fully.
Refrigeration is the best choice for short-term storage. Place fully cooled cookies in an airtight container and refrigerate them for about 4 to 6 days.
Keep the container sealed between servings to help maintain freshness. If the cookies feel moist or soft after storage, check them carefully before serving.
For longer storage, freeze the cookies in a freezer-safe bag or container. If the cookies are tender, place parchment paper between layers to prevent sticking.
Frozen cookies can usually be stored for up to 2 months. Labeling the container with the date helps you rotate batches and use older cookies first.
Thaw frozen cookies in the refrigerator before serving. This keeps thawing steady and avoids leaving egg-based treats at warm room temperature for too long.
Before offering stored cookies, check their smell, texture, and appearance. Discard any cookie that shows mold, sour odor, unusual stickiness, excess moisture, or visible changes.
If you prefer a firmer cookie for storage, bake the batch a few extra minutes. Make sure the finished texture is still comfortable for your dog to chew.
FAQs
Can I make Homemade Egg Dog Cookies without applesauce?
Yes, you can replace the applesauce with plain pumpkin puree. The dough may be slightly denser, so adjust with a small amount of water only if needed.
Can I use quick oats instead of rolled oats?
Yes, quick oats can be used in this recipe. They will create a softer, less textured cookie but should still help the dough hold together.
Can I make these cookies without parsley?
Yes, you can leave out the parsley. The cookies will still bake properly, and the flavor will remain simple and mild.
How firm should these cookies be?
They should be set, lightly firm around the edges, and easy to break into pieces. Bake a little longer if you want a firmer texture.
Can puppies have these cookies?
Puppies may be able to have a very small amount if they already tolerate the ingredients. Introduce new treats gradually and keep portions tiny.
Should these cookies be refrigerated?
Yes, refrigeration is recommended because the recipe contains eggs and applesauce. Store fully cooled cookies in an airtight container for best freshness.
Can I freeze Homemade Egg Dog Cookies?
Yes, these cookies freeze well after baking and cooling. Thaw them in the refrigerator before serving and check freshness before offering them to your dog.
A Simple Batch of Homemade Egg Cookies
Homemade Egg Dog Cookies offer a calm, practical way to prepare a mild homemade treat with familiar ingredients and flexible sizing. When baked evenly, cooled completely, stored safely, and served in moderation, they can fit naturally into occasional treat moments alongside your dog’s regular balanced meals.