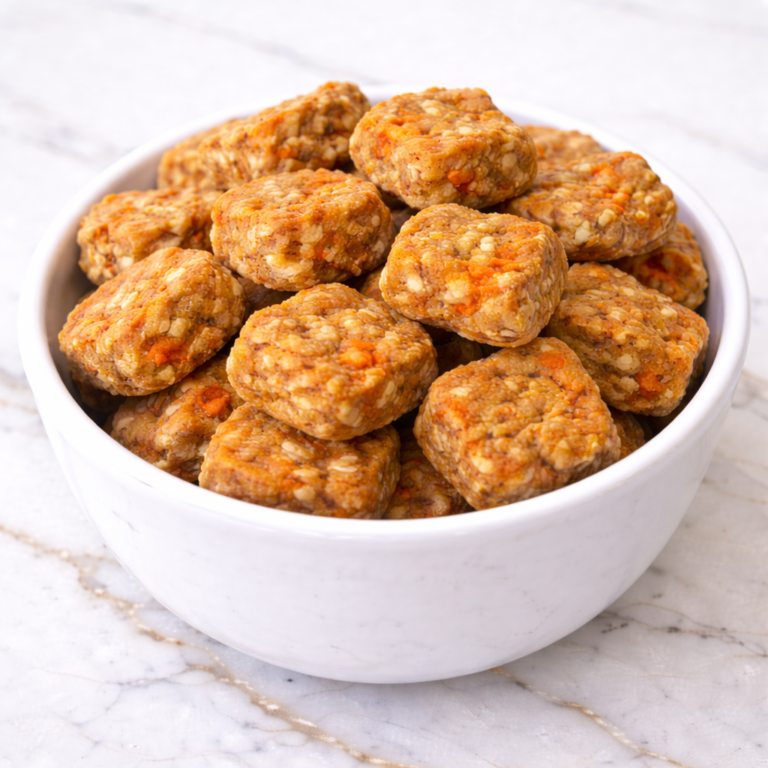
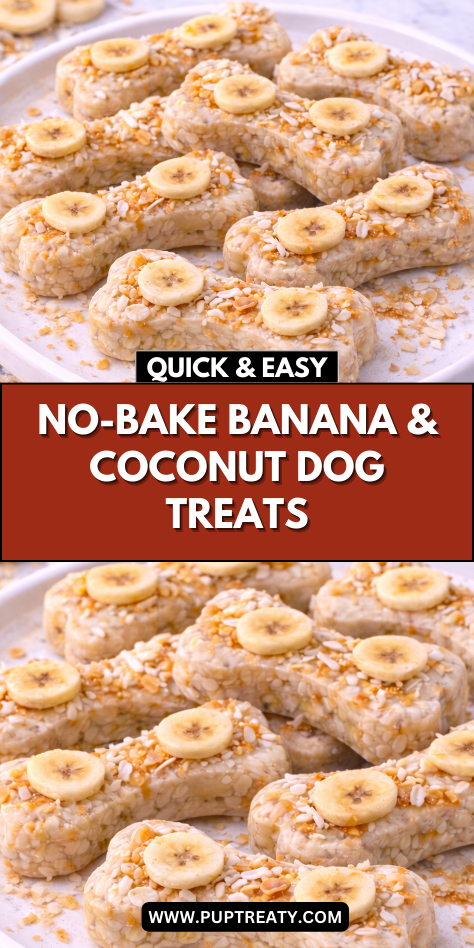
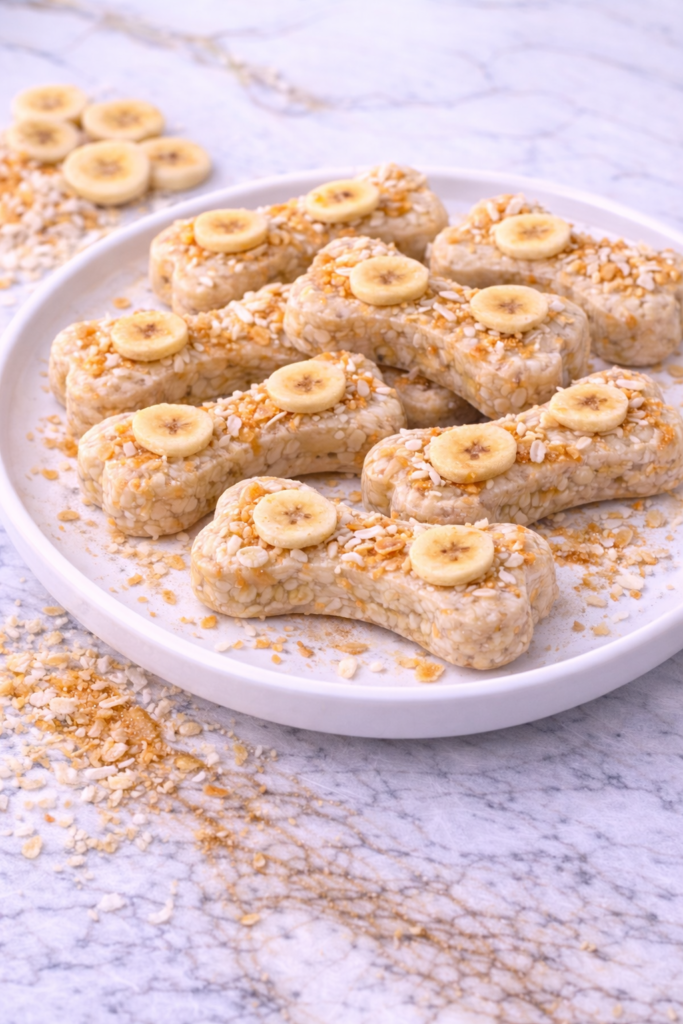
Preparing homemade dog treats can be a thoughtful way to add variety and care to a dog’s everyday routine. No-bake banana and coconut dog treats are a simple option that requires very little preparation time. With a small number of ingredients and no baking required, this recipe fits easily into a busy schedule.
I enjoy making no-bake treats because they simplify the process while still creating something special. The ingredients are mixed together in one bowl, shaped into small portions, and chilled until firm. This approach makes the recipe approachable even for beginners.
Bananas are often used in homemade dog treat recipes because they mash easily and blend smoothly with other ingredients. Their natural sweetness adds gentle flavor to the mixture without requiring added sugar. When mashed thoroughly, bananas create a soft base that helps bind the ingredients together.
Coconut adds a mild texture and subtle flavor that pairs well with banana. Unsweetened shredded coconut mixes easily into the dough and contributes to the overall consistency of the treats. Together, these ingredients create a mixture that is easy to shape and hold once chilled.
Another benefit of this recipe is the flexibility in shaping the treats. The mixture can be rolled into small balls, pressed into discs, or placed into silicone molds. This makes it easy to adjust the portion size depending on the dog receiving them.
Homemade dog treats can also create small bonding moments during the day. Dogs often become curious when ingredients are being mixed on the kitchen counter. These quiet interactions can become part of the familiar rhythm of preparing something special for them.
Keeping a container of simple homemade treats in the refrigerator can make daily rewards easier. Whether offered after a walk or during calm training moments, no-bake treats like these can add variety to a dog’s routine.
Why This Recipe Is Great for Your Dog
One of the most appealing aspects of this recipe is the simplicity of the ingredients. Each ingredient is easy to recognize and commonly used in homemade dog treat recipes.
The texture of these treats is soft and slightly chewy once chilled. This can make them comfortable for many dogs to eat when served in small portions.
Preparation is also very manageable. The ingredients are simply mashed and mixed together before shaping the treats.
Dogs often respond well to the natural sweetness of bananas. When combined with coconut, the flavor becomes mild and balanced.
Another advantage of no-bake treats is the minimal preparation time. The mixture can be prepared quickly and then chilled until firm.
Ingredients
- 1 ripe banana, mashed
- 1 cup rolled oats
- ¼ cup unsweetened shredded coconut
- 2 tablespoons unsweetened applesauce
- 1 tablespoon water
Tools You’ll Need
- Mixing bowl
- Fork or potato masher
- Measuring cups
- Measuring spoons
- Spoon or spatula
- Silicone molds or baking sheet
- Parchment paper
- Refrigerator-safe storage container
Pro Tips
Use a ripe banana so it mashes easily and blends smoothly with the other ingredients. Ripe bananas create a softer mixture.
Mash the banana thoroughly before mixing it with the oats. A smooth base helps distribute the ingredients evenly.
If the rolled oats are very large, pulse them briefly in a food processor. Smaller oat pieces help the mixture hold together more easily.
Add water gradually while mixing to reach the correct consistency. The mixture should hold together when pressed.
Shape the treats into small portions so they are easy to serve. Smaller treats can also be useful during training sessions.
Allow the treats to chill fully before serving. Proper chilling helps them firm up and hold their shape.
How Long This Recipe Takes
Preparing the ingredients usually takes about ten minutes. This includes mashing the banana and measuring the remaining ingredients.
Mixing the ingredients together generally requires another five to ten minutes. The mixture comes together quickly in a single bowl.
Shaping the treats may take another ten minutes depending on the number of portions being prepared. Rolling the mixture into small balls or pressing it into molds is usually simple.
After shaping, the treats should chill in the refrigerator for about one hour. This resting time allows the oats to absorb moisture and helps the treats firm up.
Although the treats require time to chill, the active preparation time remains short. This makes the recipe convenient even during busy days.
Once the treats have firmed up, they can be transferred into a storage container and kept refrigerated until needed.
Make-Ahead Tips
No-bake treats are well suited for advance preparation. A batch can be prepared ahead of time and stored in the refrigerator for several days.
Preparing a larger batch can be helpful for households with multiple dogs. Doubling the ingredients allows more treats to be made at once.
Once the treats have chilled and firmed, place them in an airtight container. Proper sealing helps maintain their texture and freshness.
Freezing is another useful option for longer storage. The treats can be placed in freezer-safe containers once they have fully set.
Dividing the treats into smaller freezer portions can make serving easier later. Only the needed amount can be thawed at a time.
When thawing frozen treats, allow them to rest in the refrigerator briefly before serving. This helps maintain their texture.
Step-by-Step Instructions
Step 1: Prepare the Banana
Peel the banana and place it into a mixing bowl. Use a fork or potato masher to mash it thoroughly.
The banana should become smooth with very few lumps remaining.
Step 2: Add the Applesauce
Add the unsweetened applesauce to the mashed banana. Stir the mixture until it becomes smooth and evenly combined.
This mixture forms the base for the treats.
Step 3: Add the Dry Ingredients
Add the rolled oats and shredded coconut to the bowl. Stir gradually while combining the ingredients.
Continue mixing until the oats and coconut are evenly distributed.
Step 4: Adjust the Mixture
Add the water slowly while stirring the mixture. Continue mixing until the ingredients form a thick dough.
The mixture should hold together when pressed.
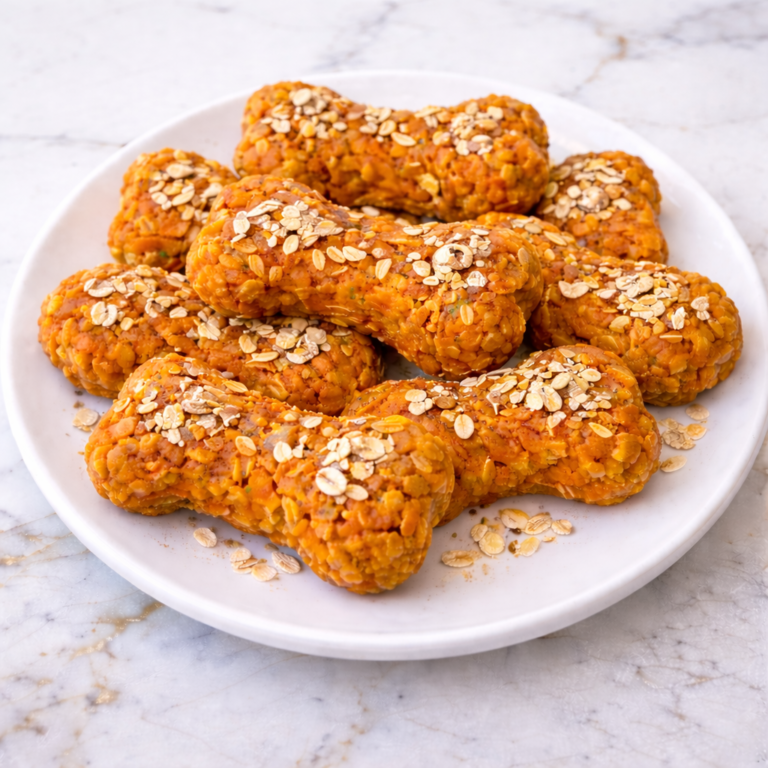
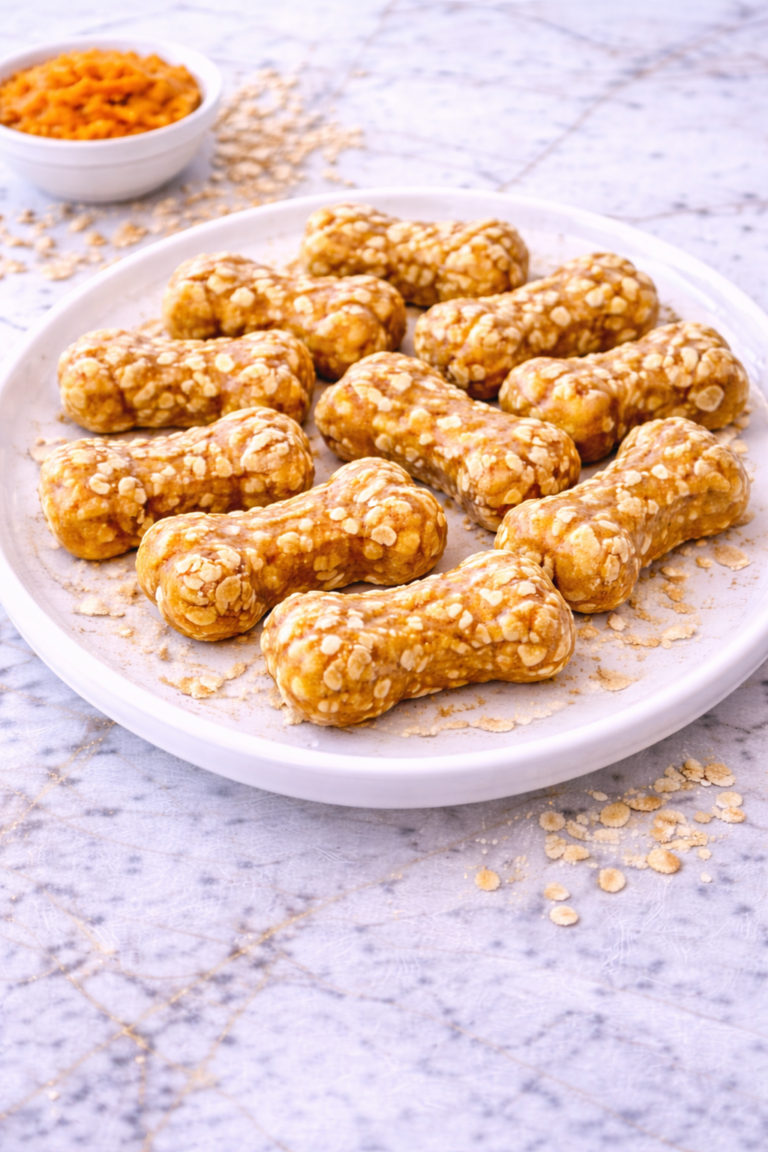
Step 5: Shape the Treats
Scoop small portions of the mixture and roll them into balls using your hands. Alternatively, press the mixture into silicone molds or flatten it into small discs.
Place the shaped treats onto a parchment-lined tray.
Step 6: Chill the Treats
Place the tray into the refrigerator and allow the treats to chill for about one hour. This helps the mixture firm up.
Chilling also allows the oats to absorb moisture.
Step 7: Store the Treats
Once the treats have firmed, transfer them into a refrigerator-safe container. Keep them chilled until ready to serve.
Ingredient Swaps and Variations
- Dairy-free: This recipe is naturally dairy-free when prepared with simple ingredients. Always review packaged ingredients such as shredded coconut or applesauce to confirm they contain no dairy additives.
- Grain-free: Replace the rolled oats with oat flour or another dog-safe grain-free flour blend. When using alternative flour, small adjustments to moisture may be needed to keep the mixture firm enough to shape.
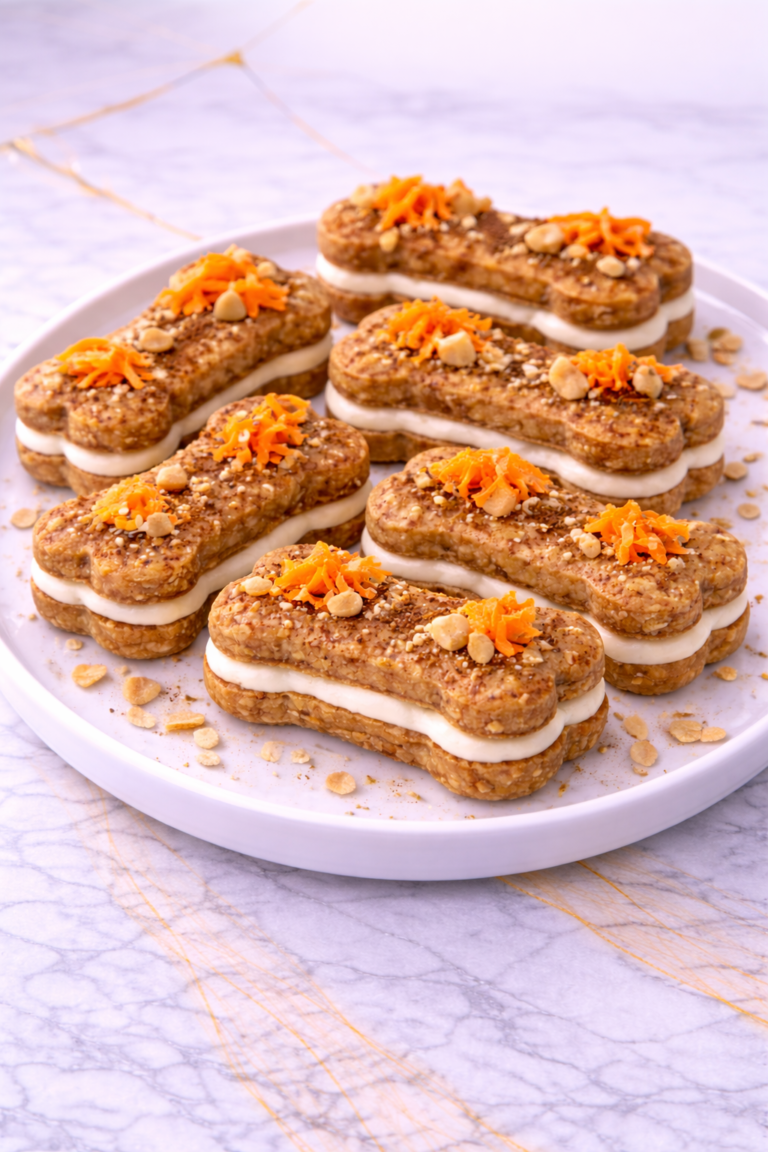
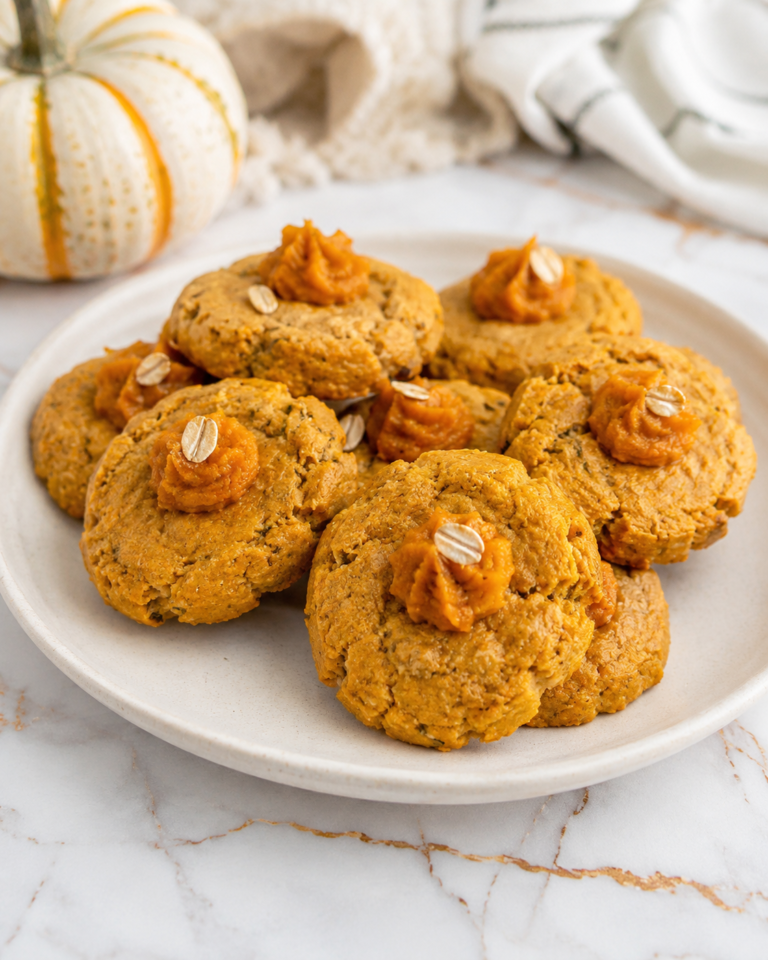
- Flavor variation: Mashed pumpkin or finely grated carrot can replace part of the banana to introduce a slightly different flavor while maintaining a similar texture.
- Texture adjustment: For firmer treats, add a small amount of additional oats to the mixture. For softer treats, increase the applesauce slightly while mixing.
- Mini version: Roll the mixture into very small balls or press it into mini silicone molds. Smaller portions can be useful for training rewards or smaller dogs.
Nutritional Notes for Dogs
Bananas are commonly used in homemade dog treat recipes because they mash easily and blend smoothly with other ingredients. Their natural sweetness helps create a mild flavor without requiring added sugar.
Rolled oats contribute structure to the mixture and help absorb moisture from the banana and applesauce. This helps the treats hold their shape after chilling.
Unsweetened shredded coconut adds a gentle texture to the mixture. When mixed evenly into the dough, it helps create a slightly chewy consistency once the treats are chilled.
Applesauce provides additional moisture that helps bind the ingredients together. Using unsweetened applesauce keeps the ingredient list simple and balanced.
Because these treats are not baked, they maintain a soft texture once chilled. This can make them comfortable for many dogs to eat when served in small portions.
Homemade dog treats should be offered occasionally rather than replacing regular meals. Offering them in moderation helps maintain balanced feeding routines.
How to Serve Safely
Portion size should match the size and chewing habits of the dog receiving the treat. Smaller dogs generally benefit from smaller bite-sized portions, while larger dogs may comfortably manage slightly larger pieces.
Supervising dogs during treat time helps ensure they chew comfortably. Observing how a dog interacts with a new treat can help confirm the portion size is appropriate.
These treats can be served after walks, during calm bonding moments, or during short training sessions. Their soft texture makes them easy to break into smaller pieces if needed.
If the treats are larger than necessary, they can easily be divided before serving. This helps control portion size and extend the usefulness of the batch.
Moderation remains important when offering any treat. Even simple homemade snacks should remain a small part of a dog’s overall feeding routine.
Common Mistakes to Avoid
One common mistake is using bananas that are not ripe enough. Firmer bananas can be more difficult to mash and may not blend evenly with the other ingredients.
Another issue occurs when too much liquid is added during mixing. Excess moisture can cause the mixture to become too soft to shape properly.
Not mixing the ingredients thoroughly may create uneven texture throughout the treats. Proper mixing helps distribute the oats and coconut evenly.
Skipping the chilling time can prevent the treats from firming up correctly. Allowing enough time in the refrigerator helps them hold their shape.
Shaping the treats too large can make portion control more difficult. Smaller pieces are usually easier to serve.
Leaving the treats uncovered in the refrigerator may cause them to dry out or absorb odors from other foods.
Storage and Freshness Tips
No-bake banana and coconut dog treats should be stored in the refrigerator. Once the treats have firmed up, place them in an airtight container.
Sealed storage helps maintain their texture and prevents them from absorbing refrigerator odors. Refrigeration also helps keep the ingredients fresh.
For longer storage, freezing is a convenient option. The treats can be placed in freezer-safe containers or bags once they have chilled completely.
Dividing the treats into smaller freezer portions can make serving easier later. Only the needed amount can be thawed while the rest remain frozen.
When thawing frozen treats, allow them to rest in the refrigerator briefly before serving. This helps maintain their soft consistency.
Before serving stored treats, inspect them for signs of spoilage. Any unusual odor or visible mold indicates they should be discarded.
FAQs
Can dogs safely eat bananas in homemade treats?
Yes, bananas are commonly used in homemade dog treat recipes. When mashed thoroughly, they blend easily with other ingredients and create a smooth base.
Is coconut safe for dogs in treats?
Unsweetened shredded coconut is sometimes used in homemade dog treats in small amounts. It adds texture and mild flavor when mixed into the dough.
Do these treats need to stay refrigerated?
Yes, because these treats are not baked, refrigeration helps maintain their texture and freshness.
Can I replace the oats in this recipe?
Yes, oat flour or a dog-safe grain-free flour blend can replace rolled oats. Small adjustments to moisture may be needed when changing ingredients.
Can these treats be used during training?
Yes, they can be shaped into very small pieces that work well for training rewards. Smaller treats allow dogs to receive frequent rewards during short sessions.
Can no-bake dog treats be frozen?
Yes, freezing is an effective way to store no-bake dog treats for longer periods. They can be thawed gradually in the refrigerator before serving.
How long do no-bake dog treats usually last?
When stored in a sealed container in the refrigerator, these treats usually remain fresh for several days. Freezing can extend their shelf life.
A Soft Homemade Treat with Simple Ingredients
No-bake banana and coconut dog treats offer a convenient way to prepare homemade snacks using just a few familiar ingredients. The recipe is simple and requires minimal preparation.
Once chilled and stored properly, these treats can be ready whenever a small reward feels appropriate. Their soft texture and mild flavor make them a gentle addition to occasional treat time.