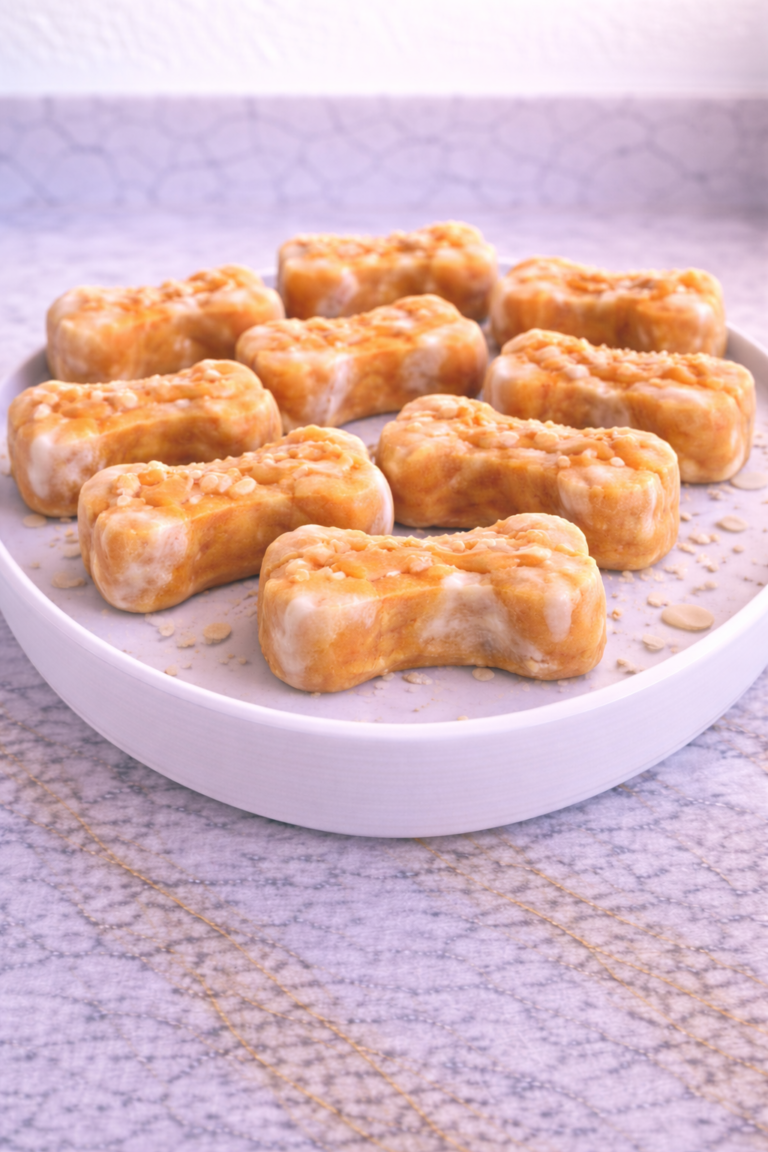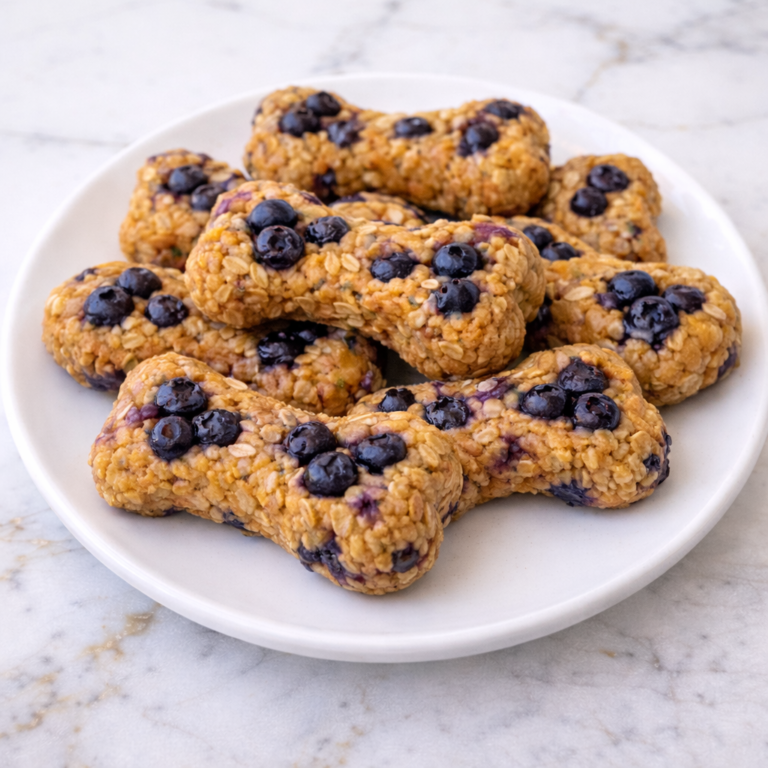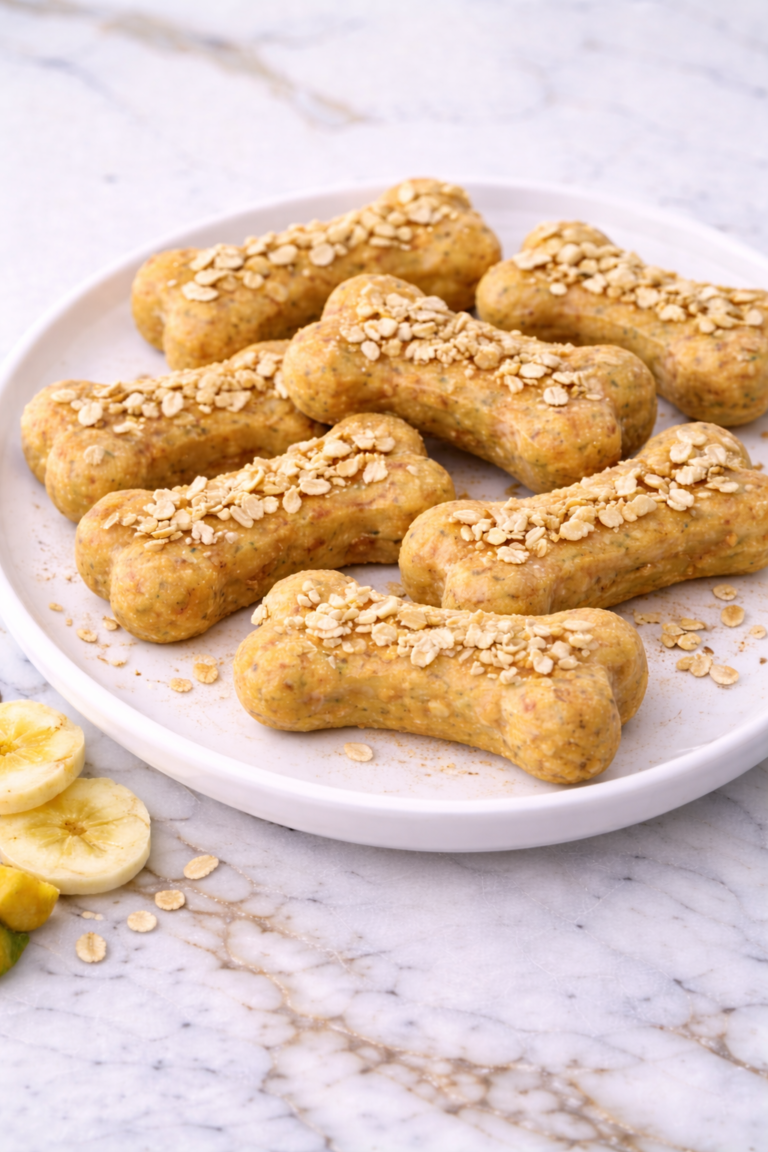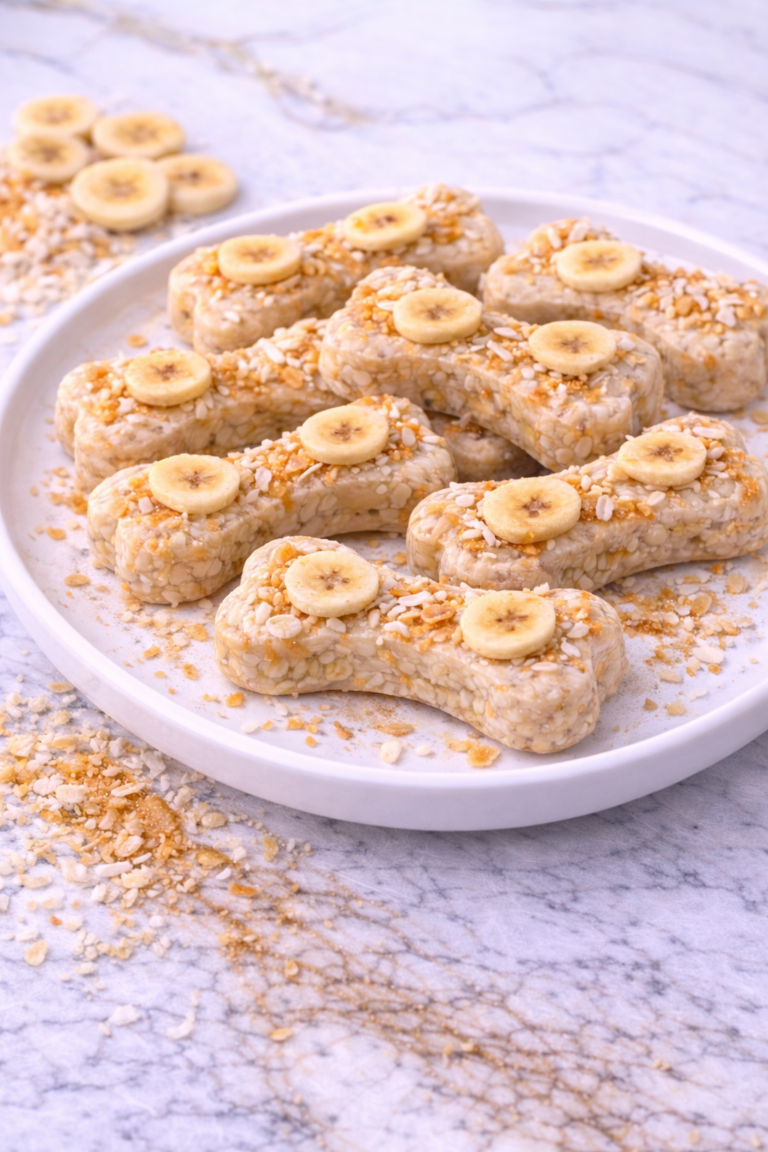

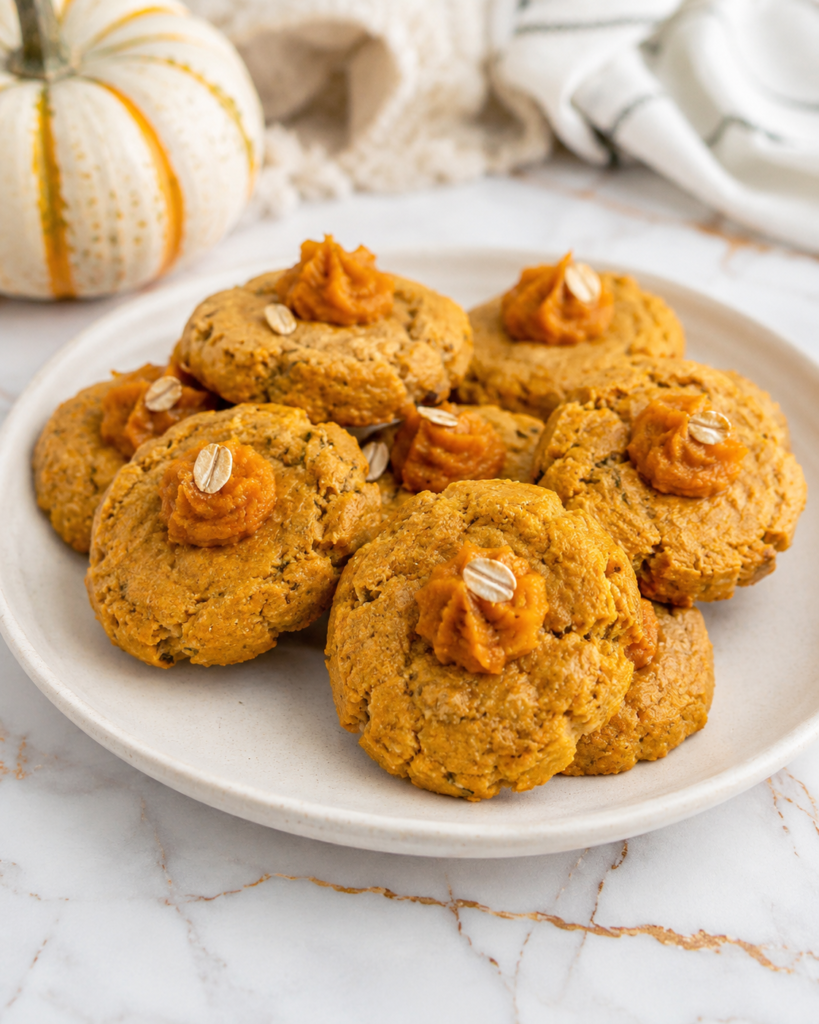
I enjoy making pumpkin dog cookies because they feel simple, warm, and easy to fit into a calm kitchen routine. Pumpkin has a smooth texture that blends well into dough, which makes it a practical ingredient for homemade dog treats.
This recipe feels thoughtful because it uses plain pumpkin puree in a measured way and pairs it with familiar baking ingredients. The cookies are easy to shape, portion, and store, which makes them useful for everyday dog care.
I like preparing cookies like these when I want something homemade that does not require complicated steps. Mixing the dough, rolling it out, and cutting small shapes creates a quiet rhythm that feels steady and caring.

Pumpkin dog cookies fit naturally into everyday routines because they can be made small and served occasionally. They work well after walks, during relaxed training, or as a small homemade extra during a quiet part of the day.
These cookies are meant to complement your dog’s regular meals, not replace them. When made with dog-safe ingredients and served in moderation, they can become a simple homemade treat to keep on hand.
Why This Recipe Is Great for Your Dog
This recipe uses simple ingredients that are easy to recognize. Plain pumpkin puree, oat flour, egg, and a small amount of unsweetened applesauce create a basic cookie dough without added sugar, salt, spices, or rich extras.
Pumpkin gives the cookies a soft base and mild flavor. Its smooth texture helps the dough come together without needing complicated mixing or special techniques.
The texture can be adjusted depending on how your dog prefers treats. Rolling the dough thinner creates a firmer cookie, while keeping it closer to 1/4 inch gives a softer, gentler bite after baking.
This recipe is approachable for home cooks because the dough is easy to manage. You can cut the cookies with a small cookie cutter or slice simple squares with a knife.
Dogs often enjoy pumpkin cookies because they have a warm, mild aroma as they bake. The flavor is noticeable without being too strong, which makes the cookies easy to use as occasional rewards.
The cookies are also easy to portion for different dog sizes. Tiny shapes can work for small dogs or training rewards, while slightly larger pieces can suit medium or larger dogs when served thoughtfully.
Ingredients
- 3/4 cup plain pumpkin puree
- 1 large egg
- 2 tablespoons plain unsweetened applesauce
- 1 3/4 cups oat flour
- 2 tablespoons rolled oats
- 1 tablespoon water
Tools You’ll Need
- Medium mixing bowl
- Measuring cups
- Measuring spoons
- Spoon or silicone spatula
- Rolling pin
- Baking sheet
- Parchment paper
- Small cookie cutter or knife
- Fork
- Wire cooling rack
- Airtight storage container
- Freezer-safe storage bag
Pro Tips
Use plain pumpkin puree, not pumpkin pie filling. Pumpkin pie filling often contains sugar and spices that do not belong in a simple dog cookie recipe.
Check the dough before adding water. Pumpkin puree and applesauce already add moisture, so some batches may not need the full tablespoon.
Let the dough rest for a few minutes if it feels too soft. Oat flour and rolled oats absorb moisture gradually, which can make the dough easier to roll and cut.
Keep the cookies small and even in thickness. Smaller cookies are easier to portion, and consistent sizing helps the whole batch bake at the same pace.
Bake only until the cookies are set and lightly firm. For a softer cookie, stay near the shorter end of the baking time, and for a firmer cookie, add a few minutes while watching the edges.
Let the cookies cool completely before storing them. Warm cookies can release steam inside a container, which may soften the texture and affect freshness.
How Long This Recipe Takes
Preparation takes about 15 to 20 minutes. This includes measuring the ingredients, mixing the dough, rolling it out, cutting the cookies, and arranging them on the baking sheet.
Baking usually takes 18 to 24 minutes, depending on the size and thickness of the cookies. Smaller or thinner cookies may finish sooner, while thicker pieces may need a few extra minutes.
The full recipe takes about 45 to 55 minutes when cooling time is included. The process moves at a calm pace, with most of the hands-on work happening before the cookies go into the oven.
This recipe is easy to fit into a regular kitchen routine. While the cookies bake, you can clean the bowl and tools, then let the finished treats cool fully before storing.
Make-Ahead Tips
Pumpkin dog cookies work well as a make-ahead recipe because they store nicely after baking and cooling. You can prepare a batch early in the week and keep a small portion ready for occasional rewards.
For short-term storage, place fully cooled cookies in an airtight container and refrigerate them. Refrigeration is helpful because the recipe includes pumpkin puree, egg, and applesauce.
Freezing is a practical option if you want to save part of the batch for later. Place the cooled cookies in a single layer on a baking sheet until firm, then transfer them to a freezer-safe bag or container.
Portioning before freezing makes the cookies easier to use. You can divide them into small bags or separate layers so you only thaw what your dog will eat within a few days.
Thaw frozen cookies in the refrigerator rather than leaving them on the counter for a long time. Once thawed, keep them chilled and use them within a few days for best freshness.
Step-by-Step Instructions
Step 1: Preheat the Oven
Preheat your oven to 350°F. Line a baking sheet with parchment paper so the cookies release easily and cleanup stays simple.
Set the prepared baking sheet aside while you make the dough. Having it ready helps the shaping process feel organized and steady.
Step 2: Check the Pumpkin
Measure the plain pumpkin puree into your mixing bowl. Make sure it is not pumpkin pie filling and does not contain added sugar, spices, or other ingredients.
If the pumpkin looks watery, stir it well before measuring. A smooth, even texture helps the dough come together more consistently.
Step 3: Mix the Wet Ingredients
Add the egg and plain unsweetened applesauce to the pumpkin puree. Stir slowly until the mixture looks smooth, thick, and evenly combined.
Scrape the sides and bottom of the bowl as you mix. This helps the egg blend fully into the pumpkin before the dry ingredients are added.
Step 4: Add the Dry Ingredients
Add the oat flour and rolled oats to the wet mixture. Stir slowly until a soft, slightly textured dough begins to form.
The dough should hold together when pressed. If it seems too wet, let it rest for 2 to 3 minutes so the oat flour and oats can absorb some moisture.
Step 5: Adjust the Dough
Check the dough before adding water. If it feels dry or crumbly, add 1 tablespoon of water and mix again.
If the dough already presses together easily, skip the water or add only a few drops. The finished dough should feel soft, slightly tacky, and easy to shape.
Step 6: Roll the Dough
Place the dough on a surface lightly dusted with oat flour. Roll it to about 1/4-inch thickness, keeping the surface as even as possible.
Turn the dough gently if it begins to stick. Use only a light dusting of oat flour so the cookies do not become dry.
Step 7: Cut the Cookies
Cut the dough into small shapes using a cookie cutter or knife. Choose sizes that match your dog’s needs and keep the pieces consistent for even baking.
Gather the scraps and press them together gently. Roll again and continue cutting until all of the dough has been used.
Step 8: Arrange on the Baking Sheet
Place the cut cookies on the parchment-lined baking sheet. Leave a little space between each cookie so the edges can bake evenly.
The cookies will not spread much during baking. Keeping them in one even layer helps the batch finish consistently.
Step 9: Press the Tops
If desired, press the tops gently with a fork to make a light pattern. This can help flatten any thicker spots and gives the cookies a simple homemade look.
Do not press too hard, especially if the cookies are already thin. A shallow mark is enough to keep the texture even.
Step 10: Bake Until Set
Bake the cookies for 18 to 24 minutes. They should feel firm to the touch and look lightly golden around the edges.
Check smaller cookies near the end of baking so they do not become too hard. If your cookies are thicker, add a few minutes while watching them closely.
Step 11: Cool Completely
Transfer the baked cookies to a wire cooling rack. Let them cool fully before serving or storing.
The cookies will firm up a little more as they cool. Once completely cooled, they can be refrigerated for short-term use or frozen for later.
Nutritional Notes for Dogs
Pumpkin dog cookies are meant to be served as a complementary homemade treat within your dog’s regular feeding routine. They are not a full meal replacement, but they can be a simple occasional reward when offered in thoughtful portions.
Plain pumpkin puree gives these cookies their smooth texture and mild flavor. It blends easily with the other ingredients and helps create a dough that stays soft enough to roll and cut.
Oat flour gives the cookies structure and helps them hold their shape while baking. Rolled oats add a little texture, which can make the finished cookies feel gently hearty without becoming too dense.
The egg helps bind the dough so the cookies stay together after baking. Plain unsweetened applesauce adds moisture and supports a tender texture without added sugar or seasoning.
These cookies fit best into a balanced feeding routine when served occasionally. Regular meals should remain the foundation of your dog’s diet, with homemade cookies kept as small additions.
Moderation is important with any homemade treat, even one made with simple ingredients. Start with a small piece when introducing pumpkin dog cookies and observe how your dog handles the texture and flavor.
Ingredient Swaps and Variations
Dairy-free: This recipe is naturally dairy-free because it does not include milk, butter, cheese, or yogurt.
Grain-free: Replace the oat flour and rolled oats with chickpea flour in small amounts, adjusting slowly until the dough holds together.
Flavor variation: Add 1 tablespoon of mashed ripe banana in place of 1 tablespoon of applesauce for a mild banana note.
Texture adjustment: Roll the dough thinner for a firmer cookie, or keep it closer to 1/4 inch for a softer, gentler bite.
Mini version: Cut the dough into tiny squares or use a mini cookie cutter for small dogs, puppies, or training rewards.
How to Serve Safely
Serve pumpkin dog cookies in portions that match your dog’s size, age, and chewing style. A small dog may only need one tiny cookie, while a medium or large dog may be able to enjoy a slightly bigger piece.
When offering these cookies for the first time, begin with a small portion. This gives you time to observe how your dog responds to the pumpkin, oats, and baked texture.
Always supervise your dog while they eat homemade cookies. Even simple baked treats should be served in a calm setting where you can watch chewing and swallowing.
These cookies are suitable for occasional rewards after walks, relaxed training sessions, or quiet moments at home. They can also be broken into smaller pieces if you want to use one cookie across several small rewards.
If your dog tends to eat quickly, serve smaller pieces instead of a whole cookie. Smaller portions can make treat time easier to manage and help keep serving calm.
Keep moderation in mind when adding homemade cookies to your dog’s routine. Treats should remain a small part of the day and should not crowd out regular meals.
Common Mistakes to Avoid
Using pumpkin pie filling instead of plain pumpkin puree is an important mistake to avoid. Pumpkin pie filling often contains sugar, spices, and other ingredients that do not belong in a simple dog treat recipe.
Adding too much water can make the dough sticky and difficult to roll. Mix the pumpkin, egg, applesauce, oat flour, and oats first, then add water only if the dough feels dry.
Skipping the short dough rest can make the texture harder to judge. Letting the dough sit for a few minutes gives the oat flour and rolled oats time to absorb moisture.
Rolling the cookies too thick can lead to uneven baking. Keep the dough around 1/4 inch thick so the centers set while the edges become lightly firm.
Overbaking can make the cookies harder than intended. Watch them near the end of the baking time and remove them when they feel firm and look lightly golden.
Storing the cookies before they are fully cool can trap steam inside the container. Let them cool completely on a wire rack before refrigerating or freezing.
Serving cookies that are too large can make portion control harder. Cut the dough into small shapes and adjust the serving size based on your dog’s size and routine.
Storage and Freshness Tips
Pumpkin dog cookies should be stored with moisture and freshness in mind. Because they contain pumpkin puree, egg, and applesauce, refrigeration is the best choice for short-term storage.
Room-temperature storage is only appropriate briefly after the cookies have baked and cooled. If your kitchen is warm or humid, move the cookies to the refrigerator sooner.
Place fully cooled cookies in an airtight container and refrigerate them for up to 5 days. A tight-fitting lid helps keep the cookies from drying out or absorbing other food odors.
For longer storage, freeze the cookies in a freezer-safe bag or container. If the cookies are slightly soft, place parchment paper between layers to help prevent sticking.
Frozen pumpkin dog cookies are best used within 2 months. Label the container with the date so it is easier to rotate batches and keep track of freshness.
Thaw frozen cookies in the refrigerator before serving. Avoid leaving several cookies out on the counter for long periods, especially if you plan to store extras again.
Check cookies before serving, even when they have been stored properly. Discard any that smell sour, feel slimy, show mold, or look unusually discolored.
FAQs
Can I use canned pumpkin?
Yes, canned pumpkin works well if it is plain pumpkin puree. Check the label carefully and avoid pumpkin pie filling or any product with sugar, spices, or added flavoring.
Can I use fresh pumpkin?
Yes, cooked fresh pumpkin can be used if it is plain, soft, and mashed smoothly. Let it cool fully before mixing it with the egg and other ingredients.
Can I make these cookies without egg?
Yes, you can try replacing the egg with 1/4 cup plain pumpkin puree or unsweetened applesauce. The cookies may be softer and more delicate after baking.
Can I use whole wheat flour instead of oat flour?
Yes, whole wheat flour can work if your dog already tolerates wheat. Add it gradually because it may make the dough firmer than oat flour.
Are these cookies good for training?
They can work well for training when cut into very small pieces. Mini cookies help keep portions moderate during repeated rewards.
Can puppies have pumpkin dog cookies?
Puppies may have a tiny piece if the ingredients fit their current feeding routine. Keep the portion small and introduce it gradually.
Why is my dough too soft?
The pumpkin puree or applesauce may have added extra moisture. Let the dough rest briefly, then add a small sprinkle of oat flour until it is easier to roll.
Cozy Pumpkin Cookies for Everyday Rewards
Pumpkin dog cookies are a warm, simple homemade treat made with familiar ingredients, gentle texture, and thoughtful portions in mind. With plain pumpkin, careful baking, proper cooling, and safe storage, they can fit naturally into quiet routines, small rewards, and calm everyday care.