
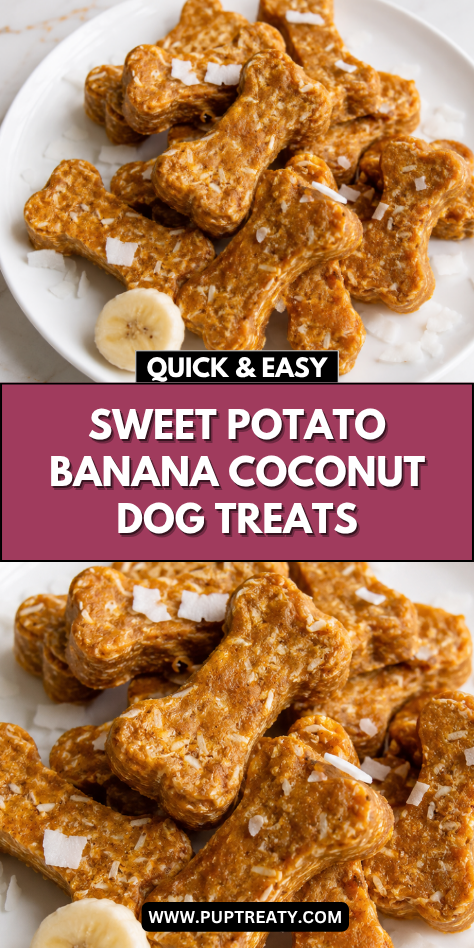
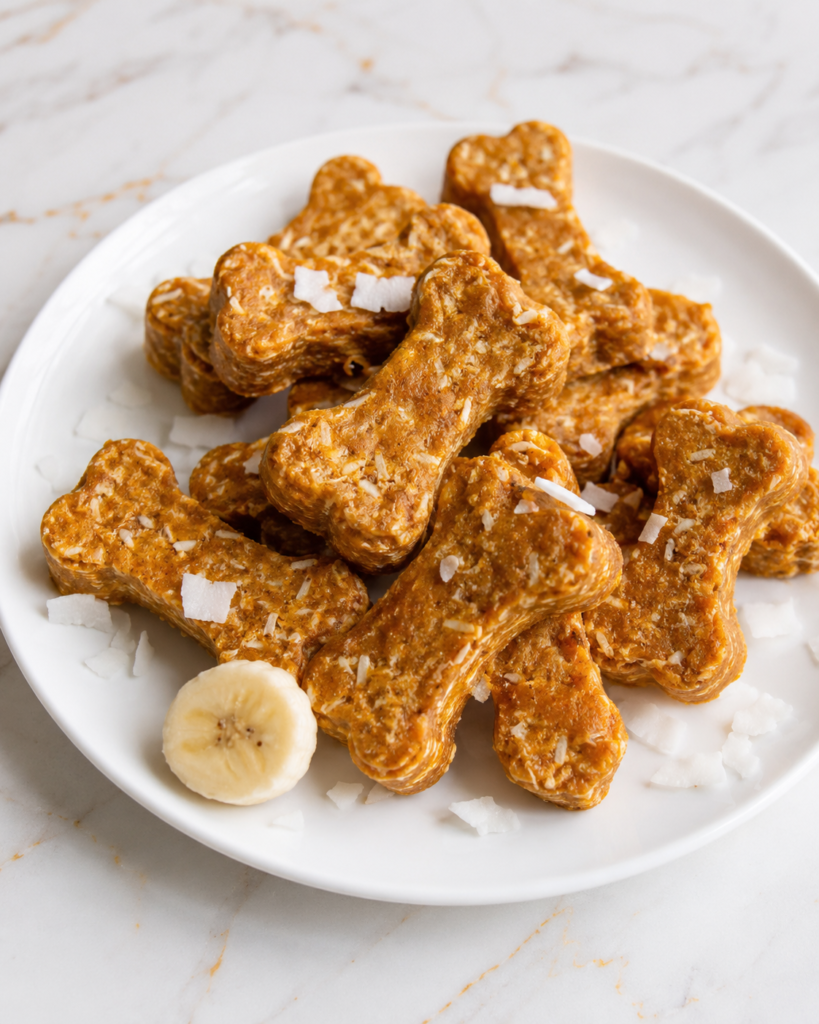
I enjoy making sweet potato, banana, and coconut dog treats because the recipe feels gentle, familiar, and easy to prepare at home. It uses simple ingredients that come together into a soft dough with a naturally warm aroma.
This type of treat feels thoughtful because it is made with ingredients many home cooks already know well. Sweet potato brings a smooth, earthy base, banana adds mild sweetness, and coconut gives the treats a lightly textured finish.
I like recipes like this for everyday dog care because they can be shaped into small portions and stored for simple routines. A small homemade treat can fit naturally after a walk, during quiet training, or as an occasional reward.
There is something calming about mashing sweet potato and banana while your dog waits nearby. Those small kitchen moments can become part of the steady rhythm of caring for a dog in a hands-on way.
These treats are meant to be a homemade complementary snack, not a complete diet replacement. They should be served in moderation and sized carefully for your dog’s age, size, chewing habits, and regular feeding routine.
Why This Recipe Is Great for Your Dog
This recipe uses simple, dog-appropriate ingredients that are easy to recognize. Sweet potato, banana, oats, coconut, egg, and flour create a dough that is practical for shaping and baking.
The familiar ingredients make the recipe approachable for home cooks. There are no complicated steps, and the dough can be adjusted with small amounts of flour or water as needed.
The texture can be made softer or firmer depending on how thickly the dough is rolled and how long the treats bake. Slightly thicker treats tend to stay softer in the center, while thinner treats bake into a firmer bite.
Sweet potato and banana create a smooth base that helps hold the treats together. The shredded coconut adds a little texture without making the treats difficult to chew when used in a modest amount.
Dogs often enjoy the natural sweetness and soft baked aroma of this recipe. The combination of banana and sweet potato gives the treats a pleasant smell while keeping the ingredient list calm and simple.
For home cooks, this recipe is easy to work into a regular kitchen routine. Once the sweet potato is cooked and cooled, the dough mixes quickly and can be cut into small, manageable shapes.
Ingredients
- 1/2 cup cooked mashed sweet potato
- 1/2 cup mashed ripe banana
- 1 large egg
- 1 tablespoon unsweetened coconut oil, melted
- 1/4 cup unsweetened shredded coconut
- 1 cup old-fashioned rolled oats
- 1 cup whole wheat flour
- 1 tablespoon water
Tools You’ll Need
- Baking sheet
- Parchment paper
- Fork or potato masher
- Measuring cups
- Measuring spoons
- Mixing bowl
- Wooden spoon or silicone spatula
- Small microwave-safe bowl or saucepan
- Rolling pin
- Cookie cutters or knife
- Cooling rack
- Airtight storage container
- Freezer-safe bag or container
Pro Tips
Use plain cooked sweet potato with no butter, salt, sugar, or seasoning. Let it cool before mixing so the egg does not begin to cook in the bowl.
Choose a ripe banana that mashes easily. A softer banana blends into the dough more smoothly and helps create a flexible texture.
Add the water only if the dough feels dry or crumbly. Sweet potato and banana both bring moisture, so the dough may not need the full tablespoon.
Use unsweetened shredded coconut and keep the pieces small. Large flakes can make the dough harder to cut and may create uneven texture in smaller treats.
Roll the dough evenly so all treats bake at the same pace. Thin treats will become firmer, while thicker treats may need a little more time in the oven.
Cool the treats completely before serving or storing. This helps the texture settle and prevents trapped warmth from creating moisture inside the storage container.
How Long This Recipe Takes
Preparation usually takes about 15 to 20 minutes if the sweet potato is already cooked. If you need to cook the sweet potato first, plan for extra time so it can soften and cool before mixing.
Baking usually takes about 20 to 25 minutes, depending on the thickness and size of the treats. Smaller treats may finish sooner, while thicker shapes may need a few extra minutes.
The full recipe takes about 45 to 60 minutes when cooling time is included. It is a steady baking project that works well when you want to make a small batch without rushing.
The pacing is simple once the sweet potato is ready. The dough comes together in one bowl, then it can be rolled, cut, baked, and cooled before storage.
Make-Ahead Tips
You can cook the sweet potato ahead of time and store it in the refrigerator until you are ready to bake. Keep it plain and covered, then use it within a few days for the best texture.
The dough can be mixed several hours before baking. Cover it and refrigerate it until you are ready to roll and shape the treats.
If the chilled dough feels firm, let it rest at room temperature for a few minutes before rolling. This makes it easier to handle without adding too much extra flour.
Baked treats can be divided into small portions for daily use. Portioning them ahead of time helps keep serving consistent and prevents giving too many at once.
For longer storage, freeze the cooled treats in small freezer-safe bags or containers. Thaw only what you need in the refrigerator so the treats stay fresh and easy to manage.
Step-by-Step Instructions
Step 1: Prepare the Baking Sheet
Preheat the oven to 350°F. Line a baking sheet with parchment paper so the treats release easily after baking.
Set the baking sheet near your work area. This makes it simple to transfer the shaped treats once the dough is ready.
Step 2: Prepare the Sweet Potato
Use plain cooked sweet potato that has been cooled to room temperature. Mash it with a fork or potato masher until smooth, then measure 1/2 cup.
If the sweet potato seems stringy or chunky, mash it a little longer. A smoother texture helps the dough hold together more evenly.
Step 3: Mash the Banana
Peel a ripe banana and place it in the mixing bowl. Mash it with a fork until it is soft and mostly smooth.
Measure 1/2 cup of mashed banana for the recipe. Avoid using extra banana unless the dough needs a little more moisture later.
Step 4: Mix the Wet Ingredients
Add the mashed sweet potato, egg, and melted unsweetened coconut oil to the bowl with the banana. Stir slowly until the mixture is evenly combined.
The mixture should look smooth and thick. Make sure the coconut oil is melted but not hot before adding it to the bowl.
Step 5: Add the Coconut
Sprinkle the unsweetened shredded coconut into the wet mixture. Stir gently so the coconut is evenly spread throughout the bowl.
If the shredded coconut pieces are very large, chop them smaller before adding. Smaller pieces blend better into the dough and make shaping easier.
Step 6: Add the Oats and Flour
Add the old-fashioned rolled oats and whole wheat flour to the bowl. Stir with a wooden spoon or silicone spatula until a soft dough begins to form.
The dough should hold together when pressed. If it feels too dry, add water a little at a time until it becomes easier to shape.
Step 7: Check the Dough Texture
Press the dough gently with clean hands. It should feel soft and workable without sticking heavily to your fingers.
If the dough is sticky, let it rest for a few minutes so the oats can absorb moisture. Add a small sprinkle of flour only if it still feels too wet to roll.
Step 8: Roll Out the Dough
Lightly flour a clean work surface and place the dough on top. Roll it to about 1/4-inch thickness, keeping the dough as even as possible.
Turn the dough gently as you roll so it does not stick. Use only enough flour to keep the surface manageable.
Step 9: Cut the Treats
Use cookie cutters to cut the dough into small shapes. You can also use a knife to cut simple squares for easy portioning.
Gather the scraps and reroll them gently. Continue cutting until all the dough has been shaped.
Step 10: Arrange the Treats
Place the shaped treats on the prepared baking sheet. Leave a little space between each treat so the edges can bake evenly.
Try to keep similar sizes together on the same pan. This helps the treats bake consistently and prevents smaller pieces from becoming too firm.
Step 11: Bake the Treats
Bake the treats for 20 to 25 minutes. Check them near the end of baking and remove them when they feel firm and lightly dry on the surface.
For a firmer texture, let the treats rest in the turned-off oven for a few extra minutes with the door slightly open. Watch them carefully so they do not become overly hard.
Step 12: Cool Before Serving or Storing
Transfer the baked treats to a cooling rack. Let them cool completely before offering one to your dog or placing them in storage.
Check the center of thicker treats before storing. They should feel cool throughout, with no trapped warmth that could create moisture inside the container.
Nutritional Notes for Dogs
Sweet Potato Banana and Coconut Dog Treats are made with familiar ingredients that create a soft, gently sweet homemade snack. Sweet potato and banana form the base, while oats, flour, egg, coconut oil, and shredded coconut help create structure and texture.
Sweet potato adds a smooth texture and mild flavor that blends easily into baked treats. It also helps keep the dough soft enough to roll and shape without needing many extra ingredients.
Banana brings natural sweetness and moisture to the recipe. A ripe banana works especially well because it mashes smoothly and spreads evenly through the dough.
The oats and whole wheat flour help turn the wet ingredients into a workable dough. They give the treats enough body to hold their shape during baking and cooling.
The egg helps bind the mixture, while the coconut oil adds a little richness. Unsweetened shredded coconut gives the treats a light texture and a mild coconut flavor without making the recipe complicated.
These treats are best used as a complementary homemade snack. They are not meant to replace balanced meals, so portions should stay modest and fit into your dog’s regular feeding routine.
Moderation is especially helpful with treats that include naturally sweet ingredients like banana and sweet potato. Small servings allow your dog to enjoy the recipe while keeping the overall day balanced.
Ingredient Swaps and Variations
Dairy-free: This recipe is naturally dairy-free as written because it does not include milk, yogurt, cheese, or butter. Keep it dairy-free by avoiding creamy add-ins or dairy-based toppings.
Grain-free: Replace the whole wheat flour with chickpea flour or coconut flour, adding it slowly because these flours absorb moisture differently. The dough may become more delicate, so handle it gently when rolling and cutting.
Flavor variation: Add 1 tablespoon of plain pumpkin puree in place of part of the mashed banana. This keeps the recipe simple while giving the treats a slightly earthier flavor.
Texture adjustment: Roll the dough thinner for a firmer treat or slightly thicker for a softer center. You can also let the baked treats rest briefly in the turned-off oven for a drier texture.
Mini version: Cut the dough into tiny squares instead of larger shapes. This works well for small dogs, training-style rewards, or dogs who do better with very small portions.
How to Serve Safely
Serve these treats in portions that match your dog’s size, chewing style, and usual feeding routine. A small dog may only need one tiny treat, while a larger dog may be able to enjoy a slightly bigger piece.
When offering the treats for the first time, start with a small amount. This gives you time to observe your dog’s response to the ingredients and texture.
Supervise your dog while eating, especially if the treats are baked firm or cut into thicker shapes. Watching your dog chew helps you decide whether the size and texture are appropriate.
These treats can be served as an occasional snack, a quiet reward, or a small part of a training routine. They can also be offered after a walk or during a calm moment at home.
Keep moderation in mind because sweet potato, banana, oats, and coconut all add substance to the treat. Even homemade snacks should remain a small part of the day’s overall food.
Always let the treats cool completely before serving. A thicker treat may feel cool on the outside while still holding warmth in the center.
Common Mistakes to Avoid
Using seasoned sweet potato is one of the easiest mistakes to make. The sweet potato should be plain, with no butter, salt, sugar, spices, or toppings.
Adding hot sweet potato or hot coconut oil to the bowl can affect the dough texture. Let the sweet potato cool and make sure the melted coconut oil is warm, not hot, before mixing.
Using sweetened coconut can make the treats less appropriate for a simple dog snack. Choose unsweetened shredded coconut and keep the amount modest.
Adding too much water can make the dough sticky and difficult to roll. Add water slowly and only when the dough feels dry or crumbly.
Rolling the dough unevenly can lead to inconsistent baking. Try to keep the dough at an even thickness so the treats finish at the same pace.
Overbaking the treats can make them too hard for some dogs. Check them near the end of the baking time and remove them when they feel firm and lightly dry.
Storing the treats before they are fully cool can trap moisture inside the container. Let them cool completely on a rack before refrigerating or freezing.
Storage and Freshness Tips
Room-temperature storage is only appropriate for a short time if the treats are baked firm and fully cooled. Because this recipe contains sweet potato, banana, and moisture, refrigeration is the better everyday storage choice.
Store cooled treats in an airtight container in the refrigerator. For best freshness, use them within 5 days and check them before serving.
Softer treats should always be refrigerated and used sooner. A softer texture usually means more moisture, which can shorten the freshness window.
For longer storage, freeze the treats in small portions. Freezer-safe bags or containers work well, especially when labeled with the recipe name and date.
Frozen treats are best used within 2 to 3 months for quality. Portioning before freezing makes it easier to thaw only what you need.
Thaw frozen treats in the refrigerator rather than leaving them on the counter. Once thawed, keep them refrigerated and use them within a few days.
Discard any treats that smell sour, show mold, feel slimy, or look unusually wet. Homemade treats do not contain preservatives, so freshness checks are an important part of storage.
FAQs
Can I use canned sweet potato?
Yes, you can use canned sweet potato if it is plain and unsweetened. Avoid products with syrup, sugar, spices, salt, or added seasoning.
Can I use pumpkin instead of sweet potato?
Yes, plain pumpkin puree can replace the mashed sweet potato. The dough may be softer, so add flour slowly until it becomes easy to handle.
Is shredded coconut safe to use in these treats?
Unsweetened shredded coconut can be used in modest amounts for this recipe. Choose small pieces and avoid sweetened coconut or flavored coconut products.
Can I leave out the coconut oil?
Yes, you can leave out the coconut oil if needed. The dough may be slightly less rich, but the banana and sweet potato should still provide moisture.
Are these treats meant to replace meals?
No, these treats are intended as a complementary homemade snack. They should be served in moderation alongside your dog’s regular balanced feeding routine.
How can I make the treats softer?
Roll the dough slightly thicker and bake for the lower end of the suggested time. Let the treats cool fully before checking the final texture.
How many treats can I give my dog?
The right amount depends on your dog’s size, activity level, and normal diet. Start with one small treat and keep servings modest so treats remain an occasional part of the routine.
A Warm Little Sweet Potato Treat
Sweet Potato Banana and Coconut Dog Treats are a simple homemade option with a soft dough, gentle flavor, and easy-to-portion shape. With plain ingredients, careful cooling, safe storage, and thoughtful serving sizes, they can become a calm and comforting part of your dog’s treat routine.